Essential Bathroom Waterproofing Checklist For Contractors
Bathroom waterproofing checklist for contractors to cut callbacks. Covers flood testing procedure for showers and practical steps. Try it today. Free guide.
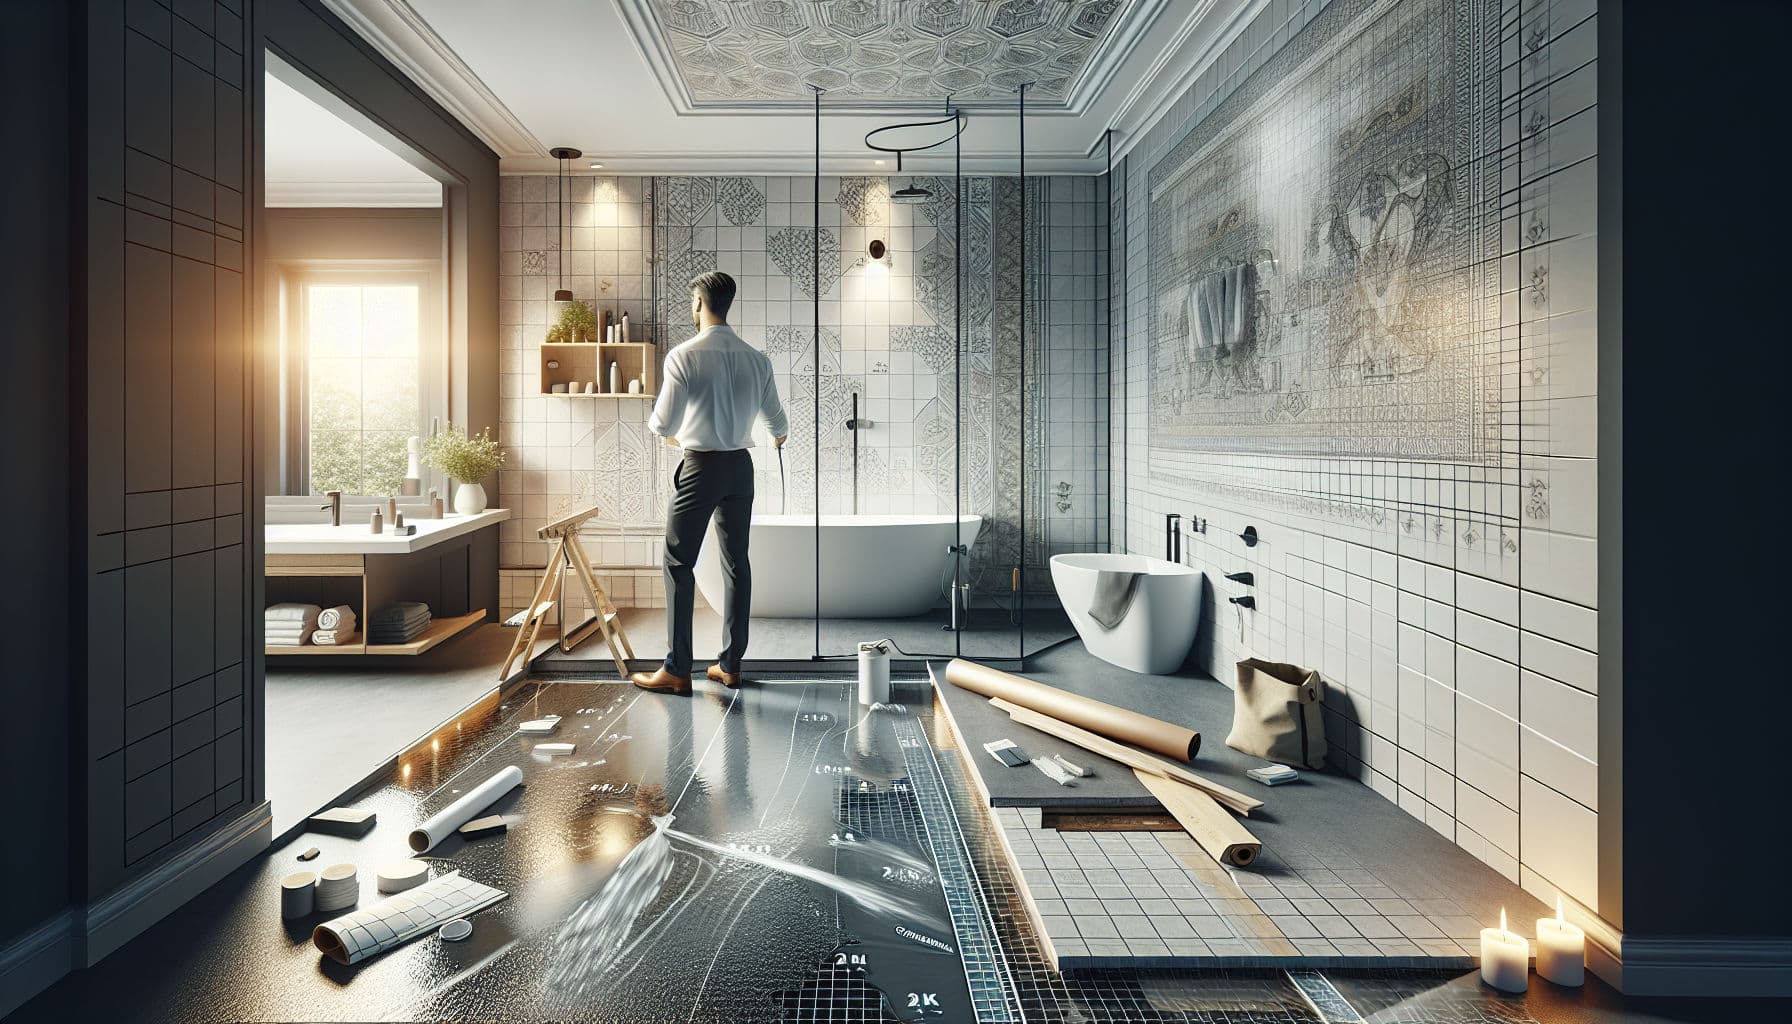
Table of Contents
Introduction
Water finds every weakness. If your wet area prep, detailing, or sign-off is sloppy, you’ll eat expensive repairs and strained client relationships. This guide lays out a tight, field-proven QA process for bathrooms: what to check, why it matters, and how to execute with simple tools so you reduce leaks, mold, and warranty calls. We’ll use standards contractors know in France (NF DTU), Italy (UNI), and Spain (CTE) and show a practical, repeatable workflow your crew can follow on every job.
Quick context: European insurers report water damage as one of the most frequent home claims (France Assureurs data shows it as a leading category). A single failed shower can wipe out the margin on three jobs. Let’s fix that with disciplined prep, correct membranes, a proper flood test, and adequate ventilation.
Tile Substrate Preparation Standards
If the base is wrong, nothing else saves you. Aim for rigid, dry, clean, and flat in the tolerances your tile size needs.
- Reference frameworks your clients recognize:
- France: NF DTU 52.2 (carrelage collé) for tile work tolerances and supports.
- Italy: UNI 11493-1 for design and installation of ceramic tiling.
- Spain: CTE DB HS 1 for moisture protection in buildings.
Use this punchy on-site matrix before any membrane or tile goes near the walls.
| Item/Category | Problem/Issue | Solution/Recommendation |
|---|---|---|
| Substrate rigidity | Flexing floors/walls | Add board bracing, decouple floors, use approved backer |
| Moisture content | Damp screeds/plaster | Verify with meter; follow manufacturer % thresholds |
| Flatness | Lippage risk on large tiles | Self-leveling or float; meet DTU/UNI/CTE tolerance |
| Cleanliness | Bond failure from dust | Vacuum + damp wipe; no gypsum residue |
| Priming | Wrong primer on porous base | Match primer to substrate per data sheet |
| Slope to drain | Ponding in showers | Pre-slope 1–2% toward drain before membrane |
| Penetrations | Unsealed pipe sleeves | Fit collars/gaskets sized to pipes |
Practical notes contractors learn the hard way:
- Board selection matters. Standard gypsum in wet zones is a risk; use cementitious or engineered boards rated for wet areas where required by local code.
- Screed curing: Rapid sets can be tiled early only if they reach stated moisture; don’t rely on time alone. Confirm with a meter.
- Movement joints: Transition to doorways and perimeters need soft joints. Plan them on the drawing so no one “forgets” on grouting day.
Client proof tip: Photograph a straightedge check (2 m or 6 ft) on floors and walls, and log moisture readings with date/time. That documentation short-circuits disputes later.
CTA: Want your team following the same checks every time? Use a reusable QA checklist, photo prompts, and progress notes in Donizo so the substrate sign-off is captured before you order tile.
Shower Waterproofing Membrane Installation
Membranes fail from gaps, pinholes, or incompatible layers. Choose one system and follow its data sheet to the letter—mixing brands voids warranties.
System choices and field rules:
- Liquid-applied: Great for complex shapes; mind the minimum dry film thickness (DFT). Use a wet-film gauge on the first coat; most failures come from coats rolled too thin.
- Sheet membranes: Fast, consistent thickness; require proper seams and corners. Pre-formed inside/outside corners reduce risk at changes of plane.
- Combined approach: Sheet on floors and up the curb; liquid for niches and odd details. Confirm compatibility in writing.
Critical details your crew must nail:
- Pre-slope and drain. Form the slope before any membrane. Use the manufacturer’s drain kit or compatible clamping drain adapter.
- Corners and transitions. Reinforce with band/tape; no 90° without reinforcement.
- Penetrations. Use gaskets or collars for mixers and outlets. Silicone alone is not a waterproofing layer.
- Upstands. Turn the membrane at least 100 mm (4 in) up the wall from the floor plane; more if the standard or the manufacturer requires.
- Curing time. Respect cure windows before flood testing or tiling—ambient temperature and humidity change this.
Documentation that protects your margin:
- One photo per wall showing full coverage; close-ups of seams, corners, and pipe collars.
- A quick note of batch numbers and lot codes.
- DFT readings (liquids) captured once per elevation.
If you work across borders, align your method statement to recognized references so clients and inspectors feel comfortable:
- NF DTU 52.2 (France) — ceramic tile works on bonded systems: https://www.boutique.afnor.org/
- UNI 11493-1 (Italy) — ceramic tiling design and installation: https://store.uni.com/
- CTE DB HS 1 (Spain) — moisture protection: https://www.codigotecnico.org/
CTA: Store your method statement, brand data sheets, and photos with the specific job in Donizo. Everyone sees what system was used, with proof, without digging through chats.
Flood Testing Procedure For Showers
Nothing beats a 24-hour water test for catching pinholes before tile. Here’s the lean, repeatable sequence crews can follow.
- Plug the drain with an inflatable or mechanical test plug below the grate.
- Fill the base to just below the curb top and mark the waterline with tape or a pencil.
- Note start time, ambient temperature, and who witnessed the test.
- Wait 24 hours (some specs accept 12; 24 gives confidence). Avoid impacts to the base during this period.
- Check the waterline; any drop must be explained (evaporation is minimal indoors). Inspect below/adjacent rooms for damp patches.
- If it passes, photograph the waterline before and after; if it fails, drain, dry, and repair the membrane per the manufacturer.
Troubleshooting you can apply on site:
- Tiny overnight drop with no staining? Refill and test again with an additional bead around the test plug. Plugs are common leak points.
- Suspicious damp at a wall base? Open a small inspection hole from the dry side to confirm before tearing up the pan.
- Recurrent failures on liquid systems? Measure DFT; many coats are too thin at corners. Add reinforced banding and recoat to spec.
Why insist on this? It’s cheaper to lose a day now than lose a month and a client later. Add the test as a contractual milestone so everyone expects it.
Bathroom Ventilation Requirements 2025
Waterproofing isn’t complete without moving moist air out. Poor exhaust means condensation behind mirrors, swollen joinery, and mold—then clients blame your tile.
What to aim for:
- Extract rates: Typical guidance lands around 15–30 L/s (50–110 m³/h) in bathrooms; check your local standard or supplier recommendations.
- Ducting: Short, straight runs with smooth-wall duct; avoid flex where possible. Terminate outside, not in roof voids.
- Controls: Humidity or run-on timers (10–30 minutes) help after hot showers.
- Make-up air: Undercut doors (~10–15 mm) or transfer grilles to let dry air in.
Regional signposts for credibility with clients and inspectors:
- Spain: CTE DB HS 3 covers indoor air quality and extraction in wet rooms (see CTE portal).
- France: Long-standing ventilation rules (e.g., 24 March 1982 arrêté) and RE2020 targets encourage effective mechanical extract.
- Italy: Local hygiene regulations and UNI guidance inform airflow and duct design; check municipal rules for residential refurbishments.
Commissioning checklist clients appreciate:
- Tissue test at the grille to show draw.
- Decibel reading (client cares about noise); choose fans ≤ 25–30 dB(A) at duty point.
- Photo of exterior termination with backdraft damper visible.
Selling the value: Explain that adequate extraction extends grout life, reduces repaint cycles, and keeps silicone joints from blackening—less maintenance calls for you.
Schema opportunities: This section pairs well with How-to markup (commissioning steps) and the FAQ below supports FAQPage schema.
Frequently Asked Questions
How long should I wait between applying membrane coats?
Follow the manufacturer’s data sheet for temperature and humidity. As a rule of thumb for liquids, allow the first coat to change color and become firm before the second. In cool, damp rooms this may take hours longer than the label’s “typical” time—don’t rush it.
Do I need a flood test on linear drain showers?
Yes. Linear drains add seams and often a larger bonded area. Plug the line downstream, ensure the slope is consistent across the tray, and test to the same depth and duration. Document start/end waterlines and any observations from adjacent rooms.
Can I mix a sheet membrane on the floor with a different brand’s liquid on walls?
Only if both manufacturers confirm compatibility in writing. Otherwise you risk chemical incompatibility and warranty denial. Many pros use one system end to end or a documented hybrid from the same supplier.
What moisture level is safe before tiling over a screed?
Use a calibrated meter and follow the adhesive manufacturer’s stated limits (often ≤ 2.0–2.5% CM for cementitious screeds; anhydrite is lower). Rapid-set screeds can reach target faster, but always verify rather than rely on time.
Conclusion
Failures in bathrooms aren’t random—they follow the same pattern: weak substrate, rushed detailing, skipped water test, and stale air. Tighten those four areas and you’ll see fewer callbacks, cleaner handovers, and happier clients. Standardize your prep checks, install one complete membrane system with documented photos and readings, prove watertightness with a 24-hour test, and ensure the fan actually moves air out of the building.
If you’re ready to systemize this across your crew, use Donizo to store your QA checklist, capture photos tied to each step, log measurements, and share progress with clients in a way they understand. It saves hours of admin every week and gives you the proof that protects your margin.
Sources and references: France Assureurs (home water damage frequency), NF DTU 52.2 (AFNOR), UNI 11493-1 (UNI Store), and Spain’s CTE DB HS (Código Técnico). Always verify local codes and manufacturer instructions for your specific project.