Intro
On most jobs, the clock bleeds out during shutdowns and draining. Clients hate losing water. You hate waiting on slow bleeders. Here’s the fix. Plumbers are using this shutoff valve hack to save time by isolating branches right at the stub-out or upstream tee. You add a quick isolation point, swap the part, and bring the rest of the building back online fast. No full-house drain. No angry tenants. This guide shows what it is, the parts you need, and the exact steps. You’ll see the method for copper, PEX, and CPVC, plus code notes, mistakes to avoid, and when not to use it.
Quick Answer
Install a temporary or permanent isolation valve at the branch you’re servicing, using a push-to-connect or compression ball valve/angle stop. Purge 1–2 L of water through the new valve, do the repair, and keep the rest of the building live. Most swaps drop from 45–60 minutes to 15–20 minutes.
Table of Contents
Key Takeaways
- Add isolation at the branch to avoid full shutdowns.
- Push-to-connect or compression stops work in wet lines.
- Typical swaps drop to 15–20 minutes, not 45–60.
- Keep valves accessible and labelled for code and service.
- Use slip valves on copper when you can’t fully drain.
What Is the Hack?
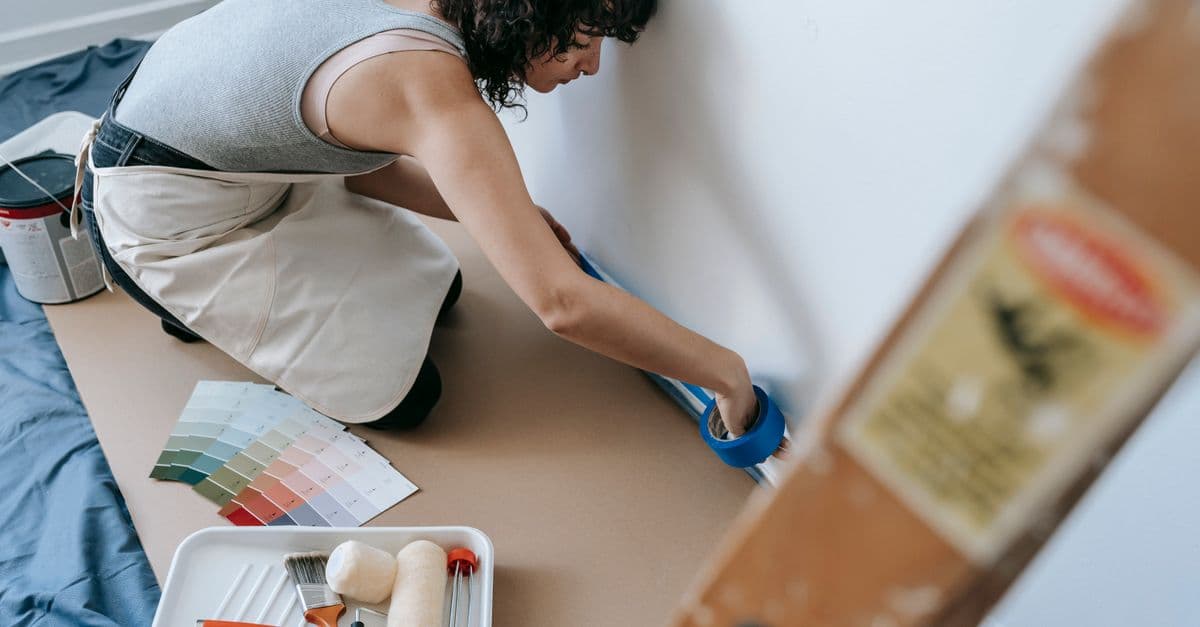
It’s a “stop-and-swap” method. You install a small, fast isolation valve right where you’re working—at the stub-out or just upstream on the branch. Then you bleed pressure through that valve, do the repair, and reopen supply. The main line stays live for everyone else.
You can leave the new valve in place as a permanent service stop. Or you can use a temporary push-to-connect ball valve and replace it with a finished angle stop later.
Why Plumbers Are Using This Shutoff Valve Hack to Save Time
Full shutdowns burn time. You walk to the main, drain, wait, swap, repressurize, and flush air. With this hack, you:
- Isolate the one branch in under 2 minutes.
- Purge 1–2 litres to get rid of trapped water.
- Swap fixtures or valves in 10–15 minutes.
- Restore service to everyone else immediately.
On multi-suite jobs, this avoids 4–6 tenant interruptions. On commercial calls, it keeps kitchens, washrooms, or lines running while you fix one problem.
- 1/2-in full-port ball valve (straight) or 1/2-in x 3/8-in angle stop
- Push-to-connect or compression variants (SharkBite-style, compression ferrule)
- “Slip” repair ball valve for Type L/M copper (slides over 19–25 mm of tube)
- Supply line: 3/8-in OD to fixture, or a short braided hose for purging
- Tubing cutter, deburring tool, emery cloth
- PEX support sleeve (for compression stops on PEX-B/C)
- Teflon tape or pipe dope (for threaded adapters only)
- Bucket and towel (catch 1–2 L)
Pro tip: Keep 2–3 valve types on the truck—1/2-in push ball, 1/2-in x 3/8-in angle stop, and a slip ball valve for copper. That covers 80–90% of service calls.
How Plumbers Are Using This Shutoff Valve Hack to Save Time (Step-By-Step)
- Explain the plan. Tell the client you’ll keep the rest of the home live. Set a 20-minute window.
- Isolate locally. If there’s an old angle stop, close it. If not, you’ll add one upstream.
- Cut clean. Use a tubing cutter and take out 20–30 mm of pipe if needed. Deburr inside and out.
- Install valve. Push or compress the 1/2-in ball valve/angle stop onto the branch.
- Purge safely. Attach a short braided hose to the valve. Crack it open to drain 1–2 litres into a bucket.
- Verify zero pressure. Open a nearby faucet to confirm no backfeed.
- Do the swap. Replace the faucet, toilet fill, cartridge, or failed stop. Typical time: 10–12 minutes.
- Pressure test. Slowly open the new valve. Watch for weeps 60–90 seconds.
- Finish and secure. Anchor the valve/stop, align it square, and connect the 3/8-in OD supply line.
- Label and document. Tag the valve if it’s now permanent. Snap a photo for your job notes.
Most pros do steps 3–9 in about 12–18 minutes once the pipe is prepped.
Variations For Copper, PEX, And CPVC
Copper (Type L/M)
- If the line won’t drain, use a slip ball valve. Cut out a 19–25 mm section, slide the valve over the pipe, then slide back to seat. Mark your depth.
- Clean with emery cloth. Deburr well. Push-to-connect works great on clean, round tube.
PEX (A/B/C)
- Use push-to-connect rated for PEX. Support sleeves are required for compression stops on PEX-B/C.
- Keep straight runs. Avoid side-load on the new stop. Strap within 200–300 mm.
CPVC (CTS)
- Use push-to-connect rated for CPVC or solvent-weld a CPVC male adapter to a threaded ball valve.
- Allow proper cure time when solvent-welding (typically 15–30 minutes at room temperature).
Safety And Code Notes
- Keep valves accessible. Don’t bury stops behind finished walls without an access panel.
- Use full-port ball valves for branch isolation. They reduce restriction and noise.
- Follow manufacturer depth marks. A missed 10–12 mm can cause a weep.
- For potable water, use lead-free (LF) listed fittings.
- Freeze risk: In unheated spaces, drain the branch or use glycol-rated components where allowed.
- Always depressurize before cutting. Even 20–30 psi left in the line can kick back.
Real-World Scenarios And Time Saved
- Toilet angle stop seized? Add a 1/2-in push ball valve upstream at the stub-out, purge, then replace the stop and supply. 15 minutes, not 45.
- Faucet swap in a busy café? Isolate the sink branch only. The dishwasher and other taps stay live. Downtime drops from 1 hour to 20 minutes.
- Leaky fridge line (3/8-in OD)? Add an inline mini-ball valve behind the fridge. Next time, service takes 5–10 minutes.
This pairs well with understanding professional proposals, faster estimates, and invoice templates that save time. If you tighten your service workflow in the field, tightening admin flow in the office multiplies gains.
Common Mistakes To Avoid
- Not deburring. A rough edge slices O-rings and causes leaks.
- PEX without sleeves on compression. It will oval and weep.
- Twisting push-to-connect while under side-load. Strap and align first.
- Forgetting to purge. Trapped water sprays fittings and drywall.
- Reusing old ferrules on new compression stops. Don’t. Use new nuts and ferrules.
When Not To Use This Method
- Main service valves 1-in and larger with heavy flow. Use proper shut and lock-out.
- Brittle polybutylene or damaged pipe. Replace the section first.
- Hidden locations without an access panel. You need visibility.
- Systems with backflow into the branch (circuits, recirc loops) you can’t isolate safely.
Conclusion
The core idea is simple: isolate at the branch, not the building. This shutoff valve hack cuts most small service calls to 15–20 minutes, protects tenants, and reduces callbacks. Next steps: 1) Stock 1/2-in push and slip valves; 2) Practise the purge-and-swap flow; 3) Add access panels where needed.
Want to save time in the office too? Capture job notes with solutions like Donizo, turn voice and photos into proposals, get e-signatures fast, and convert approved work to invoices in one click. Keep moving forward—small time wins stack up.