Intro
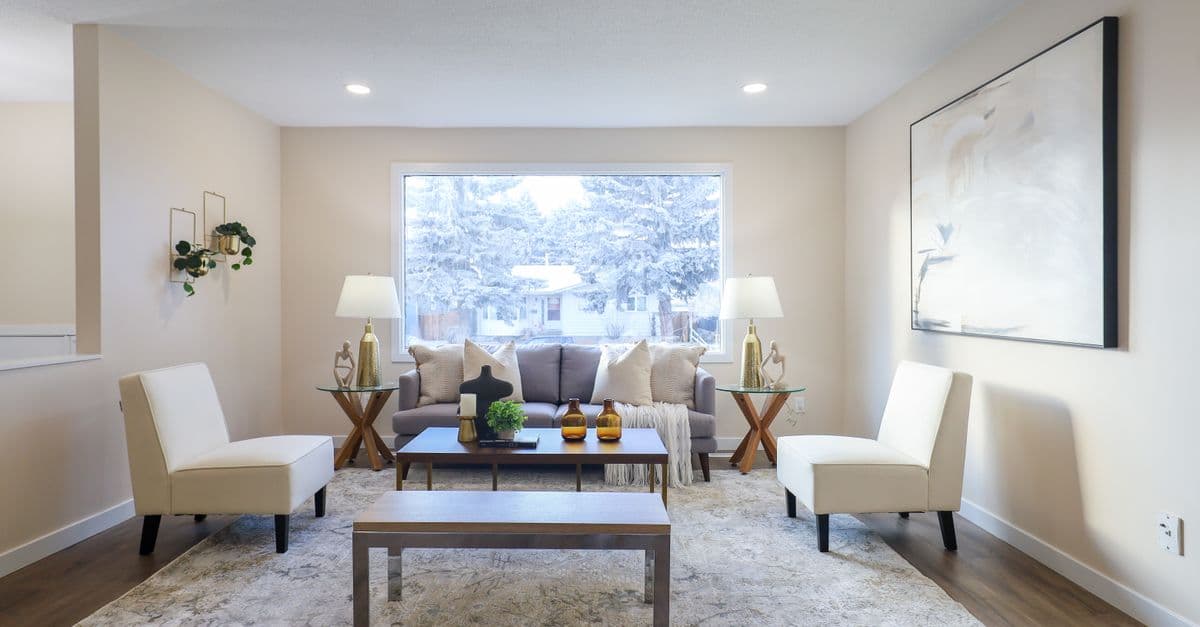
Clients ask for “The Porsche Floor” because they want a clean, glossy, showroom look. The Porsche Floor is a high‑build, seamless system that resists stains, hot‑tyre pickup, and daily wear. You can deliver it with polished concrete plus guard, or with an epoxy/polyaspartic coating stack. This guide explains what The Porsche Floor is, where it fits, and how to install it right. We’ll cover prep, moisture testing, steps, cure times, slip resistance, and care. Follow this and you’ll hand over a floor that looks like a car showroom and holds up in a working garage.
Quick Answer
The Porsche Floor is a premium, seamless concrete finish that looks like a car showroom and cleans fast. Most contractors build it using a 100% solids epoxy base with a polyurethane or polyaspartic topcoat, or by polishing concrete to a dense gloss. Success depends on prep, moisture control, correct thickness, and cure times.
Table of Contents
Key Takeaways
- Moisture first: verify ASTM F2170 RH ≤ 75–85% before coating.
- Prep right: achieve ICRI CSP 2–3 for thin film systems.
- Typical build: 300–600 microns (12–24 mil) total thickness.
- Work in the window: 10–30°C and ≤ 60% ambient RH during install.
- Return to service: light foot traffic 12–24 hours; vehicles 48–72 hours.
What Is The Porsche Floor?
Clients picture a glossy, mirror‑like floor with tight edges and crisp lines. The Porsche Floor is a performance concrete finish with two common paths:
- Polished concrete: grind, hone, polish to about 1,500 grit, then apply a penetrating densifier and a stain‑guard. Easy to maintain. Non‑yellowing. Needs a good slab.
- High‑build coating: 100% solids epoxy primer and body coat, optional flakes, then a UV‑stable polyurethane or polyaspartic topcoat. Hides more defects. Great chemical resistance.
Both deliver that showroom look. Choose based on slab condition, moisture, timeline, and budget.
Plan The Porsche Floor
Before you quote or cut, plan the system around the site.
Assess The Slab
- Strength and age: concrete should be at least 28 days old.
- Flatness: aim for an FF/FL that won’t telegraph waves. Fix low spots now.
- Moisture: test per ASTM F2170 (in‑situ RH). Many systems allow ≤ 75% RH; some go to 85% with primers. If you still use ASTM F1869 (MVER), look for ≤ 3–5 lb/1,000 ft²/24 h.
Choose The System
- Want fastest return to service? Go epoxy base plus polyaspartic top. Many crews walk it in 12–16 hours; vehicles after 48 hours.
- Want the most natural look? Polish to 800–1,500 grit and guard. Plan 2–3 passes per grit.
Set Environmental Controls=
- Install between 10–30°C with ambient RH ≤ 60%.
- Keep slab temperature at least 3°C above dew point to prevent blush.
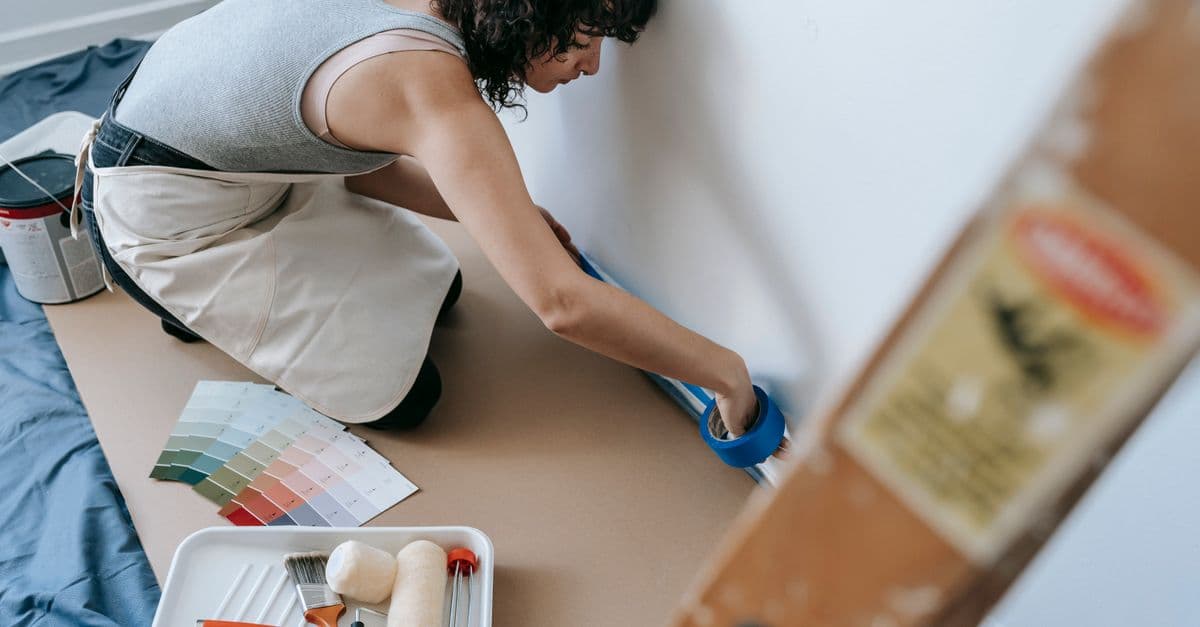
Define Edges And Layout
- Tape clean lines at walls, posts, and drains.
- Plan expansion joint treatment. Usually honour saw‑cuts and fill with polyurea after coat one.
Surface Prep That Makes Or Breaks It
Most failures start here. Don’t skip steps.
Cleaning And Mechanical Prep
- Remove oils with a proper degreaser. Rinse and dry.
- Diamond grind to open the surface. Start around 30/40 grit metals, then 80, then 150 as needed.
- For coatings, target ICRI CSP 2–3 using grinding or light shot‑blast.
- Vacuum with a HEPA extractor. Floor must be dust‑free.
Crack And Spall Repair
- Chase cracks 6–12 mm wide with a V‑groove.
- Fill with fast‑set epoxy or polyurea. Shave flush in 20–45 minutes.
- For spalls, patch with epoxy mortar (2–5 mm as needed). Feather smooth.
Moisture And Priming
- Confirm RH readings again after prep.
- Use a moisture‑tolerant epoxy primer if RH is high but within product limits.
- Typical coverage varies 3.5–6.0 m²/L depending on viscosity and profile.
Install The Porsche Floor: Step-by-Step
This section covers the coating route, which most clients choose for that deep gloss.
-
Mix The Primer
- Use 2:1 or 1:1 ratio per manufacturer. Mix 2–3 minutes. Avoid whipping air.
- Pour in ribbons and spread with a 6–10 mm notched squeegee. Back‑roll 10–15 minutes after laydown.
-
Broadcast Or Not
- If you want subtle texture, broadcast 40–60 mesh aluminium oxide at 100–200 g/m² into the wet primer.
- For a flake look, full‑broadcast vinyl flakes at ~500–700 g/m².
-
Body Coat
- Apply 100% solids epoxy at 200–350 microns (8–14 mil). Coverage around 4–6 m²/L.
- Back‑roll north–south, then east–west. Work wet‑edge to wet‑edge.
-
Joints And Edges
- Honour existing joints. After the body coat gels, saw‑cut clean and fill with polyurea. Shave in 15–30 minutes.
- Use a brush to pull clean lines at walls and drains.
-
Topcoat (Polyurethane Or Polyaspartic)
- Use a UV‑stable aliphatic product. Typical film 100–250 microns (4–10 mil).
- Add a fine slip‑resist if needed (40–200 mesh). Aim for a wet dynamic coefficient of friction ≥ 0.42.
- Recoat windows: polyaspartic 45–90 minutes; polyurethane 6–12 hours. Follow data sheets.
-
Curing And Turnover
- Light foot traffic: 12–24 hours.
- Vehicle traffic: 48–72 hours.
- Full chemical cure: commonly 5–7 days. Advise clients to wait for harsh cleaners.
For polished concrete, follow a grind/hone/polish path: 30/70/120 metals, then 100/200/400 resins, densify around 200–400 grit, polish 800–1,500, apply guard, then high‑speed burnish.
Quality Checks, Safety, and Maintenance
Deliver the gloss, then make sure it lasts.
Quality Checks
- Film thickness: spot‑check with a wet‑film gauge during install. Target the planned 300–600 microns total.
- Pinholes/holidays: use raking light. Back‑roll to close. If needed, apply a second topcoat.
- Adhesion: a basic cross‑hatch test after cure can flag weak prep.
Safety And Slip Resistance
- Garages get wet. Add fine aggregate to meet site needs. Test a small area.
- Keep ventilation good. Many 100% solids systems are low‑VOC, but always run fans.
Maintenance Plan
- First 7 days: damp mop only. No pressure washing.
- Long term: neutral pH cleaner, soft pads. Avoid harsh solvents.
- Touch‑ups: for scuffs, abrade lightly with 220–320 grit and spot recoat.
- Offer annual inspections. Many contractors find this brings 1–2 extra small jobs per year.
Pricing, Proposals, and Client Expectations
Good floors start with clear expectations on look, texture, schedule, and care.
- Site visit checklist: slab moisture (F2170), cracks/spalls count, floor area (m² and ft²), edges, drain count, joint length (m). Take 8–12 photos.
- Options menu: offer good/better/best. Example: epoxy/PU, epoxy/polyaspartic, polished concrete. List thickness, cure time, and slip level.
- Timelines: be exact. “Day 1 prep. Day 2 coat. Day 3 top. Drive on Day 5.”
- Warranty: define what’s covered. Hot‑tyre pickup, chemical stains, telegraphing, and substrate movement should be addressed in writing.
For fast, clean paperwork, capture details with tools like Donizo. You can record notes by voice on site, generate a branded PDF proposal, send it by email with a client portal, get an e‑signature, and convert to an invoice in one click. This reduces back‑and‑forth and locks the scope.
Internal linking ideas for your site:
- Link the phrase “professional proposals” to your proposals guide.
- Link “project timelines” to a scheduling article.
- Link “invoice templates” to your invoicing resources.
- Link “pricing strategies” to a markup and margin explainer.
Conclusion
The Porsche Floor delivers a glossy, durable finish clients love. Success comes from moisture testing, right surface profile, correct film build, and tight cure windows. Next steps: 1) run F2170 tests and document results, 2) choose a system and thickness, 3) script a 2–3 day schedule with clear cure times. For clean paperwork and fast approvals, platforms such as Donizo help you capture job details, send proposals, collect e‑signatures, and invoice smoothly. Build it right, hand over a simple care plan, and your floor will sell your next job.