Intro
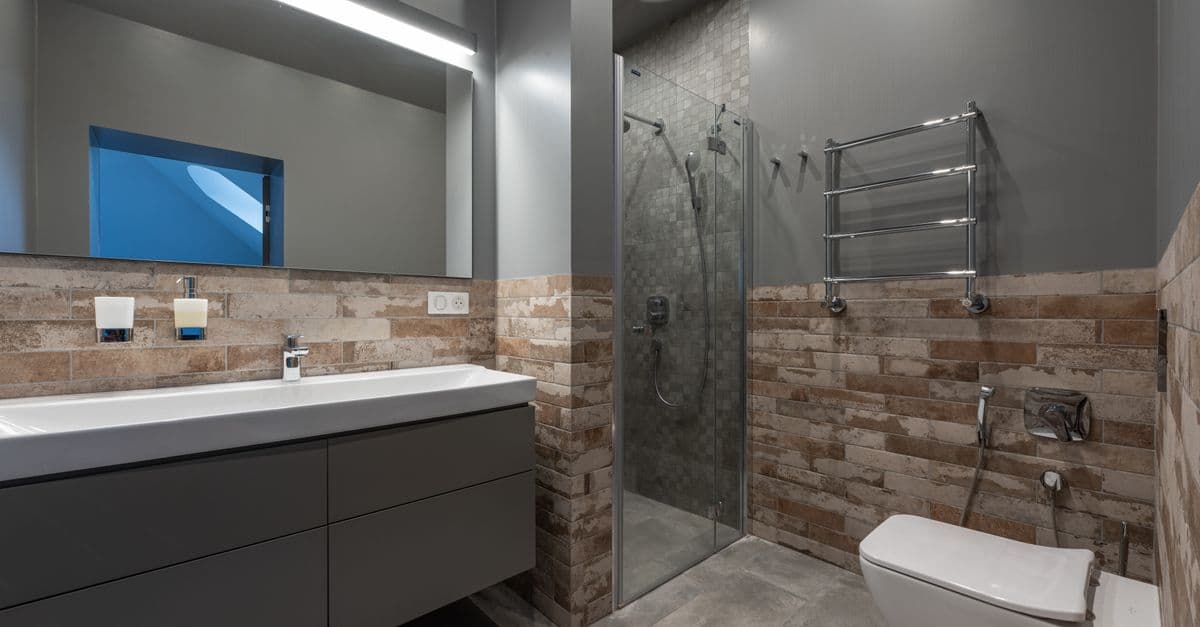
On most bathroom jobs, the neatest work is hidden. A wall-anchored faucet connector (for a tap/faucet) locks your outlets and hoses to the wall so nothing moves when the client opens the tap. A Wall-Anchored Faucet Connector for Secure Plumbing Installation stops strain on joints, keeps valves aligned, and reduces callbacks. In this guide, you’ll learn why it matters, what to use, and how to install it step by step. We’ll cover backing boards, fixing methods, test pressures, and simple checks. Follow this and you’ll get a clean, rock-solid finish behind every vanity or basin.
Quick Answer
A Wall-Anchored Faucet Connector for Secure Plumbing Installation fixes your outlets, valves, and braided hoses to solid backing so connections don’t twist or leak. Fit 18 mm backing, use proper anchors (M6/No.10), keep outlets square and level, and pressure test for 10 minutes. It saves time later and stops movement-based leaks.
Table of Contents
Key Takeaways
- Solid backing: 18 mm ply between studs gives a strong, lasting fix.
- Keep outlets level within 1–2 mm over 150 mm centres.
- Typical basin height: 500–650 mm to outlet, check the spec.
- Pressure test for 10 minutes; fix any weeps before closing.
- Allow sealant to cure 24 hours where used around penetrations.
Why Use a Wall-Anchored Connector
Movement causes leaks. When hoses twist or valves float, compression olives can weep, and threads can back off. A Wall-Anchored Faucet Connector for Secure Plumbing Installation prevents that. You anchor the outlets and valves, then connect the tap. Nothing turns, nothing strains.
Contractors often report fewer callbacks after switching to anchored connectors. It also makes future service easier. The isolation valves sit square and accessible. Your pipework looks sharp when the vanity is open. That’s what clients notice.
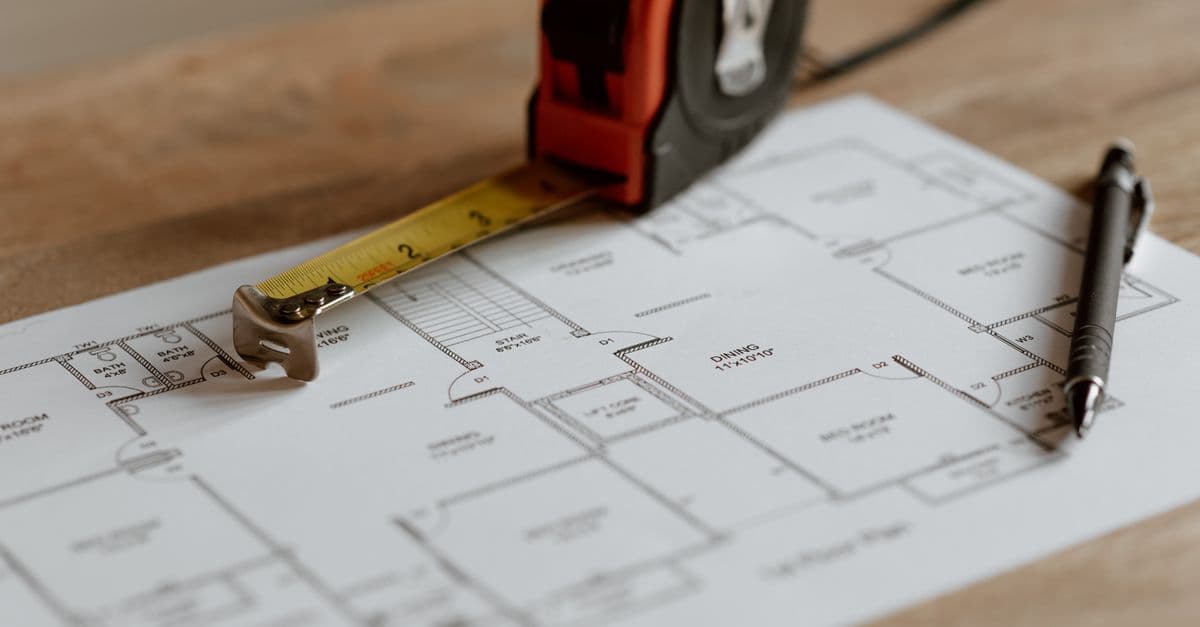
Planning, Backing, and Code Basics
Good jobs start with layout. Mark your centreline first. Check the tap data sheet. Many monobloc taps need flexible connectors dropping 300–500 mm. For twin feeds, hot usually left, cold right. Keep your outlets roughly 150 mm apart (or as the tap needs), and level within 1–2 mm.
- Backing: Fit 18 mm plywood between studs, at least 300 mm wide. Fix with two screws per stud, minimum 50 mm embed.
- Height: Common basin outlet height is 500–650 mm from finished floor level (FFL). Match the vanity and trap fall.
- Pipe size: 15 mm copper or PEX is typical for UK basin feeds. Use WRAS-approved components.
- Fasteners: Use M6 or No.10 screws into timber, or 6–8 mm masonry anchors in blockwork. Aim for 35–45 mm embed into solid material.
- Codes: Follow local water regs and manufacturer instructions. Don’t mix metals without proper isolation. Always fit serviceable isolation valves.
A Wall-Anchored Faucet Connector for Secure Plumbing Installation should always be planned before plasterboard goes on. That way your penetrations land clean, and your brackets line up.
Have this ready before you start:
- Wall anchor bracket/plate for outlets or valve support
- 18 mm ply backing board (cut to suit stud spacing)
- 15 mm copper or PEX, elbows, clips, isolation valves
- Braided stainless connectors 300 mm or 500 mm, 1/2" BSP female
- M6/No.10 screws, 6–8 mm wall plugs or suitable anchors
- Drill/driver, 6 mm masonry bit, hole saws (20–30 mm)
- Spirit level, tape, pencil, stud finder
- PTFE tape (for male threads), jointing compound if specified
- Silicone sealant for wall penetrations
- Pressure test kit/gauge
This setup delivers a Wall-Anchored Faucet Connector for Secure Plumbing Installation that stands up to daily use.
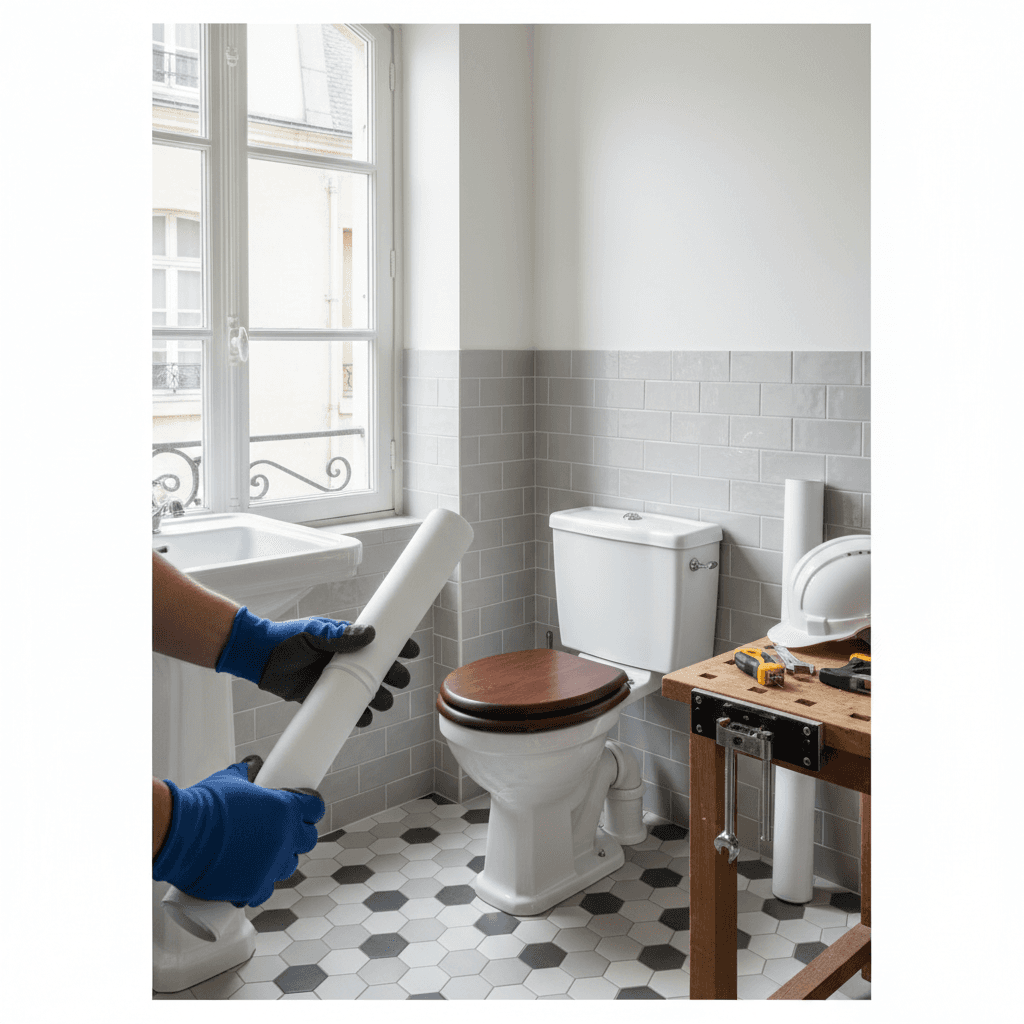
Step-by-Step: Wall-Anchored Faucet Connector for Secure Plumbing Installation
Follow these numbered steps for a clean, reliable fit.
-
Mark Out
- Snap a vertical centreline.
- Mark hot/cold positions, commonly 150 mm apart on centres.
- Set outlet height, typically 500–650 mm FFL. Confirm vanity and trap.
-
Fit Backing
- Open the wall if needed. Install 18 mm ply backing between studs.
- Fix with at least 2 screws per side, 50 mm embed.
- Check the face is flush or slightly recessed behind plasterboard line.
-
Rough-In Pipework
- Run 15 mm feeds to your outlet positions.
- Leave 30–40 mm stub projection past the finished wall line (or as bracket requires).
- Clip pipes every 500–600 mm to prevent drumming.
-
Mount the Anchor Bracket
- Offer up the bracket/plate. Level it.
- Drill and fix using M6/No.10 screws into timber or 6–8 mm anchors in masonry.
- Confirm it’s rigid. No wobble.
-
Fit Valves/Outlets
- Install isolation valves or outlet elbows onto the bracket.
- Seal male threads with PTFE tape if required by the fitting.
- Tighten compression joints 1/2 to 3/4 turn past finger-tight. Don’t overdo it.
-
Pressure Test the Rough-In
- Cap outlets. Pressurise the circuit with water.
- Hold for 10 minutes. No pressure drop, no damp. Fix weeps now.
- In general, test up to 1.5× working pressure, within fitting ratings.
Done right, you now have a Wall-Anchored Faucet Connector for Secure Plumbing Installation that won’t budge when the client uses the tap.
Testing, Commissioning, and Troubleshooting
A few extra minutes here saves hours later.
- Visual checks: Every nut, every joint. Tissue test each connection.
- Movement: Hold the valve and gently pull the hose. The bracket should not flex.
- Noise: If you hear knocking, add an extra pipe clip within 300–400 mm of the valve.
- Weeps on compression: Back off, re-seat the olive, re-tighten 1/2 turn. Replace olive if scored.
- Drips at braided hose: Check fibre washer is present and clean. Do not use PTFE on a flat-faced union.
- Low flow: Check debris in aerator; flush for 2–3 minutes.
A solid Wall-Anchored Faucet Connector for Secure Plumbing Installation should pass a 10-minute pressure hold and a full-flow test without noise.
Pro Tips, Pricing, and Documentation
- Pre-drill pilot holes. It reduces splitting in 18 mm ply and speeds up fixing.
- Pre-assemble valves on the bench. Then mount as a unit. Saves 10–15 minutes.
- Use offset plates to fine-tune level over 3–5 mm if the wall is out.
- Photograph the open wall with a tape in frame. It proves backing location later. This also helps when creating professional proposals and change notes — great anchor text here would be “professional proposals”.
- Pricing: Many contractors price a fixed rate for “anchored basin feeds”, then add extras for awkward walls or stone drilling. Consider adding a line for “pressure testing and commissioning”. Good internal link anchor text might be “pricing bathroom plumbing packages”.
- Handover: Note isolation valve positions on your job sheet. Clear notes reduce callbacks. Useful anchor text here: “client handover checklist”.
A tidy Wall-Anchored Faucet Connector for Secure Plumbing Installation looks professional and cuts risk. Small habits here protect your margin.
Frequently Asked Questions
What is a wall-anchored faucet connector?
It’s a method and hardware setup that anchors tap (faucet) outlets, valves, and hoses to solid backing. A Wall-Anchored Faucet Connector for Secure Plumbing Installation stops movement, protects joints, and keeps everything square and serviceable.
Do I need a backing board?
Yes, in most cases. 18 mm plywood backing between studs gives a solid fixing. It keeps the bracket rigid and makes the Wall-Anchored Faucet Connector for Secure Plumbing Installation reliable over time.
What height should I set the outlets?
Commonly 500–650 mm above finished floor for basins. Always check the vanity and trap layout. Keep hot left and cold right, and level within 1–2 mm.
How long should I pressure test?
Hold for around 10 minutes with no drop and no visible damp. In general, test to 1.5× working pressure, within fitting ratings, and always follow manufacturer guidance.
Can I use flexible hoses with isolation valves?
Yes. Use WRAS-approved braided hoses (300 or 500 mm are common). Fit full-bore isolation valves on the anchored bracket. Don’t twist the valve when tightening unions.
Conclusion
A Wall-Anchored Faucet Connector for Secure Plumbing Installation keeps your feeds fixed, square, and leak-free. Plan your heights, fit 18 mm backing, use proper anchors, and test for 10 minutes before closing. Next steps: 1) Add backing on every bathroom first fix, 2) Standardise your bracket and valve kit, 3) Photograph and note positions for handover. When you’re pricing or documenting site details, tools like Donizo help you capture photos and notes, turn them into a proposal, and convert to an invoice once the client signs. Build this method into your workflow and reduce callbacks on every job.