Introduction
If you’ve ever hung an over‑the‑range microwave solo at 6 p.m. in a tight kitchen, you know the pain: a heavy unit, fussy templates, and duct options that can make or break performance. This guide walks you through what matters (anchorage, power, and venting), why it matters (fewer callbacks, cleaner air, safer installs), and how to do it right first time with practical steps you can use today.
Table of Contents
Key Takeaways
- Many OTR units weigh 50–75 lb; a wall plate plus top‑cabinet bolts carry the load—stud hits beat toggles every time for fewer callbacks.
- In general, a 6‑inch round or 3.25×10‑inch duct with minimal elbows keeps airflow; long runs and sharp turns commonly cut capture by more than half.
- Manufacturer clearances often allow 13–16 inches from cooktop to microwave bottom; follow the listing to stay code‑compliant and safe.
- Most brands call for a dedicated 120V, 15/20A circuit; sharing with countertop loads is a common cause of nuisance trips and service calls.
- Photo‑documented assumptions in your proposal reduce back‑and‑forth and can save 1–2 hours per job in many small teams.
Plan the Opening and Power
Many contractors rush the layout and pay for it later with misaligned brackets, doors that hit tiles, or breakers that trip.
What Goes Wrong
- Cabinets out of square or a short top cabinet depth (often around 12 inches) leave the unit’s top bolts barely catching.
- No dedicated circuit: the microwave competes with countertop appliances and trips under load.
- Clearance confusion: range to bottom of microwave varies by listing; guessing invites heat damage or code issues.
Do It Right
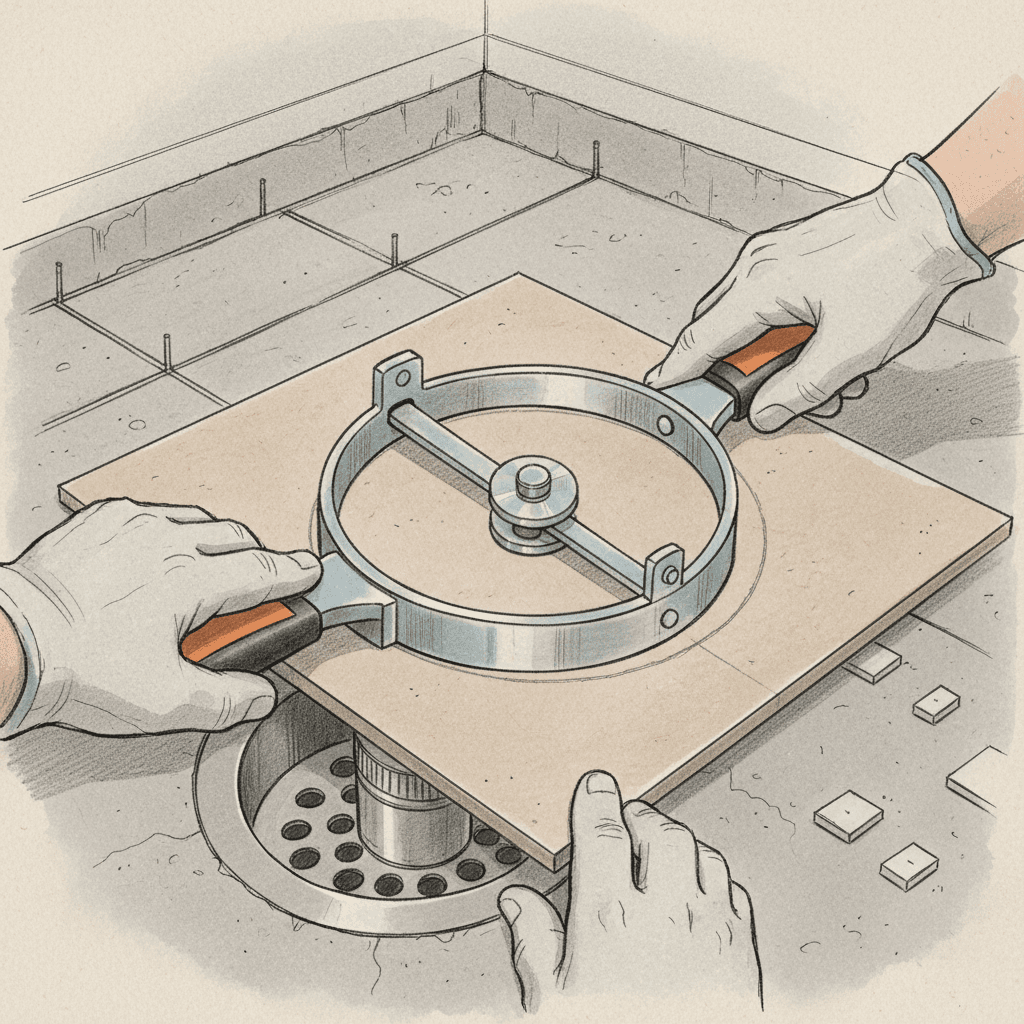
- Verify the space: Most OTR units fit a 30‑inch opening with a 12–13‑inch deep top cabinet. Shim or plane cabinet bottoms to level if needed.
- Confirm clearances: In general, listed OTR clearances allow roughly 13–16 inches from cooktop to unit bottom, but always follow the manufacturer’s template.
- Power check: Provide a dedicated 120V, 15/20A circuit as manufacturers commonly require. Keep the receptacle in the top cabinet, oriented to avoid the unit’s top chassis.
- Wall structure: Find studs (often 16 inches on center). Note tile, plaster, or masonry—fastener strategy changes with substrate.
Example
On a tiled wall with a single centered stud, we located a second stud 16 inches left, set the wall plate to catch both studs, and drilled the top cabinet holes per the template. The unit seated level on the first try and avoided toggle reliance in tile, preventing future loosening. Many contractors find this approach cuts install time by 20–30 minutes versus “drill and hope.”
Mounting That Does Not Slip
The wall plate carries the back of the unit while two top bolts through the cabinet lock the front. Poor fastening is the number one source of sag and rattles.
What Goes Wrong
- Using light toggles into gypsum without a stud hit—fine at first, then sag.
- Over‑torquing cabinet bolts, crushing particle board and loosening later.
- Skipping a dry hang: holes off by less than 1/8 inch can bind the chassis.
Do It Right
- Plate placement: Use the factory template and a laser. Where possible, land at least one, ideally two, lags into studs. Pre‑drill to avoid splitting.
- Anchors: If you must use toggles, use steel toggles sized for the tile/backer thickness. In general, two stud lags plus two toggles handle typical OTR loads with margin.
- Cabinet reinforcement: Add a hardwood strip inside particle‑board cabinets to spread bolt loads. Large fender washers help prevent crush.
- Dry hang: With a helper, hook the unit to the plate without tightening, confirm top holes align, then set the bolts. This 2‑minute step commonly prevents rework.
Example
A 54‑lb unit over mosaic tile used two 3‑inch lags into studs and two steel toggles where no stud was available. We added a 3/4‑inch hardwood spreader inside the top cabinet. After 6 months, the client reported zero rattle or sag—previously a frequent complaint.
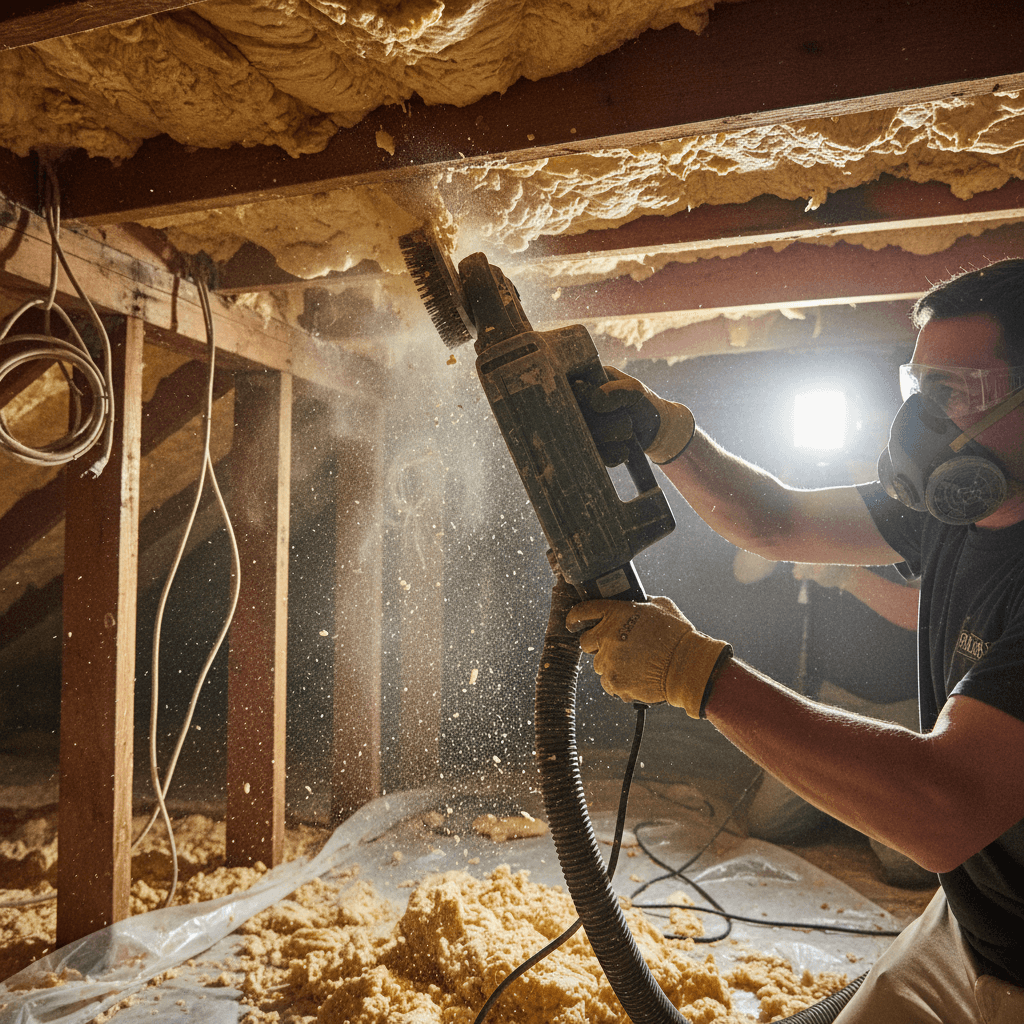
Venting That Actually Moves Air
An OTR microwave that recirculates by accident (wrong damper position) or pushes into a long, kinked duct won’t clear steam or smoke.
What Goes Wrong
- Damper set to recirculate when the client expects outside venting.
- Long runs with multiple 90‑degree elbows: commonly each 90 adds roughly 5–10 feet of equivalent length, quickly choking flow.
- Ducts terminating in attics or soffits—improper and moisture‑prone.
Do It Right
- Choose the path: Outside venting beats recirculation for capture and odors. Use 6‑inch round or 3.25×10‑inch rectangular ducting per the unit’s instructions.
- Keep it short and smooth: In general, manufacturers cap equivalent length around a few dozen feet; check the spec. Swap two 90s for swept elbows where possible.
- Seal smart: Foil tape on all joints. No screws protruding into airflow where lint can build.
- Terminate properly: Through‑wall or roof hood with a backdraft damper, exhausting outdoors. Commonly, dumping into an attic violates code intent and risks condensation.
Comparison: Recirculating vs. Ducted
| Feature | Current State | Improvement |
|---|
| Odor control | Charcoal filters only | Outdoor discharge removes most cooking pollutants |
| Steam capture | Limited over front burners | Higher capture with short, smooth duct |
| Maintenance | Filter replacement every few months | Check exterior hood and clean grease filters |
| Noise | Fan sounds loud with poor duct | Smoother duct often reduces perceived noise |
Example
A client wanted real smoke removal. We converted a recirculating setup to a 6‑inch round, 8‑foot straight run with one long‑sweep 90 to a wall cap. According to common field experience, this type of layout maintains far more airflow than flexible or multi‑elbow runs; the client noticed clearer air and less lingering odor on day one.
Finishing, Commissioning, and Handover
The last 15 minutes make or break the first impression—and your callback rate.
What Goes Wrong
- Skipping a damper test: it sticks, backdrafts, and the client complains about odor.
- Grease filters installed backward, raising noise and lowering capture.
- No demonstration of functions; client thinks the fan is weak when it’s on low.
Do It Right
- Level and reveal: Confirm even reveals to cabinets and tile. Adjust feet if provided.
- Power and function: Dedicated breaker on, clock set, light and fan on all speeds, surface light checked.
- Airflow test: Tissue check at the bottom of the unit and at the exterior hood. Feel for smooth discharge and damper movement.
- Filter and mode: Verify filter orientation and that the blower is set to “outside” vs. “recirculate” as specified.
- Client walk‑through: Show fan speeds, light, and basic care. Many contractors find a 3‑minute demo cuts support calls later.
Example
We run the fan on high for two minutes and check outside for warm, steady exhaust—simple, but it commonly catches a kinked connector before we leave. Document a quick photo of the exterior discharge; it’s proof if questions come up.
Client Communication and Simple Docs
Clear expectations up front save time and protect your margin.
What Goes Wrong
- Hidden conditions (no stud where needed, tile over gypsum, or a blocked vent path) discovered mid‑install.
- Scope drift: client assumes exterior venting is included when the price only covered recirculation.
Do It Right
- Capture reality: Take 5–8 photos—opening, studs, cabinet interior, proposed vent path, exterior discharge point.
- Spell out assumptions: Power availability, vent type (ducted vs. recirc), patch/paint exclusions, and any expected cabinetry shims.
- Get a signature before ordering parts: Many contractors report this simple step prevents “he said, she said” later.
- Keep it tight: If the client wants outside venting, list duct size, run length, elbows, and termination type right in the proposal.
Where Donizo Helps
- Use Donizo to speak your site notes—voice, text, and photos—into a clean, branded proposal in minutes.
- Send for acceptance with built‑in e‑signature; many small teams find this shrinks approval turnaround from days to hours.
- When the client signs, convert to an invoice in one click and track payment status without re‑typing.
Frequently Asked Questions
Do I Need a Dedicated Circuit for an Over‑the‑Range Microwave?
Most manufacturers call for a dedicated 120V, 15/20A circuit. While some units will run on a shared small‑appliance circuit, it’s common for shared circuits to nuisance‑trip when the microwave and countertop loads run together. Always follow the installation manual and local electrical code.
How High Above the Range Should the Microwave Sit?
In general, listed OTR microwaves allow roughly 13–16 inches from the cooktop to the bottom of the unit, but this varies by brand and model. Follow the manufacturer’s template—these clearances are part of the product listing and take precedence over generic rules.
What Duct Size Works Best?
Most OTR units are designed for 6‑inch round or 3.25×10‑inch rectangular duct. Keep runs short with as few elbows as possible. Commonly, multiple tight elbows and long runs reduce effective airflow significantly, which is why a simple, straight path performs best.
Can I Vent Into the Attic or a Soffit?
No. Kitchen exhaust should terminate outdoors through a wall or roof cap with a backdraft damper. Venting into attics or enclosed soffits is improper and can lead to moisture issues and odors.
What If I Cannot Hit Two Studs With the Wall Plate?
Land at least one lag into a stud and use steel toggles for the remaining holes, sized for the total wall thickness (tile, backer, drywall). Reinforce the top cabinet with a hardwood strip and large washers to prevent crushing when tightening the bolts.
Conclusion
Over‑the‑range microwaves look simple but punish shortcuts. Nail the opening and power, anchor to structure, keep the duct short and smooth, and hand over with a quick demo. You’ll cut callbacks and finish faster. Want to capture scope and get approvals without late‑night typing? Speak your site notes and photos into Donizo to create a signable proposal, collect an e‑signature, and convert to an invoice in one click—so you can move from install to paid without extra admin.