Introduction
If you've ever had tile grout crack at the tub edge or soft spots show up behind soap dishes, it usually wasn't the tile—it was the substrate. This guide walks you through a reliable, callback-proof process to select, install, and waterproof backer boards around a tub that doubles as a shower. We'll cover what to use, why it matters, and how to do it step by step so your finishes last and your phone stays quiet.
Table of Contents
Key Takeaways
- Most tile failures trace back to substrate and waterproofing errors, not tile. Fix the base, and finishes last.
- Use one moisture strategy: either a rear barrier (poly) or a surface-applied membrane—not both.
- Maintain critical dimensions: 1/8–1/4 inch gap above the tub flange, fasteners about every 8 inches on studs, and slope flat ledges at 1/4 inch per foot.
- Waterproof to at least 72 inches above finished floor where the shower sprays; go higher if the spray reaches.
- Document conditions and approvals up front to prevent scope creep and callbacks.
Planning the Scope
Many contractors find tub surrounds get rushed because "it's just a small wet area." That thinking is what leads to hidden moisture and expensive returns.
Define the Wet Zone Clearly
- In many jurisdictions, walls around a tub used as a shower must be water-resistant to at least 72 inches above the finished floor or higher than the showerhead (whichever is higher).
- Include side walls that catch overspray—typically 3–6 inches beyond the tub lip.
Decide the Moisture Management Approach Early
- Rear barrier: 6 mil polyethylene or similar behind cement/fiber-cement board.
- Surface membrane: liquid-applied or sheet membrane over the face of the board.
- Pick one. Double-layering (poly plus surface membrane) can trap moisture.
Example
On a 5-foot alcove tub, define waterproofing on the back wall and both end walls up to 74 inches. Extend 3 inches past the tub front edge, and include any window returns inside the surround.
Select the Right Backer System
The wrong board costs time, blades, and patience. The right board fits the job and your crew’s workflow.
Compare Common Options
| Backer Type | Thickness (Typical) | Waterproofing Need | Fastener Spacing | Notes |
|---|
| Cement Board (CBU) | 1/2 inch walls | Requires surface membrane or rear barrier | About 8 inches o.c. on studs | Durable, heavy, dust when cut. |
| Fiber-Cement | 1/2 inch walls | Requires membrane or rear barrier | About 8 inches o.c. on studs | Stiffer edges, similar handling to CBU. |
| Foam Board (XPS/EPS with cement skin) | 1/2 inch walls | Often waterproof as a system with taped seams | Manufacturer-specific (often 12 inches o.c.) |
Selection Guidelines
- Heavy-use showers or quick schedules: foam board plus sheet membrane can save a day due to lower water absorption.
- Tight budgets but durable: cement or fiber-cement with liquid membrane.
- Avoid standard drywall in wet zones; it’s not rated for continuous water exposure.
Example
Rental turnover with limited downtime: foam backer with factory washers, seams taped with compatible banding, and a sheet membrane band at the tub-to-wall junction—ready for tile the next day.
Prep the Tub and Framing
If the tub isn’t level or the studs aren’t in plane, the board fights you and the tile shows it.
Verify the Tub Set
- Level the tub in both directions; shim ledger if needed. A 1/8 inch out-of-level across 5 feet telegraphs through tile.
- Clean the flange. Remove drywall remnants, caulk, and debris.
Plane the Studs
- Check with a 6-foot level or straightedge. Plane proud studs; sister or shim low ones.
- Aim for less than 1/8 inch deviation over 6 feet to control lippage on large-format tile.
Manage the Flange Offset
- If the tub flange sits proud, fur studs by about 1/4 inch so 1/2 inch board clears the flange without bending.
- Maintain a 1/8–1/4 inch gap from the bottom edge of the board to the top of the tub flange.
Example
On an older alcove, we shimmed three studs by 3/16 inch to bring the wall true, then added a continuous ledger to support a new steel tub rim. The board went on flat, and the bottom gap sat a clean 3/16 inch above the flange.
Install the Backer Correctly
Rushing fasteners and joints is how cracks start.
Cutting and Handling
- Cement/fiber-cement: score-and-snap works, but a carbide blade or diamond wheel improves edges. Pre-drill near corners to avoid blowout.
- Foam board: utility knife cuts; keep factory edges for seams where possible.
Fasteners and Spacing
- Cement/fiber-cement: use corrosion-resistant backer-board screws, typically 1-1/4 inch for 1/2 inch board. Fasten about every 8 inches on studs; keep fasteners at least 3/8 inch from edges.
- Foam boards: use manufacturer-approved screws and washers; spacing is often 12 inches o.c. on studs (check your brand).
Joints and Gaps
- Leave about 1/8 inch gap between boards for movement.
- Stagger vertical seams where possible; avoid four corners meeting.
- Do not let board rest on the tub deck. Keep the 1/8–1/4 inch gap above the flange.
Example
Back wall: three panels, seams offset from the mixer valve centerline. We used 1-1/4 inch backer screws at roughly 8 inches o.c., and all edges gapped 1/8 inch. Bottom edges stayed 3/16 inch above the flange.
Waterproof the Wet Zone
Tile and grout are not waterproof. The membrane is the defense.
Pick One Strategy
- Rear barrier (poly 6 mil): lap poly over the tub flange by about 1 inch, then trim flush after tile. Tape seams and staple near the top plate.
- Surface membrane (liquid or sheet): tie the wall membrane to the tub flange using banding and compatible sealant at the change of plane.
Liquid Membranes: Application Numbers That Matter
- Many products specify two coats at roughly 20–30 mils wet film thickness per coat to achieve around 8–12 mils dry film total. Use a wet film gauge.
- Typical recoat windows: 1–2 hours per coat depending on temperature and humidity.
- Embed alkali-resistant mesh tape in the first coat at seams and corners.
Sheet Membranes: Laps and Corners
- Maintain at least a 2 inch overlap at seams; preformed corners speed things up and reduce pinholes.
- Use compatible thinset or adhesive per the system; roll firmly to remove air.
Critical Heights and Transitions
- Waterproof to at least 72 inches above finished floor (or above showerhead height) in spray zones.
- Slope any horizontal surface (niche sill, window stool) at 1/4 inch per foot toward the tub.
Example
We applied liquid membrane in two coats, each checked at about 25 mils wet using a gauge. Seams and corners received mesh tape, and we banded the tub-to-wall junction with a compatible strip lapped 2 inches onto the wall and set with sealant over the flange.
Details: Edges, Penetrations, and Niches
These small items create most of the leaks.
Valve and Spout Penetrations
- Oversize holes slightly and sleeve with gaskets or sealant collars. Keep a 1/8 inch gap around pipes and fill with a compatible sealant.
- Use foam backers’ proprietary seals when available.
Outside Corners and Drywall Transitions
- Stop waterproofing just beyond the wet zone and finish the transition cleanly with appropriate joint treatment.
- Cap exposed board edges with tile trim; avoid exposed cement board edges.
Niches
- Use preformed waterproof niches or fully wrap site-built niches with sheet membrane. Liquid-only niches require meticulous thickness; many failures trace to thin coats here.
Bottom Edge at Tub
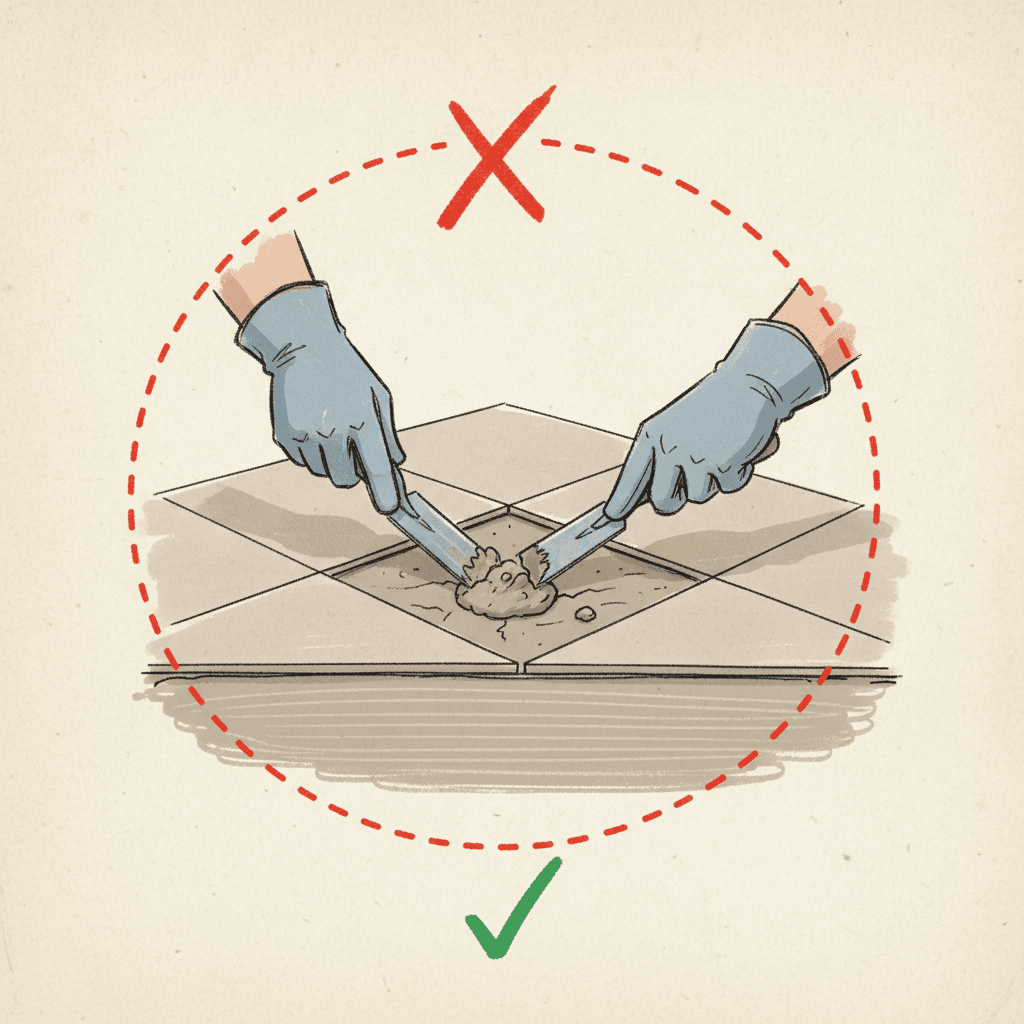
- After tile, fill the tile-to-tub gap (often about 1/8 inch) with a mold-resistant silicone. Don’t grout this joint; it’s a movement joint.
Example
We installed a preformed niche, banded the seams with 2 inch sheet strips, and verified 1/4 inch per foot slope on the sill. Valve and spout penetrations got factory gaskets, with a final silicone bead after trim-out.
Quality Checks and Signoff
A few small checks save hours later.
Field Checks Before Tile
- Fasteners: none proud, none within 3/8 inch of edges, spacing roughly 8–12 inches as per board type.
- Gaps: 1/8 inch between boards; 1/8–1/4 inch above tub flange.
- Waterproofing: continuous with no pinholes; seams lapped at least 2 inches; wet film thickness verified.
- Heights: coverage to 72 inches minimum or above showerhead.
Closeout Notes
- Photos: stud plane corrections, flange detail, and membrane gauge readings.
- Product log: record board brand, fastener type, membrane brand, and batch if available.
Example
We snap a final photo set: straightedge on walls, wet film gauge on the second coat, and a ruler showing 74 inches of waterproof height. Homeowner sees exactly what’s behind the tile.
Donizo Tip (Optional, Saves Time)
Capture site conditions and product choices with voice and photos, then generate a clear scope using Donizo. Clients can approve via e-signature, and once accepted, you can convert to invoice in one click. Many contractors find this cuts admin by a couple of hours per small bath.
Frequently Asked Questions
Can I Tile Over Drywall in a Tub Surround?
Drywall is not appropriate in direct spray zones. Use a rated backer (cement, fiber-cement, foam, or glass-mat with a surface membrane) where water hits. You can transition to drywall outside the wet zone, but keep the membrane overlapping that transition.
Should I Use Poly Behind the Board and a Surface Membrane on Top?
No—pick one strategy. Combining a rear barrier with a surface membrane can trap moisture within the wall cavity. Use 6 mil poly behind cement/fiber-cement board, or skip the poly and use a continuous surface-applied membrane.
How High Do I Need to Waterproof?
In general, waterproof to at least 72 inches above the finished floor or to the height of the showerhead, whichever is higher. If a handheld wand sprays higher or hits the ceiling, extend protection accordingly.
Can I Use Mastic for Wall Tile in the Surround?
Avoid organic mastic in wet zones. Use a polymer-modified thinset mortar appropriate for your tile and backer. Follow open time and cure times; many thinsets call for about 24 hours before grouting.
What If the Wall Is Bowed Over the Tub?
Plane or shim studs to less than about 1/8 inch deviation over 6 feet. If the tub flange sits proud, fur the studs (often around 1/4 inch) so the board hangs flat without bending across the flange.
Conclusion
When tub surrounds fail, it’s rarely the tile. It’s framing, fasteners, and membranes. Get the substrate flat, keep the right gaps, fasten on pattern, and install a continuous waterproofing layer tied to the tub flange. Do that, and you’ll see fewer callbacks and cleaner finishes. If you want to lock decisions fast, capture site notes by voice, send a branded PDF, and get a signed go-ahead with Donizo. Then flip the accepted proposal to an invoice without retyping and keep the job moving.