Pole Barn Posts in 57 Seconds Guide for US Homeowners
Master pole barn post installation with this 57-second guide for US homeowners and contractors. Learn essential steps for a strong, compliant structure.
Dig posts below local frost line to prevent costly frost heave
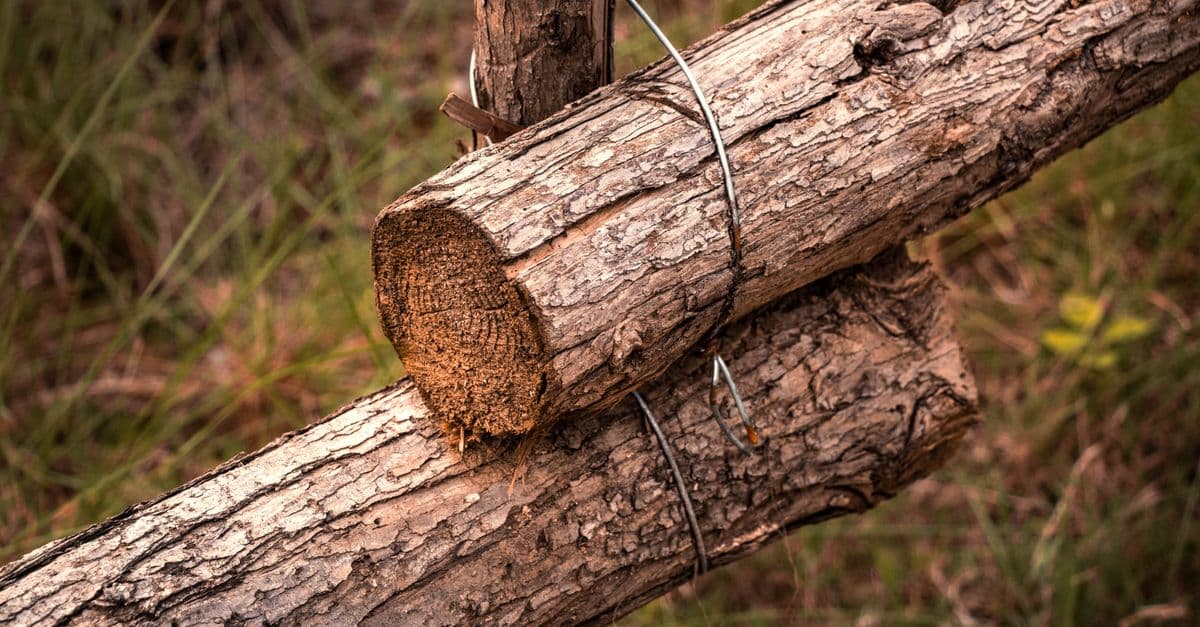
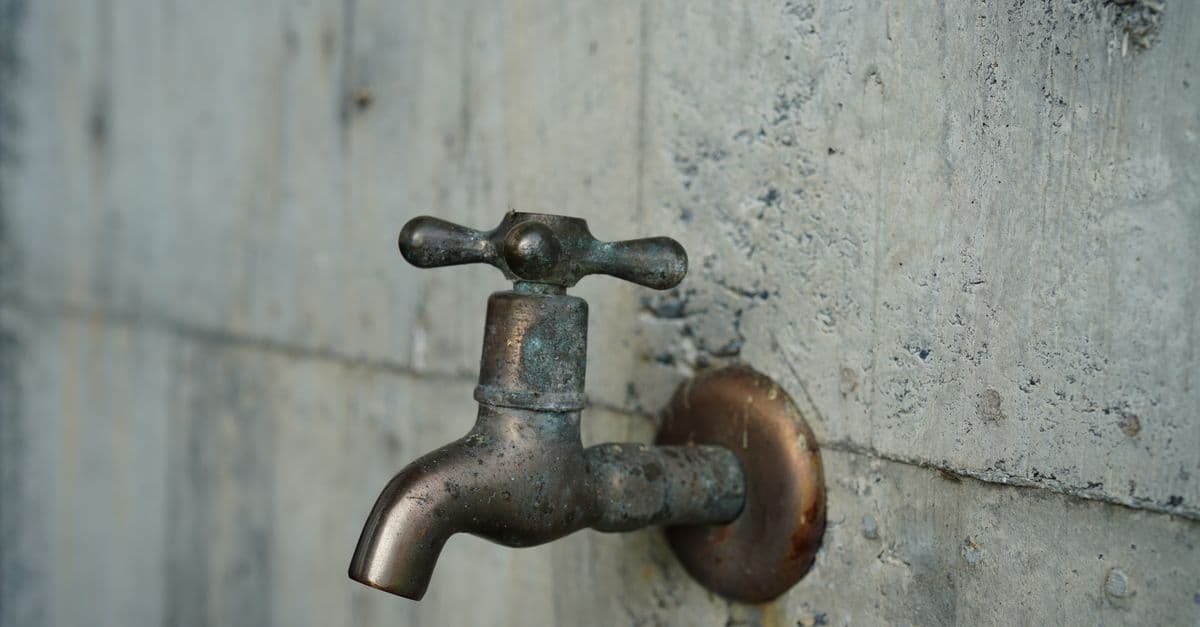
Select UC4A ground-contact treated lumber or stable laminated posts
Compact backfill in 6-inch layers for maximum post stability
Use string lines and levels for precise post alignment and plumb
You know what they say about a pole barn with a bad foundation? It's a hole-y mess. Jokes aside, getting your posts in the ground correctly is everything. It's the one part of a pole barn build where a small mistake early on becomes a giant, expensive headache later. Proper installation isn't just about digging a hole; it's about creating a foundation that will stand up to wind, snow, and time, all while keeping the local building inspector happy.
Why is Proper Pole Barn Post Installation Crucial for Durability?
I've seen beautiful barns start to lean after a few years because the posts weren't set right. It's heartbreaking. A pole barn, or post-frame building, gets all its strength from the posts transferring loads directly into the ground. There's no continuous concrete foundation to save you. If the posts move, the whole building moves.
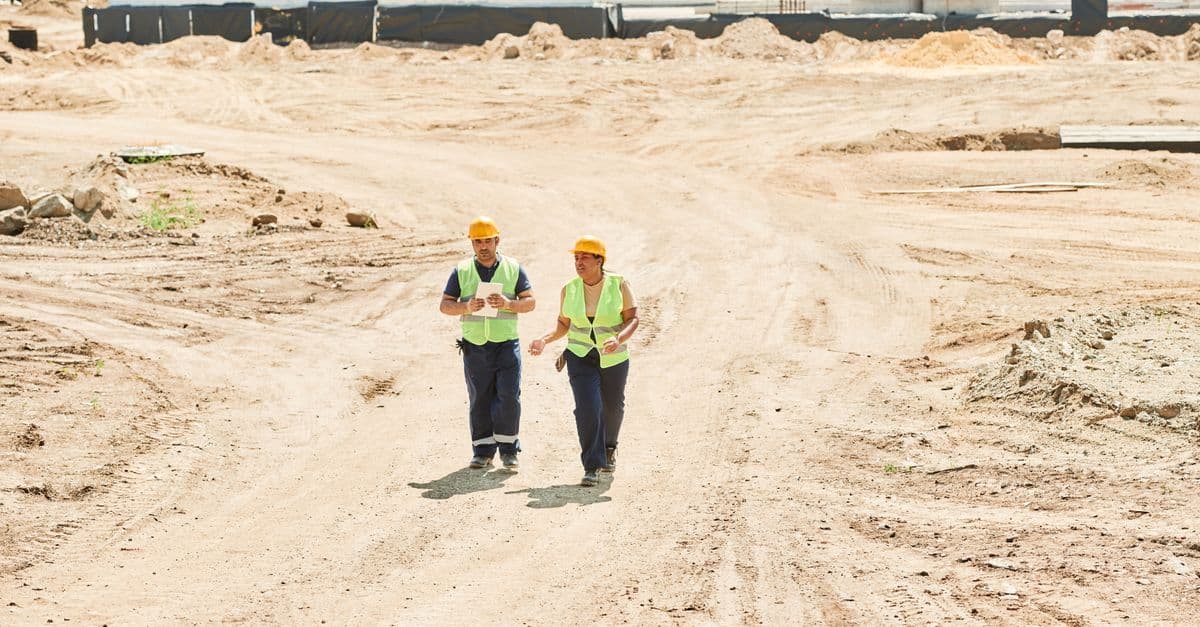
And then there's the paperwork. The local building department cares about compliance with codes like the International Building Code (IBC) or International Residential Code (IRC). But it doesn't stop there. Depending on the build, you might also have to consider EPA guidelines for site runoff or disposal of treated wood cutoffs, or even meet ENERGY STAR requirements if the barn is a conditioned space. For agricultural housing projects, HUD standards could even come into play. These codes exist to make sure the barn doesn't fail. Getting the post depth, diameter, and backfill right is non-negotiable for passing inspection and ensuring the building is safe Adherence to local building codes, such as those referenced by US regulatory bodies, is crucial for safe and compliant pole barn construction.
Choosing the Right Posts: Treated Lumber vs. Laminated Options
The posts you choose are a decision you'll live with for the life of the building . It’s not the place to save a few bucks. The two main contenders on any American jobsite are standard treated lumber and engineered laminated posts.
Solid-sawn treated lumber is the classic choice. We're talking 4x6, 6x6, or larger timbers pressure-treated with preservatives to resist rot and insects. The key here is the treatment level. For posts going into the ground, you need "ground contact" rated lumber, typically UC4A or higher. Don't let someone at the lumber yard sell you deck-post-grade material; it won't last.
The upside is cost and availability. You can find treated posts anywhere. The downside? They can warp, twist, and check as they dry. You have to pick through the pile to find straight ones, and even then, there are no guarantees.
Benefits of Laminated Posts in Post-Frame Construction
The bottom section that goes in the ground is still pressure-treated, but the upper section is not, which can make it easier to work with. The main drawback is cost. They are more expensive upfront, but they often save you time and trouble during construction because you're not fighting with twisted wood.
Pole Barn Post Type Selector
Feature
Solid-Sawn Treated Lumber
Laminated Posts
Cost
Lower upfront cost.
Higher upfront cost.
Strength
Good, but variable.
Excellent and consistent.
Stability
Prone to warping, twisting, and checking.
Very stable, straight, and uniform.
Durability
High (with proper ground-contact treatment).
Excellent (treated lower section).
Best For...
Budget-conscious projects, smaller structures.
Taller buildings, projects where straightness is critical.
Essential Tools and Materials for Setting Pole Barn Posts
Showing up to a job without the right gear is the fastest way to waste a day. Setting posts isn't complicated, but it requires some specific tools. Don't try to wing it.
Essential Tools:
Post Hole Digger or Auger: A gas-powered auger is your best friend. A manual "clamshell" digger is your character-building alternative.
Level: A 4-foot level is good; an 8-foot is better. A post level that straps on is even better.
String Line and Stakes: For laying out your building and keeping posts perfectly aligned.
Tape Measure: At least a 25-footer. A 100-foot tape is essential for layout.
Tamper: A manual tamper is crucial for compacting backfill. Don't just kick dirt in the hole.
Shovel and Digging Bar: For cleaning out holes and breaking up tough soil or rocks.
Circular Saw or Chainsaw: For cutting bracing.
Required Materials:
Posts: Your chosen treated or laminated posts.
Gravel: 3/4" clean crushed stone for the base of the hole.
Concrete Mix: If you're setting in concrete, get standard bagged mix.
Bracing Lumber: Plenty of 2x4s and 2x6s for temporary bracing.
Screws or Nails: For attaching the bracing.
Safety Gear:
Gloves: Protect your hands from splinters and blisters.
Safety Glasses: Dirt and rocks fly, especially with an auger.
Steel-Toed Boots: You're working with heavy posts and digging equipment.
How to Install Pole Barn Posts Efficiently?
Alright, let's get to work. Follow these steps, and you'll have a foundation as solid as your morning coffee.
Prepare the Site and Layout. Clear the area of all vegetation and debris. Using your building plans, drive stakes to mark the corners of your building. Run string lines tightly between them to represent the outside face of your posts. Mark the precise center for each post hole along these lines. Double-check your diagonal measurements to make sure your layout is perfectly square. An hour with a tape measure now saves a week of headaches later.
Dig the Post Holes. Your plans or local code will specify the depth and diameter. Depth is critical; it needs to go below the frost line to prevent heave. A typical hole is 18–24 inches in diameter and at least 4 feet deep. Dig all your holes first. Once you start setting posts, you want to keep moving. After digging, drop 6 inches of gravel into the bottom of each hole and tamp it down. This provides a solid footing and helps with drainage.
Set and Plumb the Posts. This is a two-person job. Stand the first corner post in its hole. Use a level on two adjacent faces to get it perfectly plumb (vertical). Have your helper hold it steady while you attach temporary 2x4 braces. Run these braces from the post down to stakes driven into the ground a few feet away. Don't skimp on bracing; the wind will find your one wobbly post, I promise. Once the first post is set, move to the next, using the string line to ensure perfect alignment.
Backfill the Holes. You have two main choices: concrete or gravel.
Concrete: Pour dry concrete mix into the hole around the post, adding a little water at a time. This creates a solid collar. A full concrete encasement is rarely necessary and can sometimes trap moisture against the wood. A concrete collar at the top 1/3 of the hole is often sufficient.
Gravel: Backfill with crushed gravel, tamping it down firmly every 6 inches. This method provides excellent drainage and locks the post in place through compaction. For most soils, this is my preferred method. It's faster, cheaper, and arguably better for the longevity of the post.
Install Permanent Bracing. The temporary 2x4s will hold things steady, but you'll want to install your permanent girts and truss carriers as soon as possible to lock the structure together. The temporary braces should stay in place until the roof structure is on and the frame is rigid.
Pole Barn Post Installation Checklist
Site cleared and leveled.
Building corners staked and squared (diagonals match).
String lines run for post alignment.
Post locations marked accurately.
Holes dug to specified depth and diameter (below frost line).
6" gravel base added and tamped in each hole.
First corner post set, plumbed, and temporarily braced.
Remaining posts set, aligned to string line, and braced.
Holes backfilled with gravel or concrete, compacted in layers.
All posts re-checked for plumb and alignment before permanent framing begins.
Avoiding Common Mistakes in Pole Barn Post Installation
I've been called in to consult on projects where the "quick and easy barn" turned into a nightmare. Almost always, the problems started right here, in the ground. Here’s what not to do.
Another classic is sloppy layout. If your posts are not in a perfectly straight line, attaching girts and siding becomes an exercise in frustration. Use a tight string line and measure everything three times. The motto is "measure twice, cut once," but for foundations, I'd say "measure three times, dig once."
Finally, inadequate backfilling is a silent killer. Just shoveling loose dirt back into the hole is useless. You must compact your backfill, whether it's gravel or soil, in 6-inch lifts (layers). A post that can wiggle in its hole when you're done is a post that will fail.
Common Pole Barn Post Installation Mistakes to Avoid
Incorrect Depth: Not digging below the local frost line.
Poor Alignment: Setting posts by eye instead of using a string line.
Out of Plumb: Failing to use a level on two sides of each post.
Insufficient Bracing: Using flimsy temporary braces that allow posts to move.
Inadequate Backfill: Dumping fill material without compacting it in layers.
No Gravel Base: Setting the post directly on soil, which can lead to settling and poor drainage.
Wrong Post Treatment: Using posts not rated for ground contact (look for UC4A or better).
Solid Footings, Solid Reputation
So, there you have it. Setting pole barn posts isn't black magic, but it demands precision and patience. Get the layout right, dig deep, keep everything plumb and straight, and compact your backfill like you mean it. This guide gives you the direct, no-fluff steps that other articles bury in theory.
Choosing the right post, be it treated or laminated, and installing it correctly is the most important investment you'll make in your building's lifespan. Do it right once, and you'll have a structure that stands strong for decades. Now, if you'll excuse me, I think I've earned a break from all this hole-some work.
Related Articles
Discover more insights and tips for your construction business