Intro
A snapped connector can stop a job fast. Here are awesome DIY plumbing repair tips on how to remove a broken plastic faucet connector from a pipe without wrecking threads. Most cases take 15–30 minutes. Shut off the water, grip the plastic from inside, twist it out, and clean the threads. If it’s stubborn, use a small extractor or a careful relief cut. Then reseal with tape or a new washer and test. This is the short version many pros use on site.
Quick Answer
Shut off water and drain pressure. Grab the broken plastic from the inside with needle‑nose pliers or a spiral extractor, then twist counterclockwise. If it won’t budge, slice a shallow relief cut with a hacksaw blade, collapse the ring, and remove it. Clean threads, reseal, and test.
Table of Contents
Key Takeaways
- Plan 15–30 minutes for most removals, longer for corroded parts.
- Common sizes: 1/2-inch NPT or 3/8-inch compression on faucet supplies.
- Start simple: internal grip, then extractor, then relief cut.
- Reseal with 3–4 wraps of PTFE tape or a new compression ferrule.
- Hand-tight plus 1/4 turn prevents cracks and future leaks.
Safety First: Shut Off, Drain, Protect
- Close the nearest shutoff valves. If none, shut the main.
- Open a nearby faucet to relieve pressure for 10–20 seconds.
- Put a towel and a small bucket under the work area.
- Wear eye protection. Plastic chips can fly when cutting.
Before You Remove a Broken Plastic Faucet Connector
On most jobs, the main risk is ruining the threads in the valve or pipe. Slow down here. Check if the plastic connector is a male piece snapped inside a metal female fitting, or the plastic nut from a supply hose. Your plan changes based on that. If you see cracks in CPVC or stress whitening in PEX, stop and replace that section instead of forcing it.
Identify the Connector and Fitting Type
- 1/2-inch NPT female inlet on shutoff valves is very common at sinks.
- 3/8-inch compression threads are common for faucet supply hoses.
- PEX connections use crimp or push-fit ends. Don’t twist those.
- Plastic male nipples in metal tees often shear flush with the face.
Know what you have. That tells you if you’ll use a spiral extractor, needle‑nose pliers, or a relief cut. For contractors, this pairs well with understanding project timelines when scheduling service visits and writing clear estimates.
- Needle‑nose pliers (long, narrow tip)
- Small spiral screw extractor (5/16-inch or similar)
- Utility knife and a single hacksaw blade
- Adjustable wrench and small flat screwdriver
- PTFE tape (3–4 wraps) or pipe dope for NPT threads
- New compression ferrule and nut (for 3/8-inch compression)
- Penetrating oil or white vinegar (5–10 minute soak)
- Hair dryer or low heat gun (30–60 seconds, no open flame)
Step-By-Step: Remove a Broken Plastic Faucet Connector
Follow these steps to remove a broken plastic faucet connector from a pipe safely and cleanly.
-
Shut Off and Drain
Turn the valve off. Open a nearby faucet for 10–20 seconds to bleed pressure. Place a towel and bucket.
-
Inspect the Break
Look inside the fitting. If you see a plastic ring with a slight lip, you can often grab it from the inside. If it’s a flush break, plan on an extractor or a relief cut.
-
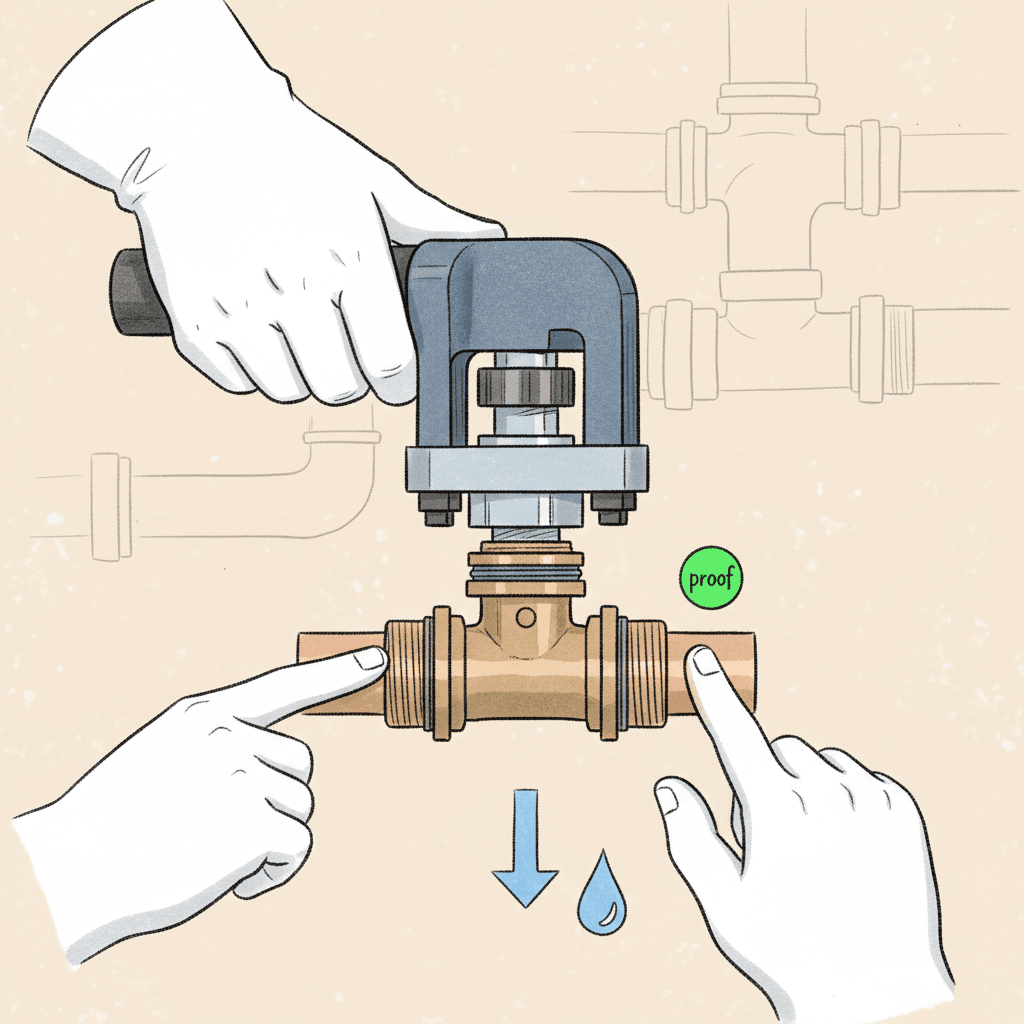
Try the Simple Internal Grip
Insert needle‑nose pliers into the plastic ring. Open the jaws to grip the inner wall. Turn counterclockwise. Keep steady pressure. Many connectors back out in under 1 minute like this.
-
Add Penetrant or Vinegar
If it’s stuck, add 1–2 drops of penetrating oil. For mineral build-up, a 5–10 minute vinegar soak helps. Wipe excess before trying again.
-
Use a Spiral Extractor (Easy‑Out)
Pick a small extractor that bites the inner wall snugly (often 5/16 inch). Turn it counterclockwise by hand with a tap wrench or small adjustable wrench. Don’t lean hard. Let the spiral bite and walk the plastic out.
-
Warm the Plastic (Optional)
If the ring still won’t move, warm it with a hair dryer for 30–60 seconds. Low heat softens plastic slightly. Never use an open flame on plastic or near seals.
-
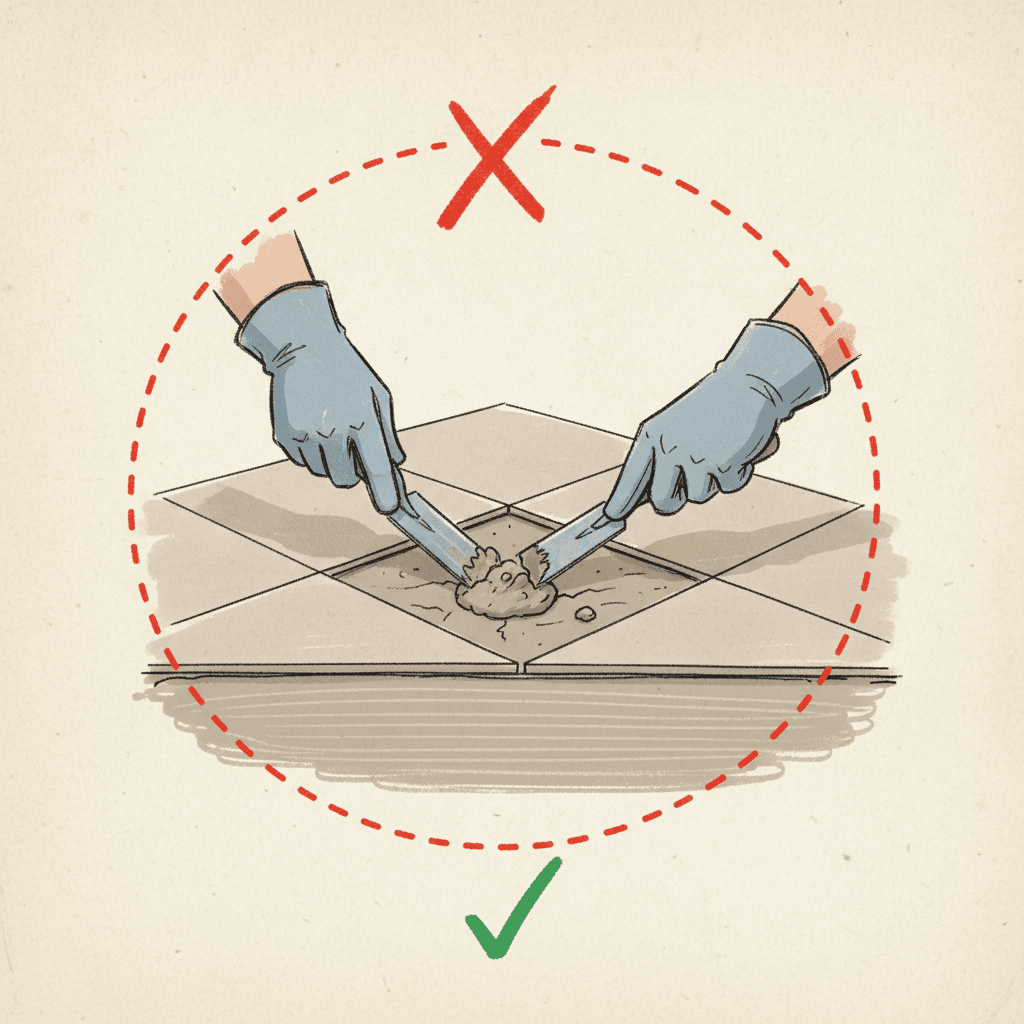
Relief Cut for Stubborn Rings
Slip a single hacksaw blade into the ring. Cut a shallow kerf along the plastic only. Aim for a 1/2 to 2/3 depth cut—do not touch the metal threads. Pry gently with a flat screwdriver to collapse the ring inward. Twist it out.
-
Clean the Threads
Use a nylon brush or old toothbrush. For NPT threads, a 1/2-inch thread chaser helps. Don’t re‑tap unless threads are clearly deformed.
-
Inspect Sealing Surfaces
For compression fittings, check the seat is smooth. For NPT, look for clean, intact threads. If threads look sharp and even, you’re good.
-
Replace Worn Parts
Always install a new ferrule on 3/8-inch compression. Replace cracked supply hoses. If a plastic nipple failed, consider upgrading to brass.
Most jobs end here. Total time: 15–30 minutes. Tough, mineral‑bound fittings can take 30–45 minutes.
If Threads Are Damaged, Fix Them Safely
- Lightly cross‑threaded: chase with a thread chaser, not a tap.
- Flattened peaks: very gently dress with a small triangular file.
- Badly cut or egged threads: replace the valve or adapter. Don’t force a seal.
Commonly, trying to “save” wrecked threads costs more later. If in doubt, swap the $10–$25 valve and be done.
Reassemble, Seal, and Pressure-Test
- NPT threads (1/2-inch typical): 3–4 wraps of PTFE tape, clockwise, starting 1–2 threads back from the end. Hand‑tight plus 1/4 turn with a wrench.
- 3/8-inch compression: new ferrule and nut, square to the seat. Hand‑tight, then 1/4 turn. Don’t over‑crush.
- PEX repairs: use new crimp ring and gauge. Follow tool specs.
Turn water on slowly. Watch for drips for 60–90 seconds. Wipe joints dry, then recheck after 5 minutes. If it weeps, add a tiny 1/8 turn. Don’t jump straight to gorilla‑tight.
DIY Plumbing Repair Tips That Prevent Damage
- Don’t pry between the plastic and metal threads. You’ll gouge the seat.
- Avoid glue tricks. Super glue can drip into valves and ruin them.
- Heat gently. 30–60 seconds is enough. No torches on plastic.
- Use proper sizes. 1/2-inch NPT and 3/8-inch compression are common, but confirm before buying parts.
- Replace cheap parts. Brass nipples and quality braided hoses last longer.
- Plan your paperwork too. If you quote small repairs, creating professional proposals becomes much easier with clear photos and line‑item descriptions. This pairs well with invoice templates that save time.
FAQ
Can I use heat to loosen the plastic?
Yes, but keep it gentle. Use a hair dryer or low heat gun for 30–60 seconds. The goal is slight softening, not melting. Never use an open flame. Heat too much and you can warp seals or damage nearby finishes.
A small spiral extractor that fits snugly inside the plastic ring works best. Often a 5/16-inch extractor grips well on 1/2-inch NPT plastic remnants. Test the fit. It should bite with light pressure when turned counterclockwise.
Grip from the inside of the plastic, not between plastic and metal. If cutting a relief slot, keep the cut shallow—about 1/2 to 2/3 the plastic thickness. Stop as soon as you feel the blade touch metal. Clean with a brush, not a hard tap.
Will vinegar actually help?
Often, yes. A 5–10 minute soak with white vinegar can loosen mineral build-up at sinks. It won’t fix cross‑threading, but it can reduce the effort needed to twist the plastic out.
When should I replace the valve instead of removing the plastic?
Replace the valve if the threads are chewed, the valve stem leaks, or the body is corroded. In general, if you’re spending more than 45 minutes fighting a cheap valve, swap it. A fresh valve saves callbacks.
Conclusion
Removing a broken plastic faucet connector from a pipe is straightforward when you follow a simple order: shut off, grip from the inside, extract, relief cut if needed, then reseal and test. Do the basics well and you’ll avoid damaged threads and leaks. Next steps: 1) Stock a 5/16-inch extractor and single hacksaw blade in your kit, 2) Keep PTFE tape and new compression ferrules on hand, 3) Document your work with clear before/after photos for clients. If you handle small service calls, platforms such as Donizo make it easy to capture details with voice, send a quick proposal, and convert it to an invoice. Work clean, test smart, and move on to the next job with confidence.