Intro
On most heating jobs, a leaking or stuck radiator valve wastes time and heat. You want fast fixes that don’t come back to bite you. This guide shows you how to replace a faulty radiator valve like a pro, step by step. We cover tools, sizes, draining options, and testing. You’ll see common mistakes and how to avoid them. We’ll also show smart ways to write up a clean proposal and invoice the job. By the end, you’ll know how to replace a faulty radiator valve like a pro and finish with zero drips.
Quick Answer
To replace a faulty radiator valve like a pro, shut the system down, isolate the radiator, drain or freeze the pipe, swap the valve and tail, seal with PTFE and compound, then refill, bleed, and balance. Expect 60–90 minutes, 10–12 PTFE wraps on the tail, and a careful leak check while the system heats.
Table of Contents
Key Takeaways
- Close both valves and note lockshield turns before draining.
- Replace the valve tail, not just the body. Seal with 10–12 PTFE wraps.
- Expect 60–90 minutes for one valve, plus 15–20 minutes of heat-up checks.
- Typical sizes: 15 mm (pipe) and 1/2" BSP (radiator tail); some are 3/4".
- Balance after, and recheck for weeps 5–10 minutes after heat-up.
- Tools: adjustable wrench (10–12 in), grips, radiator tail key or hex bit, PTFE tape, jointing compound, bleed key, bucket, towels, small tray, hose for drain-off.
- Parts: new valve (TRV or lockshield), matching size tails and olives, new caps and inserts. Most homes use 15 mm pipe. Common radiator tail thread is 1/2" BSP. Some older rads use 3/4".
- Safety: cool the system first. Let it cool 30–45 minutes. Turn off boiler and pumps. Close zone valves if fitted.
- Identify the valve type:
- TRV (thermostatic) often has a numbered head. Many are bi‑directional. Older ones are not. Check the flow arrow on the body.
- Lockshield controls= balancing. It sits on the return side.
Tip: On site, count how many turns it takes to close the lockshield. Write it down. You’ll return to that setting later.
This is where knowing how to replace a faulty radiator valve like a pro saves callbacks.
Step-by-Step: How to Replace a Faulty Radiator Valve Like a Pro
-
Isolate and protect
- Switch off heating and power to the boiler. Let it cool 30–45 minutes.
- Close both radiator valves: the TRV (or wheelhead) and the lockshield. Count lockshield turns to close (e.g., 1.5 turns). Note it.
- Put towels and a tray under the valve. Have 1–2 buckets ready.
-
Release pressure
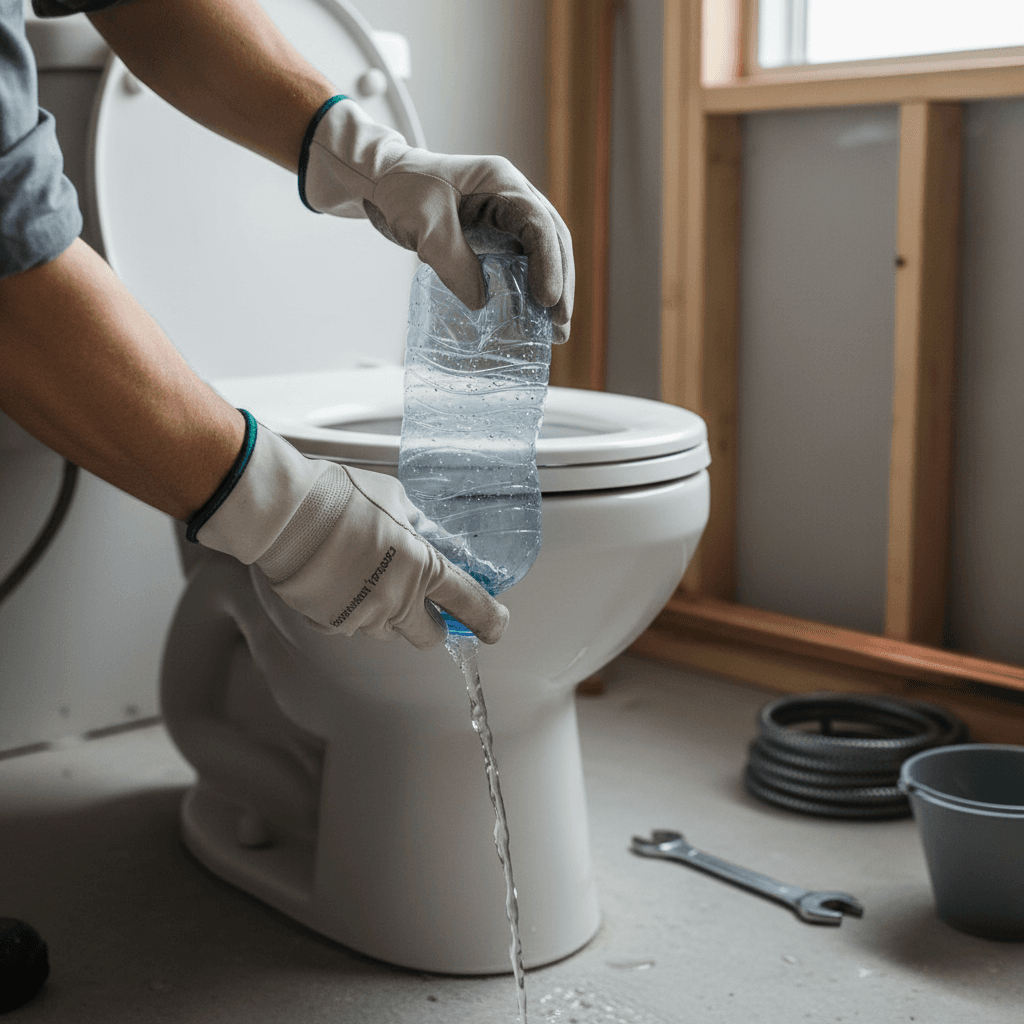
- Crack the bleed screw at the top of the radiator. Keep it just open.
- If there’s a drain-off on the radiator or nearby, attach a hose and drain 3–5 liters until the radiator stops flowing.
-
Loosen union nuts
- Loosen the nut between the valve and the radiator tail first. Catch water.
- Then loosen the nut on the pipe side. Support the pipe to avoid stress.
- Remove the old valve. If it fights you, add a second wrench to counterhold.
-
Replace the radiator tail
- Remove the old tail from the radiator using a radiator tail key or hex bit.
- Clean threads in the radiator. Wipe dry.
- Wrap the new tail threads with 10–12 wraps of PTFE. Smooth it in the thread direction. Add a light smear of jointing compound.
- Install the tail snug, then give an extra 1/4–1/2 turn. Do not overtighten.
-
Fit the new valve
- Slide on new olives and nuts. It’s best to replace olives.
- Align the valve with no strain on the pipe. Make sure the flow arrow is correct for the system direction.
- Nip up the compression nuts. Tighten evenly. Aim for firm, not brutal.
-
Refill and bleed
That’s how to replace a faulty radiator valve like a pro without surprises.
Drain or Freeze? Choosing the Right Method
-
Full or partial drain
- Best when you have easy drain-offs and clean inhibitor. Plan 30–45 minutes extra for drain, refill, and bleed on multi‑rad systems.
- Use hose to the lowest drain-off. Open air vents high up to speed flow.
-
Pipe freezing (electric or aerosol kit)
- Good for single-valve swaps on 15 mm lines. Working time is often 30–45 minutes.
- Not ideal on thin, corroded, or 22 mm pipes. Ice plugs can fail.
- Always test the freeze plug before cracking nuts.
-
Radiator-only drain
- Close both valves. Open bleed. Place a tray. Crack the union to let the radiator drain into a bucket. You’ll remove 2–4 liters from one average panel rad.
Choose the method that keeps the job safe and clean. That’s part of how to replace a faulty radiator valve like a pro on busy days.
Set, Balance, and Test the System
-
Restore original balance
- Return the lockshield to the noted setting (e.g., 1.5 turns open).
- If rooms run hot or cold, fine‑tune by 1/8 turn changes.
-
Temperature check
- Aim for a small temperature drop across the radiator when heating (commonly 10–20°F or 5–10°C, system dependent).
- If a TRV is fitted, make sure the head senses room air, not trapped behind curtains.
-
System pressure and inhibitor
- On sealed systems, confirm 1.2–1.5 bar cold. Top up as needed.
- If you drained a lot of water, many contractors add inhibitor after.
-
Final inspection
- Wipe every joint dry. Wait 5–10 minutes. Look for rings or streaks.
- Leave the customer with the TRV set point and any balance notes.
Pro Tips to Replace a Faulty Radiator Valve Like a Pro
- Mark and measure first. Note pipe size (15 mm or 1/2" copper), valve brand, and tail type. Bring the matching kit.
- Replace the tail every time. Mixing old tails with new valves is the #1 leak cause.
- Use 10–12 PTFE wraps on the tail, and a light compound smear. Too much paste can foul TRVs.
- Support the pipe. Use a second wrench on bodies and tails to avoid twisting.
- Watch valve flow arrows. Older TRVs can chatter or hammer if reversed.
- Protect floors. Two towels and a shallow tray save cleanup time.
- Photograph old lockshield positions. Many workers find photos save 5–10 minutes on balancing.
Knowing these details is how to replace a faulty radiator valve like a pro, not just swap parts.
Pricing, Paperwork, and Smooth Client Sign-off
-
Time estimate
- Straight swap with radiator-only drain: 60–90 minutes.
- Full system drain and refill: add 30–60 minutes, depending on property size.
-
Scope notes to include
- Valve type and size (e.g., 15 mm TRV, 1/2" BSP tail).
- Method (drain vs. freeze), inhibitor top‑up if drained, and balance check.
- Warranty on workmanship (e.g., 12 months) and parts.
-
Faster admin
- Capture a quick site note, a couple photos, and voice details. Tools like Donizo let you turn that into a branded proposal fast, send for e‑signature, and convert to an invoice in one click.
For related business help, see guides on professional proposals, invoice templates that save time, and pricing strategies for small call‑outs. These pair well with this job so you get paid cleanly.
FAQ
How do I know which valve size I need?
Most homes use 15 mm pipe on hot‑water radiators. The radiator tail thread is commonly 1/2" BSP. Some older radiators use 3/4". Measure the pipe, check the old valve markings, or take the old parts to the supplier to match.
Can I change a valve without draining the whole system?
Yes. You can drain only the radiator, or use a 15 mm freeze kit for a local ice plug. Test the freeze before loosening nuts. If access is bad or pipes are corroded, a controlled drain is safer.
How many PTFE wraps should I use on the tail?
Use 10–12 tight wraps on the radiator tail threads. Wrap in the direction of tightening. Smooth it into the threads and add a light smear of jointing compound. Avoid blobs that could enter the valve.
Do I need to rebalance after changing one valve?
Usually, you return the lockshield to the same turns you noted. If that room runs hot or cold after, tweak by 1/8 turns. Check temperature drop across the radiator and adjust until it matches nearby rooms.
Is this the same for steam radiators?
No. Steam systems use different valves and practices. If you’re unsure or it’s a one‑pipe steam system, bring in a steam‑qualified pro. This guide focuses on hot‑water (hydronic) radiators.
Conclusion
You’ve seen how to replace a faulty radiator valve like a pro from start to finish. Isolate, drain or freeze, swap the tail and valve, seal smart, then bleed, balance, and test. Next steps: 1) Stock 15 mm and 1/2" BSP kits in your van. 2) Use 10–12 PTFE wraps and light compound. 3) Photograph lockshield positions before you start. For clean paperwork on small jobs, platforms such as Donizo help you capture details, send proposals, get e‑signatures, and invoice fast. Do it right once, and you won’t get call‑backs.