Intro
On most kitchen jobs, a Butler sink looks great but installs can go wrong fast. A Butler sink is heavy, deep, and often fireclay. It needs solid support, tight measurements, and careful sealing. This guide shows you how to plan, frame, cut, plumb, and finish a Butler sink cleanly. We cover cabinet sizing, worktop cut-outs, waste routing, and sealants. Follow these steps and you’ll fit a Butler sink in one visit and avoid call-backs.
Quick Answer
A Butler sink needs a 600 mm minimum base unit, a built-in support frame, and a precise worktop cut-out with a 10–20 mm reveal. Use a 90 mm basket waste, a 40 mm trap with a 75 mm water seal, and neutral-cure silicone. Dry-fit, test for leaks, then seal and leave 24 hours to cure.
Table of Contents
Key Takeaways
- Use a 600–800 mm base cabinet and build a rigid support frame.
- Set a 10–20 mm worktop reveal and a 3–5 mm silicone gap.
- Waste: 90 mm outlet, 40 mm trap, 75 mm water seal, 1:40 fall.
- Dry-fit, level, and pressure test before sealing; allow 24 hours cure.
- Most installs take 4–6 hours when the worktop is prepped.
Planning And Specs For A Butler Sink
A Butler sink is big and heavy. Many weigh 30–50 kg. Plan your lift and clear the area.
- Base unit width: 600 mm minimum. Wider sinks (700–800 mm) need matching carcasses.
- Height: standard worktop height is about 900 mm. Allow for sink depth (200–250 mm) and tap clearance.
- Support: the sink sits on rails or a shelf, not on the worktop. Use timber or 18–25 mm ply rails.
- Worktop reveal: most clients like a 10–20 mm overhang beyond the sink edge.
- Overflow: some Butler sinks have none. Agree safety and client care for filling.
- Tap: many Butler sinks don’t have tap holes. Plan a 35 mm tap hole in the worktop or rear ledge.
If you quote for a Butler sink install, keep photos and exact sizes in your job notes. Tools like Donizo help you capture site details with voice, text, and photos, then turn them into clear proposals clients can e‑sign.
(If you’re also looking to streamline professional proposals, our guide on professional proposals fits well here.)
- Level, tape, square, marker
- Jigsaw with laminate or fine-tooth blade; circular saw for timber
- Diamond router/oscillating tool for stone edges (or templater coordination)
- 18–25 mm plywood or solid timber for rails/shelf
- Screws (4.0–5.0 mm) and wall plugs if fixing to masonry
- Silicone: neutral-cure, sanitary, mould-resistant
- Adhesive/sealant for worktop joints
- 90 mm basket strainer waste, 40 mm trap (75 mm seal), 40 mm pipe and fittings
- Isolation valves (15 mm), flexible tap tails, PTFE tape
Step-By-Step Butler Sink Installation
-
Confirm Measurements (10–15 mins)
- Measure the Butler sink width, depth, and height in millimetres. Fireclay varies by 3–5 mm, so don’t trust the brochure.
- Measure the base cabinet internal width and side panel thickness.
-
Remove Doors And Rails (10 mins)
- Take off the base unit doors. Remove or notch the front top rail if it clashes with the Butler sink apron.
-
Mark Support Rail Height (10 mins)
- Set the finished worktop height (about 900 mm). Subtract sink height and desired reveal to mark rail positions.
- Aim for the top of the Butler sink to sit 2–3 mm below the worktop underside before sealing.
-
Build The Support (30–45 mins)
- Fix 18–25 mm plywood rails to both side panels, level and square. Use 4–5 screws per side at ~150 mm centres.
- For wide sinks, add a rear cleat or full shelf to spread load. Do not rely on the worktop alone.
-
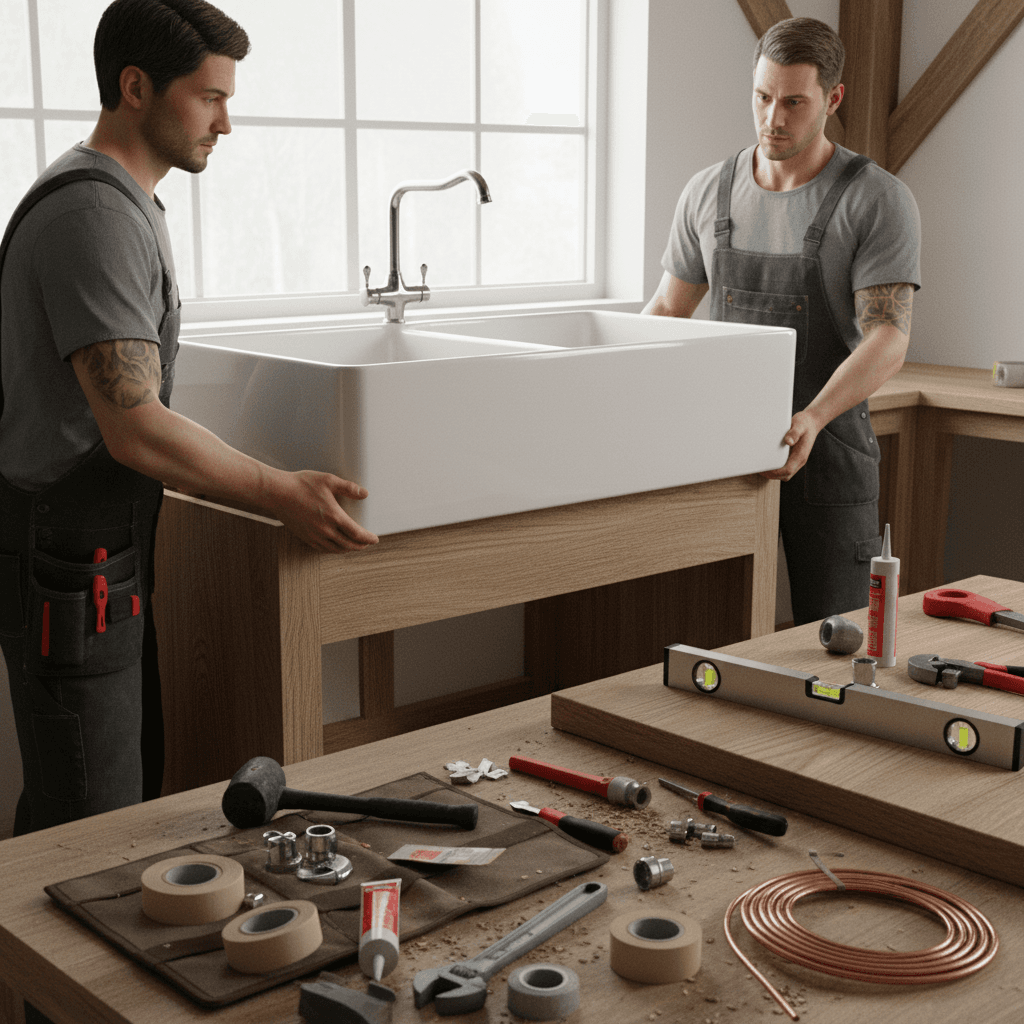
Dry-Fit The Butler Sink (10–15 mins)
- Lift the Butler sink onto rails. Check front apron projection (usually 10–20 mm proud of doors).
- Shim with plastic packers to get it dead level left-to-right and front-to-back.
-
Mark Worktop Cut-Out (15–20 mins)
- Flip the worktop and trace the Butler sink outline. Reduce the line by 10–20 mm for the reveal.
- Keep a 3–5 mm movement gap for sealant between worktop and sink.
-
Cut The Worktop (20–60 mins)
- Place the worktop over the Butler sink. Check the 10–20 mm reveal is even on all sides. Adjust packers if needed.
- Seal The Perimeter (10–15 mins)
- Lift slightly and run a 3–5 mm bead of neutral-cure silicone. Set down and tool a neat joint. Wipe excess immediately.
- Cure And Protect (5 mins + 24 hours)
- Leave silicone to cure for 24 hours before heavy use. Tape a note for the client.
Typical time on site is 4–6 hours if the worktop is prepped. Add time for stone templating or cabinet mods.
Plumbing The Waste And Taps
- Trap and waste: Use a 40 mm P- or S-trap with a 75 mm water seal. The outlet fall should be 18–22 mm per metre towards the stack.
- Height: Keep the trap high to maximise cupboard space, but not so high it fouls the bowl.
- Overflow: If the Butler sink has no overflow, fit the tap with a flow restrictor and brief the client. Consider a countertop alarm if specified.
- Taps: Fit 15 mm isolation valves. Connect 300 mm flexi tails where possible. Always flush the lines before connecting the tap.
- Testing: Plug the Butler sink and fill to the reveal line. Check for seepage around the rim. Then drain and check every compression joint for drips under pressure.
(This pairs well with understanding change orders if the client swaps taps or adds a filter mid-job.)
Sealing, Finishing, And Client Care
- Sealant: Use neutral-cure silicone. Acid-cure can stain stone and corrode some metals.
- Movement gap: Keep 3–5 mm around the Butler sink to allow for small shifts and thermal movement.
- Edge protection: On laminate, fully seal all cut edges. On timber worktops, oil the cut-out twice before setting the sink.
- Cleaning brief: Fireclay is tough, but avoid scourers. Recommend non-abrasive cleaner and a soft cloth.
- Handover: Show the client the reveal, the sealant line, and the waste fittings. Explain the 24-hour cure and how to spot a leak.
(For contractors dealing with invoicing after completion, consider linking to invoice templates that save time.)
Common Mistakes With Butler Sink Installs
- No support frame: The worktop is not the support. Rails or a shelf are mandatory.
- Wrong reveal: A tight 0–5 mm reveal traps grime. Aim for 10–20 mm.
- Overtightened waste: Ceramic can crack. Hand-tight plus a small nip is enough.
- Poor levelling: A 2–3 mm twist shows at the reveal. Shim until perfect.
- Wrong sealant: Acid-cure silicone can damage stone. Use neutral-cure every time.
- Trap too low: You lose space and risk sag. Keep the trap as high as practical.
FAQ
What size base unit do I need for a Butler sink?
Use a minimum 600 mm base for most Butler sinks. Wider bowls, like 700–800 mm, need matching carcasses. Always check the actual sink size; fireclay can vary by 3–5 mm.
Do I need a special trap or waste for a Butler sink?
Fit a 90 mm basket strainer waste and a 40 mm trap with a 75 mm water seal. That’s standard and gives good flow. Keep a steady fall of 18–22 mm per metre to the stack.
Can I fit a Butler sink with laminate worktops?
Yes, but seal every cut edge and keep a 3–5 mm silicone gap. Don’t leave raw chipboard exposed. Use a fine blade, cut from the face side, and support the board to avoid chipping.
How do I support a heavy Butler sink in a flat-pack cabinet?
Add 18–25 mm ply rails fixed into both side panels, level and square. Use 4–5 screws per side at about 150 mm centres. For wider sinks, add a rear cleat or a full shelf.
How long does a Butler sink install take?
Commonly, 4–6 hours when the worktop is ready and plumbing is nearby. Add time for stone templating, major cabinet alterations, or moving the waste position.
Conclusion
A Butler sink looks premium, but it demands solid planning, a rigid frame, accurate cut-outs, and careful sealing. Do those four things and you’ll avoid leaks, cracks, and call-backs. Next steps:
- Confirm sizes and build the support before cutting anything.
- Set a 10–20 mm reveal and a 3–5 mm silicone gap.
- Test, then seal, and allow 24 hours to cure.
When you quote Butler sink installs, capture notes and photos on site and send clear proposals with solutions like Donizo. Moving forward, these habits will cut install time, reduce snags, and keep clients happy.