What's the best way to replace an isolation valve on a pipe?
Learn what is the best way to replace an isolation valve on a pipe in your UK home. Our guide covers tools, safety, and step-by-step instructions for a…
Fully shut off mains water and drain the system; it's critical
For leak-free joints, use a pipe cutter and clean pipe ends
For reliability, choose quarter-turn ball valves over gate valves
Re-pressurise slowly, then immediately check all new joints for leaks
For complex pipework or burst pipes, call specialist backup immediately
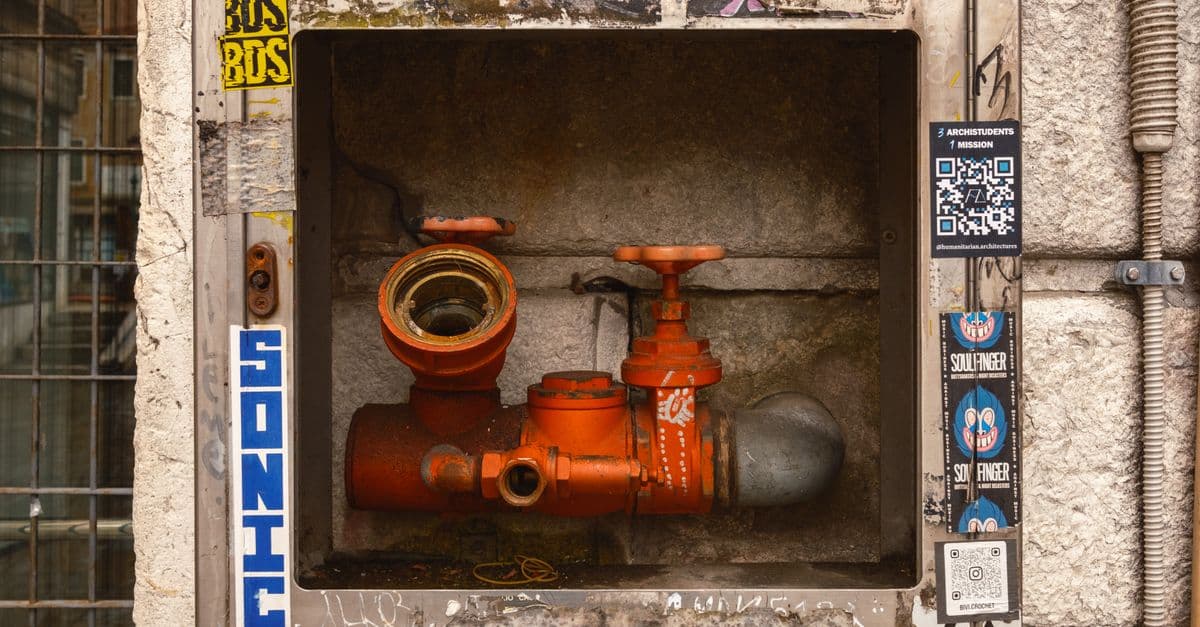
The humble isolation valve. It’s the first port of call on any job, the simple turn of a screwdriver slot that can save you from a complete system drain-down, or the seized-up nightmare that turns a simple tap swap into a much bigger problem. Replacing one isn’t about brute force; it’s a methodical job involving a guaranteed mains shutdown, the right kit, and knowing when a five-minute fix is about to become a weekend-long water feature in the client's property.
What Tools and Materials Do You Need for Valve Replacement?
Walking onto a job without the right kit is a rookie mistake that costs you time and money. It’s the plumbing equivalent of trying to use a wood screw in a plasterboard wall, it might look like it's holding, but you're just making a mess for later. Before you even think about touching that old valve, get your tools in order. It's not just about saving time; it's about avoiding that unpaid second trip to the merchant that kills your margin on the job.
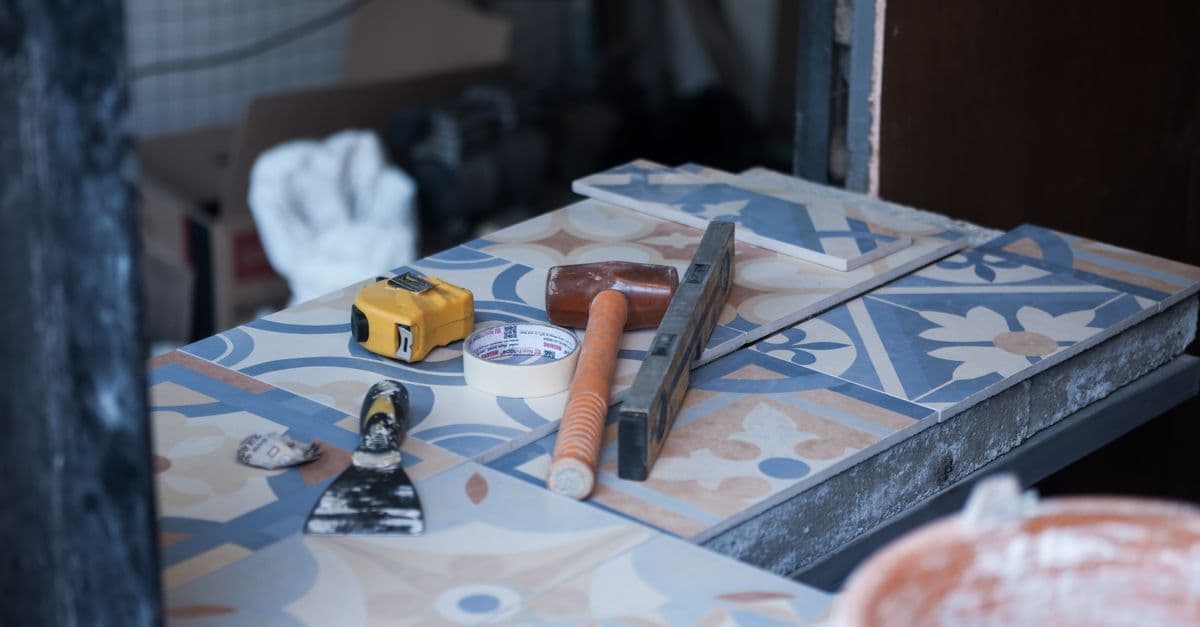
Here’s the absolute minimum you should have laid out on an old towel.
Essential Tools and Materials for Valve Replacement
Pipe Wrench & Adjustable Spanner: Two of each is best. One to hold, one to turn. Using just one is a recipe for twisting a pipe you really didn't want to twist.
Pipe Cutter: For a clean, square cut. A hacksaw works in a pinch, but it’s a rougher finish and leaves burrs you’ll have to clean up meticulously.
PTFE Tape: Your best defence against a weeping joint. Don't be shy with it, but don't wrap it on backwards.
New Isolation Valve: Obvious, I know. But make sure it’s the right size and type for the existing pipework.
Compression or Push-Fit Fittings: Depending on the valve and your preference. More on that below.
Wire Wool or Emery Cloth: For cleaning pipe ends. A clean surface is a happy, leak-free surface.
Two or Three Old Towels and a Bucket: Because no matter how well you drain the system, there’s always that one last cup of water waiting to make a mess.
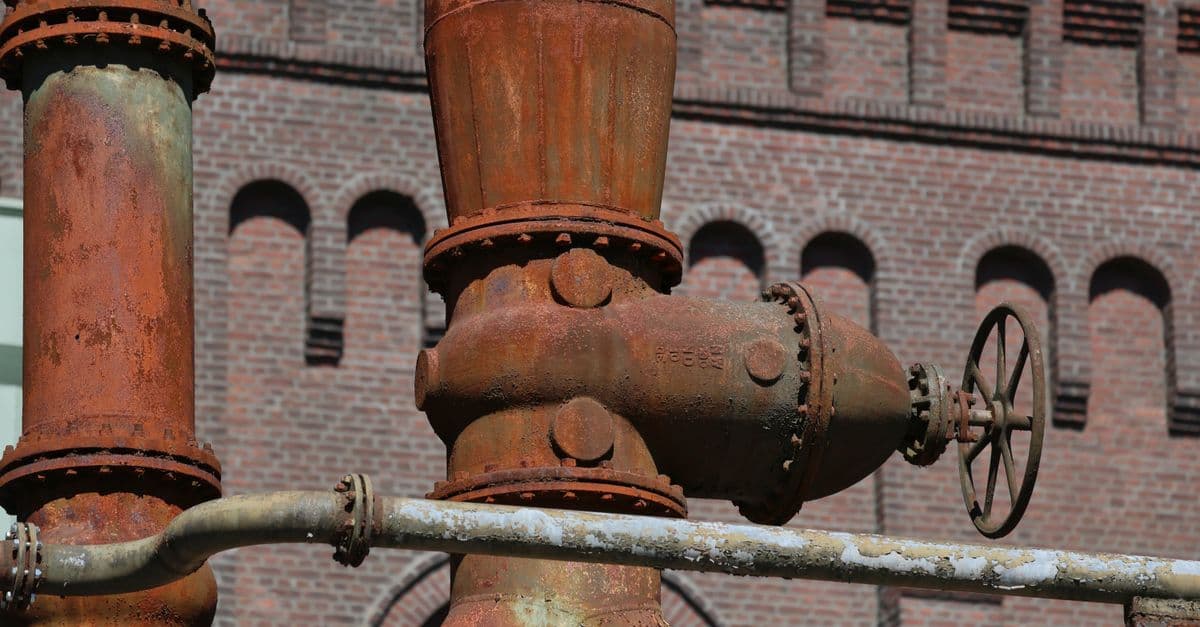
When you’re buying the new valve, you’ll likely face two choices: a ball valve (usually operated by a small lever or screwdriver slot) or a gate valve (with a small wheel on top). For most domestic jobs, a quarter-turn ball valve is quicker and more reliable. Gate valves can wear out and fail to shut off completely over time.
You’ll also need to decide between compression fittings, the traditional choice with a nut and an 'olive' that you tighten to create a seal, and modern push-fit fittings. Push-fit is incredibly fast and great for tight spaces, but I find a well-made compression joint gives me more peace of mind. For a visual on getting these right, you can find plenty of good demonstrations online Learn about the correct application of push-fit plumbing fittings for quick and secure pipe connections.
How to Safely Isolate Water and Prepare for Replacement?
Right, this is the part you absolutely cannot skip. I’ve heard horror stories that all start with "I thought the water was off." Don't be that person. Water damage is a nightmare to fix.
First, find the mains stopcock. Turn it fully clockwise until it stops. Then, open the lowest tap in the house (like an outside tap) and the highest tap (like a bathroom basin) to drain the system. Let it run until it’s just a trickle, then nothing.
Even then, expect some residual water to be lurking in the pipe you’re about to cut. That’s what the bucket and towels are for. And if you’re working near any electrics, kill the power to that circuit at the consumer unit. Water and electricity are a famously bad combination.
Isolation Valve Replacement Safety Checklist
Mains water supply is fully turned OFF.
System is drained by opening high and low taps.
Bucket and towels are in position directly under the work area.
All nearby electrical outlets and appliances are turned OFF at the fuse box.
Personal Protective Equipment (PPE), like gloves and safety glasses, is worn.
Client or occupants have been informed that the water will be off (this is more of a customer service point than a safety one, but it saves you hassle).
Following these steps isn't just about avoiding a wet floor; it's about professional conduct. The Health and Safety Executive lays out clear guidance for plumbers, and sticking to it is non-negotiable Health and safety in plumbing.
Step-by-Step Guide: Replacing an Isolation Valve on a Pipe
With your tools ready and the water safely off, it’s time for the main event. Take your time, don’t force anything, and follow the process.
Locate and turn off the mains water supply. As we just covered, confirm it’s off by running a tap. Drain the pipework by opening taps at the highest and lowest points of your property.
Cut the pipe cleanly on both sides of the old isolation valve. Use a pipe cutter for the best result. You need a clean, square edge. Ensure you leave enough pipe protruding to fit into the new valve’s fittings. Get your measurements spot on. A centimetre short on a bit of copper pipe isn't a rustic feature; it's another trip to the merchant and a hit to your profits.
Carefully remove the old valve. You might need to use two wrenches: one to hold the pipe steady and the other to undo the old compression nuts. Once it’s off, clean the pipe ends with wire wool until they’re bright and shiny. Remove any burrs left by the cutting.
Install the new isolation valve.
For compression fittings: Slide the nut onto the pipe, then the olive. Push the pipe end firmly into the valve body. Slide the olive and nut down and tighten by hand first. Then, use your spanners to tighten it further. Usually, one full turn past hand-tight is enough. Don't go crazy; over-tightening can crush the olive and cause a leak. There are endless videos showing this, and seeing it done helps a lot Demonstrations of compression fittings can help understand proper installation for leak-free connections.
For push-fit fittings: Just push the pipe firmly into the fitting until you feel it click or stop. That’s it. It feels too easy, which is why some of us old-school types are still suspicious of it.
Slowly turn the mains water supply back on. Don't just crank it open. Turn it on a quarter of the way and go immediately to your new valve. Watch and feel for any drips. Use a piece of dry kitchen roll to wipe the joints; it’ll show up even the tiniest bead of water. If it’s dry, open the mains fully.
Bleed any air from the system. Close all the taps you opened, then open them one by one, starting with the lowest, until the water runs smoothly without spitting. Confirm your new valve works by turning it to the 'off' position. The water flow should stop completely.
Troubleshooting Common Issues During Valve Replacement
Sometimes, even with the best preparation, things go sideways. It’s the nature of the job.
Persistent Leaks: The most common problem. The culprit is usually an under-tightened nut, a damaged olive, or a dirty pipe end. Turn the water off again, undo the fitting, and check your work. A bit more PTFE tape on the olive’s threads (not on the olive itself) can sometimes help.
Difficulty Cutting Pipe: If you’re in a tight spot and can’t get the pipe cutter to rotate, you might have to resort to a junior hacksaw. Just be prepared to spend extra time filing the end smooth and perfectly square.
Incorrect Valve Size: You get back from the merchant and realise you bought a 22mm valve for a 15mm pipe. It happens. The only fix is to go back and get the right one. Don't try to bodge it with reducers unless you absolutely have to.
Airlocks: If a tap is spluttering or not running at all after you’re done, you’ve probably got an airlock. There are a few tricks to clear them, often involving connecting a hose between the faulty tap and a working one to force the air out. A quick search for your specific tap type will give you the best method.
When to Call for Specialist Backup
The difference between a profitable job and a call to your liability insurance can be a single overtightened nut. Knowing when to escalate a problem is a key professional skill.
You should call for specialist backup if you encounter:
Complex or Old Pipework: If you’re looking at lead pipes, or a maze of connections you can’t make sense of, it’s best left to someone who deals with it daily.
This isn't just another five-minute video guide. The aim here is to provide a proper, UK-specific walkthrough that covers the full job, from detailed safety precautions and troubleshooting common leaks to making the call for backup when you're staring at ancient pipework. It’s this methodical approach, covering the bits other guides skip, that separates a quick, profitable job from a costly callback. While a quick search on YouTube, TikTok, or Instagram is great for a visual on a specific fitting Visual guides on tap and valve replacement provide practical insights into plumbing techniques, this guide gives you the complete picture to ensure the next job on that system starts without a headache.