Intro
On most jobs, the biggest headaches come from old pipes, weak flow, and hidden leaks. Upgrading the home plumbing fixes these issues, boosts value, and cuts call-backs. This guide shows you how to plan, price, and deliver a smooth upgrade. We cover surveys, pipe sizes, best materials, and testing. You’ll see simple steps, real measurements, and timelines that work. Upgrading the home plumbing is a solid upsell, if you do it right. Let’s walk through it like we’re on site together.
Quick Answer
Upgrading the home plumbing means surveying the system, sizing pipes correctly, swapping tired fixtures, and commissioning everything to code. Plan zones, aim for 3 bar regulated pressure, and set hot water at 60°C with safe outlets. Test, document, and hand over clear maintenance notes.
Table of Contents
Key Takeaways
- Start with measured data: static pressure, flow at 2–3 outlets.
- Use correct sizes: 15 mm feeds, 22 mm trunks, 110 mm soil.
- Control pressure to 3 bar and store hot at 60°C.
- Keep falls right: 1:40 on 32–40 mm wastes prevents blockages.
- Document everything: photos, test results, and a clear handover sheet.
Plan the Work and Set Expectations
Homeowners want better flow, quiet pipes, and no surprises. Be clear from day one. Upgrading the home plumbing works best with a simple plan.
- Split the home into zones: kitchen, bathrooms, utility, and external.
- Agree the scope: re-pipe only, fixtures only, or full system.
- Set timeframes: 1–2 days for a single bathroom refresh; 3–5 days for a full re-pipe on a 3‑bed house; 1 day for a cylinder swap.
- Explain shut-offs and water-down times. Protect floors and furniture.
If you're also looking to streamline professional proposals, our guide covers how to build clear, itemised scope lines that clients approve fast. This pairs well with understanding pricing strategies for labour and materials on multi-room jobs.
Survey: Pressure, Flow, and Existing Pipework
Good data beats guesswork. Upgrading the home plumbing starts with a tight survey.
Measure Supply and Flow
- Static pressure: note cold main at an outside tap or stopcock. Aim for 2–5 bar. Fit a PRV if above 3 bar.
- Dynamic flow: test at 2–3 outlets open together. Healthy homes often show 12–18 litres/min on the main. Minimum acceptable for a decent shower is 8–10 litres/min.
Check Pipework and Valves
- Identify materials: copper, PEX, PB, or old galvanised. Look for green patina, pinholes, or dezincification on brass.
- Note sizes: 15 mm branches to basins and WCs, 22 mm trunks for baths and cylinders, 28 mm if long runs or high demand.
- Waste and soil: 32 mm basins, 40 mm sinks/showers, 110 mm soil stack. Check for sagging and poor falls.
Noise and Safety
- Water hammer: listen when closing taps quickly. Add arrestors and secure clips at 1–1.2 m centres.
- Backflow protection: double check valves on outside taps. Use correct air gaps on cisterns (Type AA).
Materials and Sizing That Last
Materials decide how long your work holds up. Upgrading the home plumbing needs robust choices.
- Copper vs plastic: Copper is tough and fire-resistant. Plastic (PEX/MLCP) is fast and forgiving on retrofits. Many contractors mix: copper at heat sources, plastic on branches.
- Fittings: Use WRAS-approved kit. Push-fit for speed; press-fit or solder for higher temps and neat plant rooms.
- Insulation: 25 mm on hot and cold in lofts or garages. Stop condensation on cold lines.
- Valves: Full-bore isolation on every zone and major appliance. It saves hours later.
- Pressure and temperature: PRV set to 3 bar. Unvented cylinder at 60°C store temp. TMVs limit outlets to 48°C at baths.
Sizing tips:
- Long runs? Upsize one step. A 15 m hot run to a bath may need 22 mm to keep 15–18 litres/min.
- Multiple showers? Consider 28 mm primary into a manifold, then 15 mm to outlets.
Step-By-Step: Upgrading the Home Plumbing
This is the core method. Keep it simple and steady.
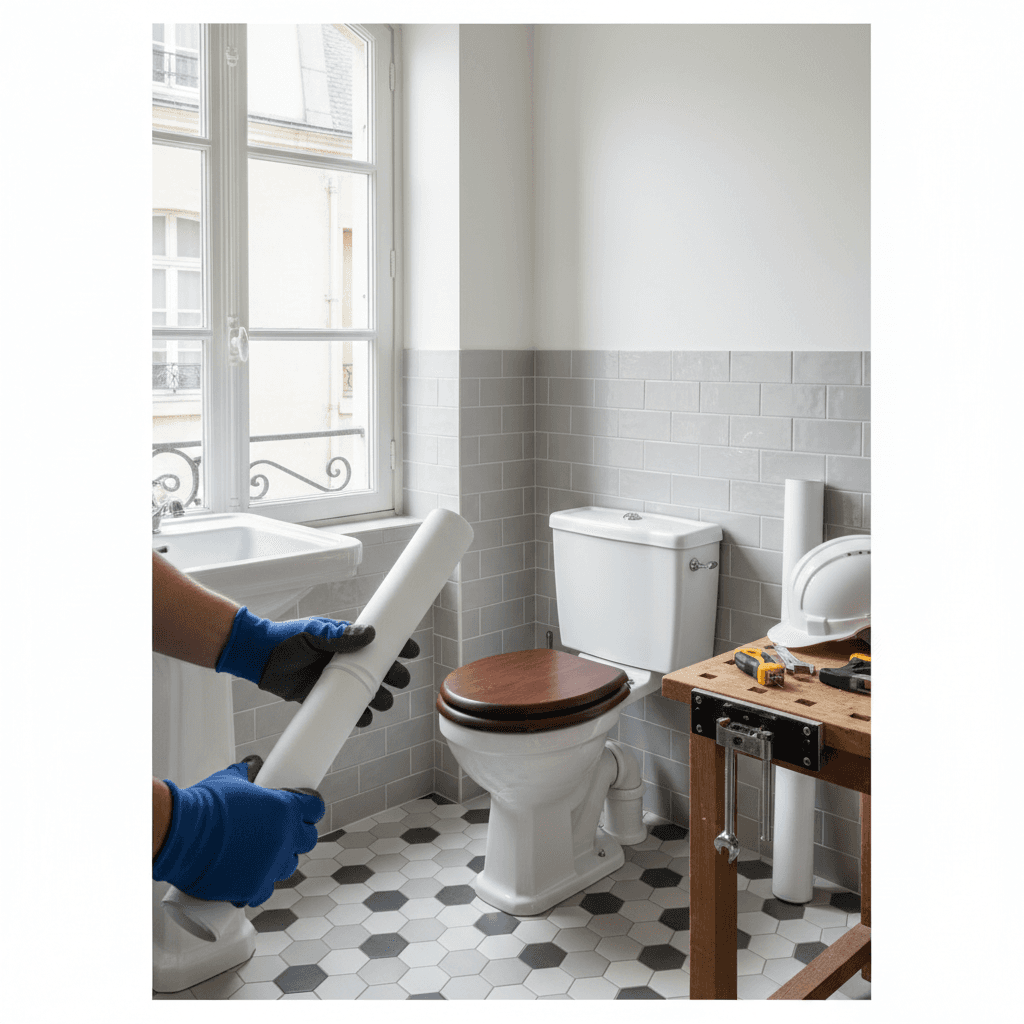
- Isolate and drain: Shut the stopcock. Open low taps. Draining a typical home takes 20–40 minutes.
- Protect and expose: Lay floor protection. Lift minimal boards. Photograph all existing routes.
- Replace mains valve and PRV: New stopcock and PRV set at 3 bar. Fit a pressure gauge point.
- Re-pipe trunks: Run 22 mm hot and cold trunks. Clip every 1–1.2 m. Avoid tight bends.
- Branch to fixtures: 15 mm to basins and WCs. 22 mm to baths and high-flow showers.
- Waste upgrades: Set 1:40 fall on 32–40 mm wastes. Keep runs under 3 m without vents where possible. Use swept bends.
- Cylinder/boiler work: Unvented installs need G3 competence. Fit expansion vessel, discharge pipe to code, and TPRV. Allow 1 full day.
- Backflow and outside taps: Fit double check valves. Lag external pipe. Bury external service pipes at 750 mm minimum depth.
- Pressure test: Cold test at 10 bar for 30 minutes on new pipework, or follow manufacturer guidance. Record results.
- Flush and disinfect: Flush until clear. Dose as needed. Bleed air. Check every isolation valve.
- Commission: Set hot water at 60°C. Check TMVs deliver safe temps (aim 44–48°C at outlets). Log readings.
- Customer walk-through: Show stopcocks, valves, and maintenance points. Hand over documents and photos.
Upgrading the home plumbing with a repeatable process lowers risk. It also reduces snags and call-backs.
Compliance, Testing, and Handover
Do it once. Do it right. Upgrading the home plumbing must meet UK rules.
- Regulations: Building Regulations Part G (sanitation and hot water) and Part H (drainage). Follow the Water Supply (Water Fittings) Regulations 1999.
- Competence: G3 for unvented cylinders. Gas work by a Gas Safe engineer.
- Testing: Pressure test new pipework. For wastes, perform a water test and visual inspection of traps and falls.
- Temperatures: Store hot at 60°C to control bacteria. Verify outlet limits via TMVs.
- Documentation: Provide a commissioning sheet, pressure and flow readings, PRV setting (3 bar), and photos of key valves.
For contractors dealing with client communication, we recommend linking to project timelines so homeowners know when water is off and back on.
Pricing, Proposals, and Smooth Paperwork
Clear paperwork wins trust. It also protects your margin.
- Break down your scope: survey, isolation, re-pipe trunks, branches, wastes, cylinder/boiler work, testing, and making good.
- Use allowances: e.g., “up to 8 new isolation valves,” “up to 20 m of 22 mm copper,” “1 day for commissioning.”
- Add options: water softener, TMVs on all outlets, leak detection, and a service visit at 12 months.
Creating professional proposals becomes much easier with tools like Donizo. You can capture site notes with Voice to Proposal, send a branded PDF for approval, get an e‑signature, and convert to an invoice in one click. It keeps scope, prices, and changes in one place.
If you want to tidy up billing, consider linking to invoice templates that save time and cut errors on multi-stage plumbing work.
Frequently Asked Questions
How long does a full re-pipe usually take?
Most 3‑bed homes take 3–5 days, depending on access and finishes. A single bathroom refresh can be 1–2 days. Add 1 day for an unvented cylinder change. Allow 30–60 minutes per zone for testing and commissioning.
What pressure and flow should I aim for?
Regulate pressure to about 3 bar using a PRV. For good use, target 12–18 litres/min on the main. Showers feel decent at 8–10 litres/min. Baths fill well at 15–18 litres/min with 22 mm feeds.
Copper or plastic for upgrades?
Both work. Copper is tough and handles heat well. Plastic is quick, quiet, and great for awkward routes. Many pros use copper at the plant area and plastic to fixtures. Always use WRAS-approved fittings and follow maker test pressures.
What are the key pipe sizes in UK homes?
Commonly: 22 mm for main hot/cold trunks, 15 mm to basins and WCs, 22 mm to baths and high-flow showers. Wastes: 32 mm basins, 40 mm sinks/showers, 110 mm soil. Upsize long runs to reduce pressure drop.
What gradients should I use on wastes?
Aim for 1:40 on 32–40 mm wastes. That’s about 25 mm fall per metre. Keep runs short and use swept bends. Check traps seal and vents are adequate.
Conclusion
Upgrading the home plumbing is about good surveys, right sizing, and clean commissioning. Set pressure at 3 bar, store hot at 60°C, keep waste falls at 1:40, and document every step. To speed up paperwork and sign‑offs, platforms such as Donizo help you move from site notes to signed proposals and invoices fast.
Next steps:
- Measure pressure and multi‑outlet flow on your next quote.
- Standardise your re‑pipe steps and testing checklist.
- Add optional upgrades like TMVs and softeners to every proposal.
Do this, and your installs run smoother, finish faster, and last longer.