Intro
On most jobs, swapping a valve eats time. You drain the line, chase air pockets, and clean up a mess. The new method for installing valves solves that. You freeze the line, use press or push adapters, and drop in a union‑end valve fast. It’s clean, safe, and repeatable. In this guide, I’ll show the what, why, and how. You’ll see the setup, the steps, the checks, and the numbers that matter. Follow it, and you’ll cut downtime and reduce callbacks.
Quick Answer
The new method for installing valves is a press‑and‑freeze approach. You freeze the pipe to avoid full drain, cut out the bad valve, press on union adapters, and set a new valve between them. Most swaps take 30–60 minutes, with a 10‑minute pressure test, and no messy drain‑down.
Table of Contents
Key Takeaways
- Freeze and press cuts shutdowns to 30–60 minutes on typical 1/2"–1" lines.
- Mark insertion depth: commonly 7/8"–1‑1/8" on 1/2"–1" copper press.
- Leave 6–8 inches of straight pipe for press jaw clearance.
- Pressure test 60–80 psi for 10 minutes before hand‑off.
- Use union‑end valves so future swaps take under 20 minutes.
Why a New Method Makes Sense
Draining a system takes time. Air bleeds are slow. Customers get annoyed. The new method for installing valves avoids that. You isolate, freeze the section, and work dry. You press adapters and set the valve without opening the whole loop.
This method is simple to repeat. It saves cleanup. It also protects old pipes. Less twisting and heat means fewer surprises. On mixed‑metal systems, press transitions keep corrosion in check. Many contractors report 1–2 fewer callbacks per month after switching.
If you're also looking to streamline professional proposals, our guide covers how to write clear scopes and exclusions so clients approve shutdown windows fast.
Get organized before you touch the pipe. Here’s what you need and why it matters.
- Freeze kit or aerosol freeze: sized for 1/2", 3/4", or 1" lines.
- Press tool with jaws/rings for your pipe size: clean, charged, tested.
- Two press‑to‑union adapters: match the pipe (copper, PEX, stainless) and valve size.
- Union‑end ball or gate valve: full‑port preferred on 3/4" and 1" lines.
- Deburring tool and depth gauge: remove burrs; mark correct insertion depth.
- Alignment jig or a simple spacer: keeps union faces parallel (a 3–4 inch scrap works).
- PTFE tape and paste: only for NPT threads, not for union gaskets.
- Pressure gauge and pump: set 60–80 psi for testing.
- Towels, drip pan, eye protection, gloves: safety first.
Tip: Stage parts on a clean pad. Pre‑assemble the valve with union nuts and gaskets. Hand‑tighten so you don’t lose pieces mid‑swap.
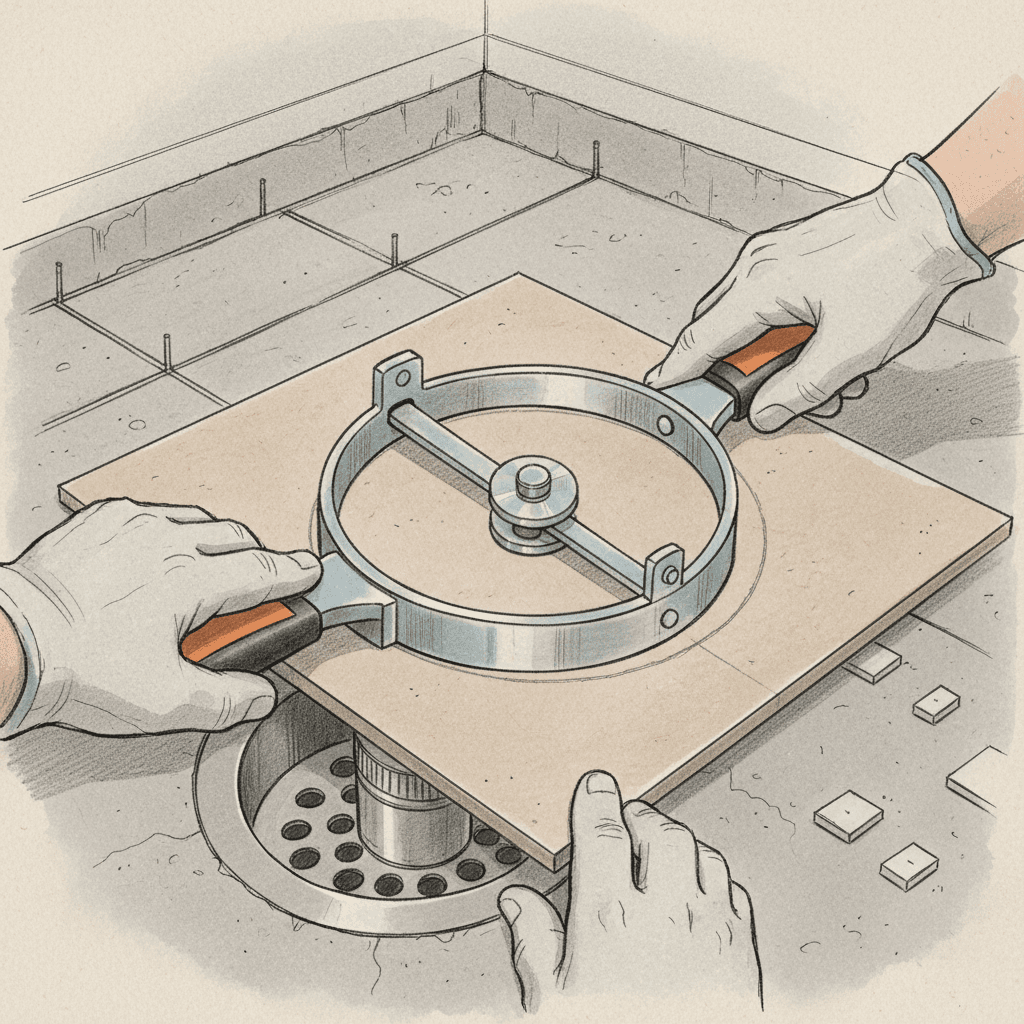
Step‑By‑Step: New Method for Installing Valves
This is the core process. Follow each step. It’s fast and clean.
-
Confirm Isolation and Plan the Cut
- Close upstream and downstream valves if present.
- Identify 6–8 inches of straight pipe for press tool clearance.
- Measure the valve “lay length” (face‑to‑face). Add 1/8" for gasket compression.
-
Freeze the Line
- Wrap the freeze jacket 6–12 inches from the cut line to protect work area.
- Start the freeze. Small lines (1/2"–3/4") often freeze in 5–10 minutes. Maintain the freeze throughout the swap.
-
Make the Cut and Remove the Old Valve
- Use a pipe cutter for a square cut; avoid hacksaw burrs.
- Remove a section equal to the valve lay length. Keep ends clean.
- Catch residual drips in a pan. If flow resumes, pause and refreeze.
-
Prep the Pipe Ends
- Deburr inside and outside. Aim for a 1/32"–1/16" chamfer.
- Wipe the pipe clean. No oil, no grit.
- Mark insertion depth using the manufacturer chart (commonly 7/8"–1‑1/8" for 1/2"–1").
-
Press the Adapters
- Slide each press‑to‑union adapter to the depth mark.
- Align jaws square. Press once, full cycle. No double‑pressing.
- Inspect the crimp. Look for full hex/round imprint and visible depth mark.
-
Set the Valve Between the Unions
- Place the valve with the flow arrow correct.
- Seat the union gaskets. Hand‑tighten nuts evenly.
This step list is the heart of the new method for installing valves. It removes heat work, protects finishes, and gets you off the job faster.
Quality Checks and Testing
Don’t skip this. A clean install still needs proof.
- Visual Check: Confirm depth marks are just outside the press sleeve. Gaskets are centered. Union faces are parallel.
- Pressure Test: Bring the system to operating pressure, or 60–80 psi for 10 minutes. No pressure drop. No weeping.
- Torque Check: Union nuts stay snug. If you used NPT on accessories, 3–5 wraps of PTFE plus paste is common on 3/4"–1".
- Function Test: Open/close the valve fully. It should turn smoothly. No binding at 90°.
- Support: Add a strap or hanger within 12–18 inches of the new valve to limit vibration.
Pro tip: Snap photos of the depth marks, press imprints, and gauge reading. If you use tools like Donizo, you can capture those with voice notes in a proposal, then get e‑sign approval for the test report before invoicing.
Common Mistakes to Avoid
Most callbacks come from a few simple misses. Here’s how to dodge them.
- Skipping Deburr: Burrs cut O‑rings. Always chamfer 1/32"–1/16" and clean.
- No Depth Marks: Without a mark, you’ll shallow‑seat the fitting. Mark it.
- Jaw Misalignment: A crooked press leaks. Keep the tool square. One full cycle.
- Tape on Unions: Union gaskets seal dry. PTFE on gaskets causes leaks.
- No Clearance: Press jaws need space. Plan for 6–8 inches of straight run.
- Rushing the Freeze: If flow returns, stop. Re‑freeze 5–10 minutes more.
This pairs well with understanding project timelines, so you can book shutdown windows and avoid conflict with other trades.
Cost and Time Comparison
Let’s keep it real. Time is money.
- Traditional drain‑and‑sweat on a live building: 2–4 hours, plus cleanup.
- New method for installing valves with press‑and‑freeze: 30–60 minutes, typical.
- Testing: 10‑minute hold at 60–80 psi either way, but faster reset.
- Materials: Press adapters and union‑end valves cost a bit more. The saved 60–120 minutes usually beats that by a wide margin.
- Upside: Fewer finish repairs. Less water on floors. Happier clients.
For contractors dealing with invoice templates that save time, this method pairs neatly with clear line items: freeze, press adapters, union valve, test, and photo proof.
FAQ
What pipe sizes work best with this method?
The new method for installing valves shines on 1/2", 3/4", and 1" domestic lines. It also works on larger sizes with ring presses and bigger freeze kits, but jaw clearance and freeze time increase.
Can I use this on PEX or stainless?
Yes. Use press adapters that match the pipe: PEX press with the correct sleeve, or stainless press systems with the right jaws. Always follow the manufacturer’s depth and tool charts.
Do I still need to drain the system?
Usually no. The freeze holds the column while you work. You may drain a small local pocket (a quart or two) when you cut. Keep a pan ready.
How long should I hold the pressure test?
A 10‑minute hold at 60–80 psi is common for domestic water. Follow local code and owner specs. Some facilities prefer 1.5× operating pressure; confirm before you start.
Are union‑end valves required?
They’re not required, but they’re the key to fast future swaps. With union ends in place, the next valve change can take under 20 minutes with no new press work.
Conclusion
The new method for installing valves is simple: freeze, press, union, test. It cuts shutdowns from hours to under an hour, reduces mess, and protects old piping. To put it in play this week: 1) Stock union‑end valves and press adapters, 2) Practice depth marks and square presses, 3) Standardize a 10‑minute, 60–80 psi test. If you want cleaner client approvals and faster billing on valve swaps, platforms such as Donizo let you capture details with voice, send e‑sign proposals, and convert to invoices in one click. Move forward with confidence and finish more clean installs per week.