Always check the V-rating (V1-V4) on tile boxes to manage variation
Mandatory dry lay for V3 and V4 tiles prevents visual problems
Blend tiles from 3-5 boxes simultaneously for even shade distribution
Set clear client expectations on tile shade variation using V-ratings
Inspect tile shipments immediately for lot numbers and damage before installation
Tile shade variation is the intentional difference in color and tone between individual tiles. For contractors, successfully managing it means understanding industry V-ratings (V1-V4), setting clear client expectations, and using specific installation techniques. Proper handling, such as blending tiles from multiple boxes and performing a dry lay, prevents visual problems and ensures a professional finish.
What is Shade Variation in Tile and Why Does it Matter for US Contractors?
Shade variation is the degree to which color, tone, and texture vary among individual tiles from the same production run. These differences arise from tiny fluctuations in raw materials, glaze application, and firing temperature—the same variables that give artisanal products their character.
For us in the trades, this isn't just aesthetic trivia—it's a project management issue. The single biggest point of friction is the gap between the sample a client approved and the 200 square feet of tile that just landed on their driveway. That single, perfect 6x6" square doesn't show the full range of character the final installation will have. If you don't set that expectation upfront, you're not installing tile; you're installing a future problem.
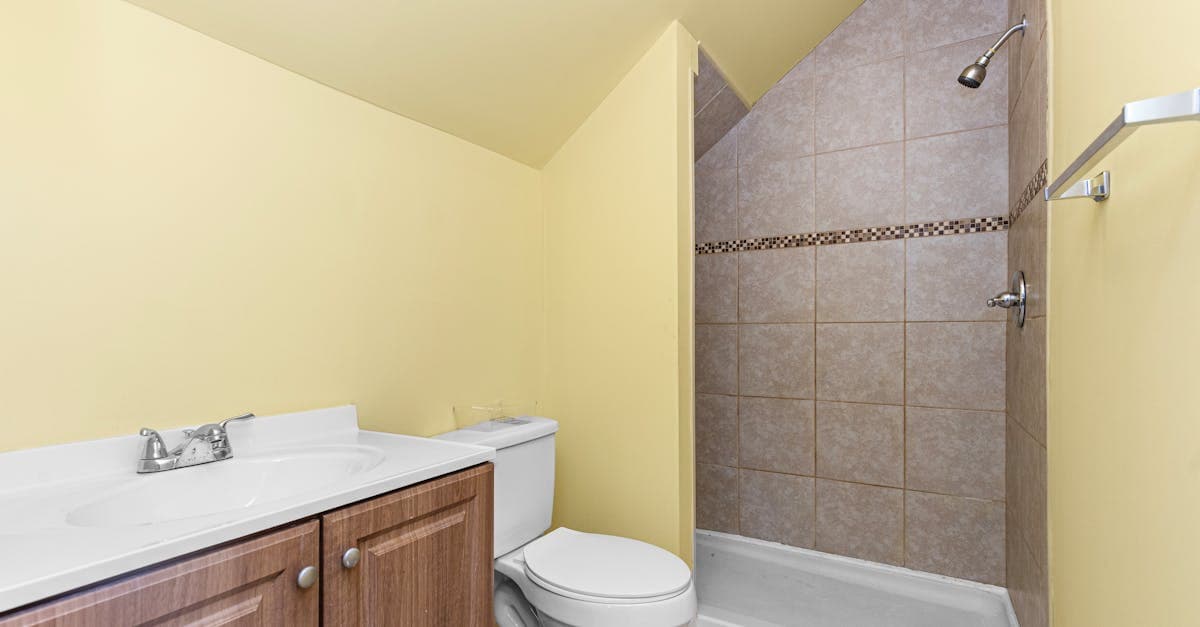
The impact is purely visual, but on a high-end bathroom remodel, the visuals are everything. A well-managed variation creates depth and a natural, organic feel. A poorly managed one looks like a mistake, a repair job, or like you ran out of the right tile halfway through. Getting it right is about control and communication.
Understanding Tile Shade Variation Ratings (V1-V4) for American Homes
Thankfully, the industry has a system for this that's simpler than explaining why their subfloor needs another $500 of prep work. It's the V-Scale, ranging from V1 to V4. Each box of tile should have this rating printed on it. Ignoring it is like skipping the subfloor prep—you'll pay for it later.
V1 – Uniform Appearance: All tiles are essentially identical. The color is consistent, the texture is the same. This is the tile of choice for commercial kitchens, hospitals, and clients who believe variety is a flaw, not a feature. Minimal surprises here, which is sometimes exactly what you want.
V2 – Slight Variation: You can see minor differences, but the tiles are still clearly from the same family. The texture or color might shift slightly from piece to piece. This is common in tiles mimicking stone or concrete where you want a hint of natural movement without it shouting at you.
V3 – Moderate Variation: Now we're talking. The amount of variation is significant and intentionally part of the design. One tile might be considerably lighter or darker than the next. This is where you get those beautiful, rustic looks. It also requires the most planning during installation.
V4 – Substantial or Random Variation: Each tile is its own person. Color, texture, and pattern can vary dramatically from piece to piece. This rating is for products like terracotta, slate, or specialty decorative tiles. An installation with V4 tile is a one-of-a-kind piece of art, but it demands a dry lay and a client with a taste for the unpredictable.
Understanding these ratings is step one. Step two is translating them into an installation plan. You wouldn't treat a V1 tile the same as a V4, and this table can help guide your strategy.
Shade Variation Installation Strategy Guide
V-Rating
Description
Best For Projects Needing...
Key Installation Strategy
V1
Uniform Appearance
A consistent, monolithic look.
Pull from any box. Little to no blending required.
V2
Slight Variation
Subtle, natural movement.
Mix tiles from 3-4 boxes at a time to ensure subtle shifts are distributed.
V3
Moderate Variation
A distinct, rustic, or artisanal aesthetic.
Mandatory dry lay. Blend tiles from all boxes to create a balanced composition.
V4
Substantial Variation
A bold, one-of-a-kind statement floor or wall.
Mandatory dry lay. Treat each tile as a unique piece. Get client sign-off on the layout before thin-set.
How Do US Building Codes and Industry Standards Address Tile Shade Variation?
Let's be clear: your local building inspector, for all his attention to detail, does not care about the shade variation in your client's backsplash. The International Residential Code (IRC) and International Building Code (IBC) are focused on structural integrity, waterproofing, and safety—not whether the greige in the master bath is consistent.
However, the tile industry itself has standards that function as our rulebook. The key documents are from the Tile Council of North America (TCNA) and the American National Standards Institute (ANSI). These standards help define what constitutes a "defect" versus an "inherent characteristic" and establish the V1-V4 ratings as the industry's method for classifying this trait What are the V1, V2, V3, V4 shade variation ratings?.
These standards provide the professional backbone for our work. They establish that variation is normal and provide a framework for quality. While they don't give you a color-matcher tool, they do back you up when a client claims the inherent nature of a V3 tile is a flaw. These standards also cover critical performance metrics like the Coefficient of Friction (COF) for slip resistance and material hardness on the Mohs Scale, all of which are defined within TCNA and ANSI guidelines What are the V1, V2, V3, V4 shade variation ratings?. The existence of these metrics proves the industry's commitment to defining quality. Shade variation is just a bit more subjective.
Practical Installation Techniques to Minimize Visual Impact of Shade Variation
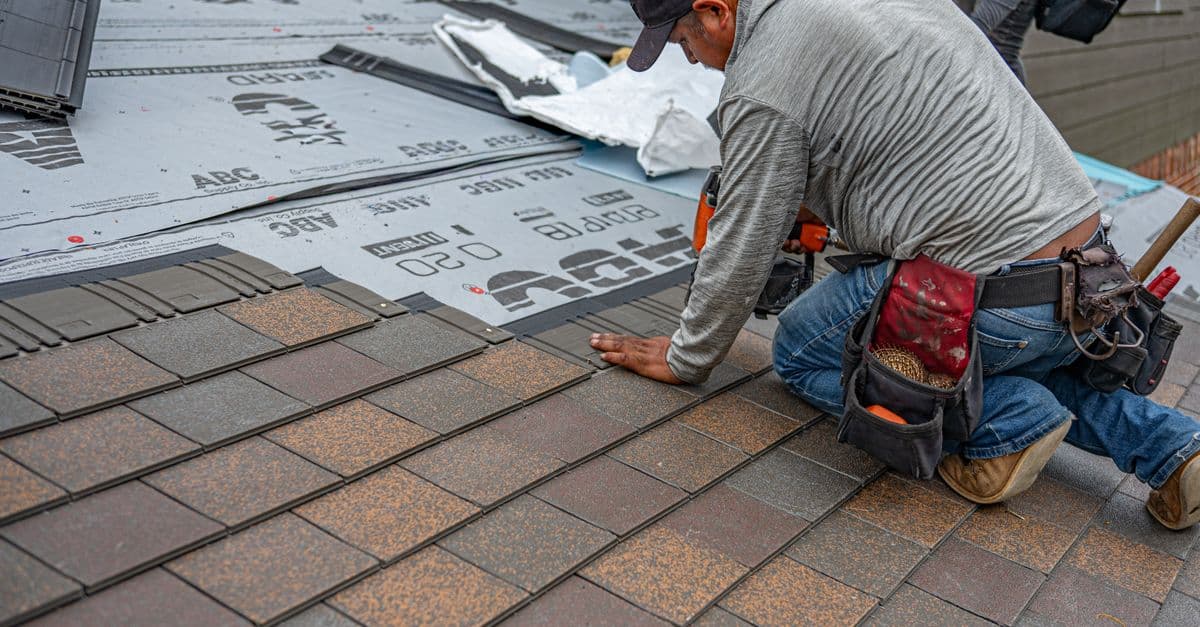
This is where the real craft comes in. The tile gives you the ingredients; you decide how to make the meal. Opening one box and laying it until it's empty is the fastest way to create an ugly, blocky-looking floor.
Always Dry-Lay V3 & V4 Tiles: I can't say this enough. Before a single drop of thin-set hits the floor, lay out a significant portion of the tile. This is your one and only chance to see the big picture, move pieces around, and avoid clustering too many dark or light tiles in one spot. It feels like it takes longer, but it saves you the nightmare of a tear-out.
Mix From Every Box: The golden rule. When you start, open at least 3-5 boxes and pull tiles from each as you go. Better yet, open all of them. This method ensures a truly random distribution, preventing noticeable "islands" of darker or lighter tiles that look like a patch job. It's tempting to work from a single box, especially when the day is winding down, but this is a shortcut that leads to callbacks.
Consider the Lighting: Install the tile in lighting conditions as close to the final environment as possible. A floor that looks perfectly blended under harsh work lights can reveal surprising patterns with the soft, angled light from a window. It's best to know that before the grout is dry.
Use Grout to Your Advantage: Grout color has a huge impact. A grout that contrasts with the tile will frame each piece individually, highlighting the variation. A grout that blends with the main color of the tiles will unify the surface and tone down the variation. Ask your client which effect they prefer—"Do you want to see every tile, or see the floor as a whole?"
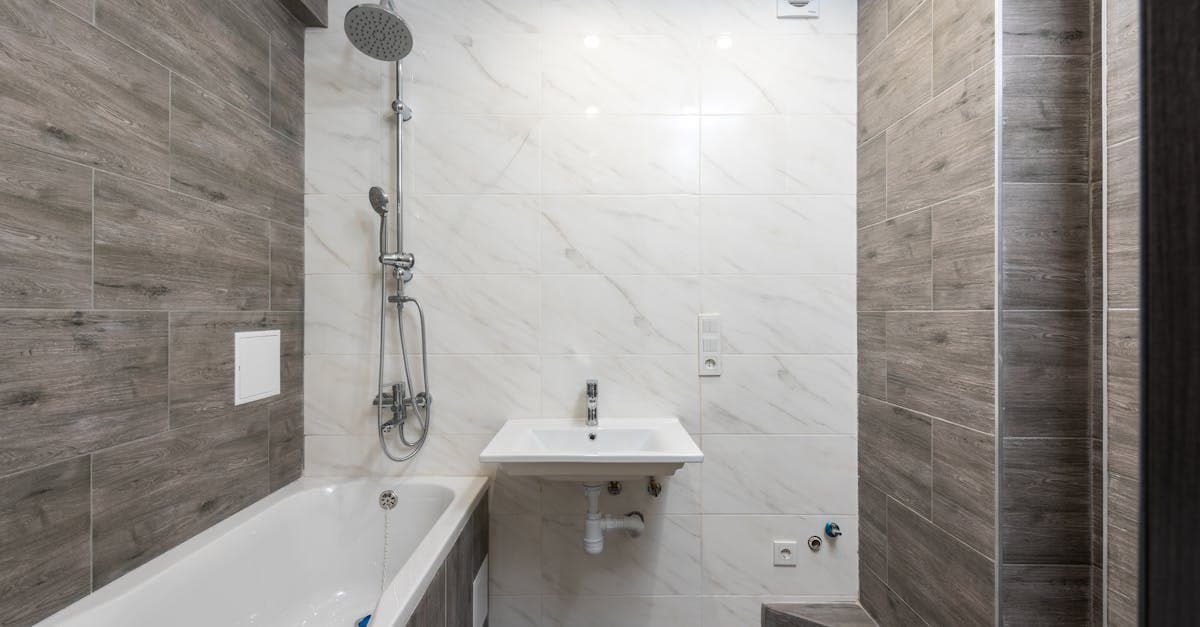
Large Format Tiles (LFTs): With large tiles, each piece is a bigger part of the final picture. A single off-shade tile is much more noticeable. Blending from different boxes is even more critical here.
Managing Tile Shipments: Inspection and Handling Best Practices for Tradespersons
The pallets have arrived, bringing with them the potential for either a beautifully nuanced surface or a logistical headache. Your job starts the moment that truck leaves. Don't wait until installation day to discover a problem.
Verify Lot/Shade Numbers: Check that all boxes are from the same production lot (dye lot) and shade code. Mismatched lots are a guaranteed problem.
Open Several Boxes: Don't just check the one on top. Open at least 3-5 random boxes from the shipment.
Lay Out a Sample: Pull 5-10 tiles and lay them out on the floor. Does the variation match the V-rating and the client's expectation?
Check for Damage: Look for chipped corners, cracks, or surface defects.
Document Everything: Take photos of the box labels (lot numbers) and your sample layout. If there's an issue, these photos are your proof.
Communicate Immediately: If you see a problem—mismatched lots, unacceptable variation, damage—call your supplier before you sign anything or start the job. Don't wait.
Once inspected, store the boxes in a dry, safe place where they won't get damaged. Lay them flat to prevent warping. Proper handling is just as important as proper installation.
Key Takeaways for Mastering Tile Shade Variation in Your Projects
Mastering tile shade variation is about transforming a potential liability into a deliberate design feature. The key disciplines are simple but non-negotiable: communicate expectations with your client, read the V-rating on the box, and always plan your layout before you mix your thin-set. By blending tiles from every box, performing a dry lay for V3 and V4 products, and citing ANSI standards as your professional backup, you move from simply setting tile to being a true craftsman who delivers a beautiful, intentional result.
Related Articles
Discover more insights and tips for your construction business