Intro
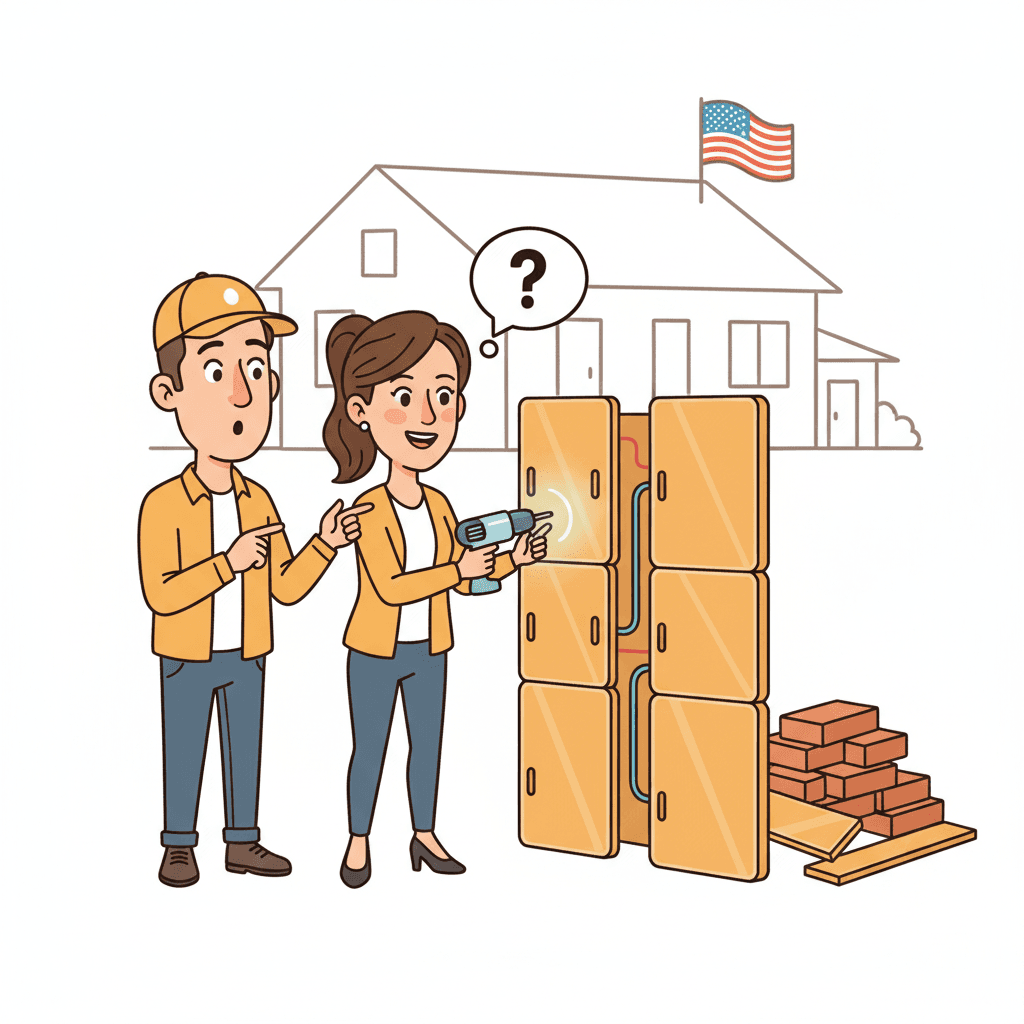
On most jobs, you want clean lines and solid support. A Smart Paver Post Base Install Clean Deck Support approach gives you both. It keeps hardware tidy, protects the load path, and passes inspections. In this guide, you’ll learn what it is, why it matters, and exactly how to do it on pavers. We’ll cover base types, anchor choices, layout, drilling, and sealing. Follow these steps and you’ll get strong posts, tight layouts, and a clean finish that clients notice.
Quick Answer
A Smart Paver Post Base Install Clean Deck Support method anchors post bases into real concrete or footings below the paver, not the paver itself. You remove a paver, drill the slab or pier, set mechanical or epoxy anchors with correct embed (often 4–6 inches), then grout or sand-set the paver back for a clean, code-ready result.
Table of Contents
Key Takeaways
- Anchor through the paver into concrete or a pier. Never rely on the paver alone.
- Typical embed is 4–6 inches into concrete for 1/2-inch class anchors.
- Maintain at least 2 inches edge distance from slab edges and joints.
- Let epoxy cure 24–48 hours before loading. Mechanical anchors are immediate.
- Keep posts plumb within 1/8 inch over 4 feet for clean lines.
What “Smart” Means: Clean Support on Pavers
“Smart” means you respect the load path and keep the look clean. The paver is just a surface. It can’t hold a deck or pergola post by itself. With a Smart Paver Post Base Install Clean Deck Support approach, you anchor the base to concrete or a footing below. Then you return the paver around the base for a neat, flush finish.
Why it matters:
- Stronger connection. You get real shear and uplift resistance.
- Cleaner finish. Minimal exposed hardware. Tight lines at the surface.
- Fewer callbacks. Posts stay plumb. Fewer cracks or wobbles.
Smart Paver Post Base Install: Clean Deck Support Basics
Let’s set the rules before you drill.
- Post size: Choose 4x4 or 6x6 bases to match your loads. Many decks and pergolas run better on 6x6.
- Support below: Confirm a 4-inch to 6-inch concrete slab, or install concrete piers (8–12 inches diameter typical).
- Fasteners: Use rated mechanical anchors (3/8-inch or 1/2-inch) or epoxy-set threaded rod (3/8–5/8 inch) with an ICC report.
- Edge distance: Keep at least 2 inches from slab edges and control joints. More is better.
- Drainage: Maintain a 1/8–1/4 inch gap under wood bases or use standoff bases to prevent rot.
A Smart Paver Post Base Install Clean Deck Support job always ties the post base to something structural. The paver only hides the work.
Plan Your Layout, Loads, and Code Checks
Good planning saves rework.
- Layout: Snap lines. Mark post centers. Dry-fit pavers to confirm joint lines.
- Loads: Check beam spans. Many pros set posts 6–8 feet apart, depending on species and beam size.
- Code and permits: Pergolas and decks often need permits. Inspectors look for proper embed, anchor type, and manufacturer specs.
- Utilities: Call before you core drill. Mark irrigation too.
- Proposal notes: Document base type, anchor size, embed depth, and finish details. Tools like Donizo let you capture site notes by voice, attach photos, and turn them into a clean proposal fast with e-sign ready PDFs.
Smart Paver Post Base Install: Step-by-Step
Follow these steps for a clean, strong result.
-
Confirm Structure Below
- Lift one paver where each post goes.
- Verify a 4–6 inch slab or an existing pier. If you have compacted base only, pour a footing at least 8–12 inches diameter and below frost.
-
Mark and Core/Cut the Paver
- Mark the base plate outline and post center.
- Dry-cut or core the paver to allow the base plate to sit clean. Leave a 1/8–1/4 inch gap for sand or grout.
-
Drill the Concrete
- Position the post base and mark holes.
- Drill with a carbide bit. Depth should be anchor length plus 1/2 inch for dust.
- Typical anchors: 3/8 inch or 1/2 inch diameter. Embed 4–6 inches into concrete.
-
Clean the Hole
- Blow-brush-blow. Use a blower and nylon brush. Dust cuts anchor strength.
-
Set Anchors
- Mechanical: Tap in wedge or sleeve anchors. Tighten to spec (commonly 25–45 ft‑lb; check the data sheet).
- Epoxy: Inject adhesive, spin in threaded rod, and cap. Allow 24–48 hours cure at 70°F. Longer if cold.
-
Install the Post Base
- Set the base over anchors. Use washers and nuts. Snug, then torque to spec.
- Check level. Use stainless or hot-dip galvanized hardware for exterior.
-
Set the Post
- Cut the post square. Use a standoff base with 1/2–1 inch clearance off the paver to avoid trapped water.
This Smart Paver Post Base Install Clean Deck Support sequence keeps the look tidy and the structure solid.
Anchors, Edge Distance, and Grout Details
Small details make big differences.
-
Mechanical vs Epoxy:
- Mechanical anchors are immediate. Great for tight timelines.
- Epoxy anchors shine near edges or in cracked concrete. Follow the ICC report for embed, hole size, and cure time.
-
Hole and Embed:
- For 1/2-inch anchors, drill a 1/2-inch bit (or per spec) and embed 4–6 inches.
- Keep 2 inches minimum from edges and joints. Aim for 3–4 inches when possible.
-
Base Height and Drainage:
- Choose a standoff base (1-inch typical) for wood posts.
- Maintain a 1/4 inch per foot patio slope. Don’t dam water with grout.
-
Grout and Sand:
- Non-shrink grout gives a tight, clean edge. Tool it smooth.
- Polymeric sand is easier to service later. Sweep and mist lightly.
-
Hardware Finish:
- Exterior-grade galvanization or stainless lasts. Mix-and-match metals can corrode. Keep it consistent.
Finish Clean: Flashing, Shims, and Maintenance
You can see the finish from the driveway.
- Hide Cuts: Scribe pavers tight. Keep 1/8–3/16 inch joints even.
- Shim Smart: Use stainless or composite shims under the base if the slab isn’t flat. Avoid wood shims.
- Protect Wood: Brush end-grain sealer on cuts. It takes 2–3 minutes and prevents wicking.
- Final Check: Re-torque nuts after 24 hours. Wood may settle 1/16–1/8 inch.
- Document: Take final photos. Note anchor types, embed, and cure times. Clients like seeing the hidden work. Sending a clean summary with your invoice is easy when you use platforms such as Donizo to convert accepted proposals to invoices in one click.
FAQ
Can I mount a post base directly to a paver?
No. A paver can’t carry deck or pergola loads. You must anchor to concrete or a footing below the paver. The paver only covers the base for a clean finish.
What anchor size should I use for exterior post bases?
Many contractors use 3/8-inch or 1/2-inch mechanical anchors, or epoxy-set threaded rod in the same sizes. Embed 4–6 inches into concrete, and follow the base and anchor manufacturer’s specs.
How close can I drill to a slab edge or control joint?
Keep at least 2 inches from edges and joints. More distance reduces spalls and increases capacity. If you’re tight, consider epoxy anchors with deeper embed and lower expansion force.
How long before I can load an epoxy anchor?
Most epoxies need 24–48 hours at 70°F before full load. In cooler weather, cure time increases. Mechanical anchors can be loaded right away after proper torque.
Do I need a standoff base on pavers?
Yes, it’s best practice for wood. A 1/2–1 inch standoff keeps end grain out of water. It reduces rot and keeps the base looking clean.
Conclusion
A Smart Paver Post Base Install Clean Deck Support approach anchors into real structure, then brings the surface back tight for a clean look. Do the basics right: plan your layout, drill clean holes, embed 4–6 inches, protect edges, and keep water moving. Next steps:
- Verify slab or pier locations and mark centers.
- Choose anchors and embed based on loads and edge distance.
- Follow the step-by-step process above and document each post.
If you want faster paperwork, capture site notes and send branded proposals using Donizo. Build strong. Keep it clean. Clients notice.