Intro
You want a contractor costume that looks real, feels safe, and shows pride in the trade. Maybe it’s for a school visit, a community day, Halloween, or a team photo. Here’s how to build a contractor costume the right way. We’ll cover real PPE standards, safe props, and simple branding. You’ll learn what to wear, what to avoid, and how to make it look sharp in 30–60 minutes. This guide keeps things simple, practical, and respectful of the work. Let’s make a contractor costume that tells a true story about the job.
Quick Answer
A contractor costume should use safe props, clean workwear, and real PPE where possible. Pick high‑vis, boots, hard hat, glasses, gloves, and a simple tool belt. Avoid real blades and live power tools. Add a branded badge and project clipboard for a professional look. It’s quick, safe, and respectful.
Table of Contents
- What Is a Contractor Costume and Why It Matters
- Safety First: Respect PPE and the Trade
- Materials Checklist For a Realistic Contractor Costume
- Build Your Contractor Costume in 6 Steps
- Brand It Right: Company, Roles, and Events
- Photo and Event Tips That Sell the Look
Key Takeaways
- Use real PPE standards: CSA Z96 high‑vis, Z94.1 hard hats, Z94.3 eyewear.
- Keep props safe: no live blades; foam or plastic tools only.
- Aim for 30–60 minutes build time with a $75–$200 budget.
- Keep tool belt weight under 4–6 kg to stay comfortable.
- Use clean branding: 3×4 inch badge and a simple clipboard.
What Is a Contractor Costume and Why It Matters
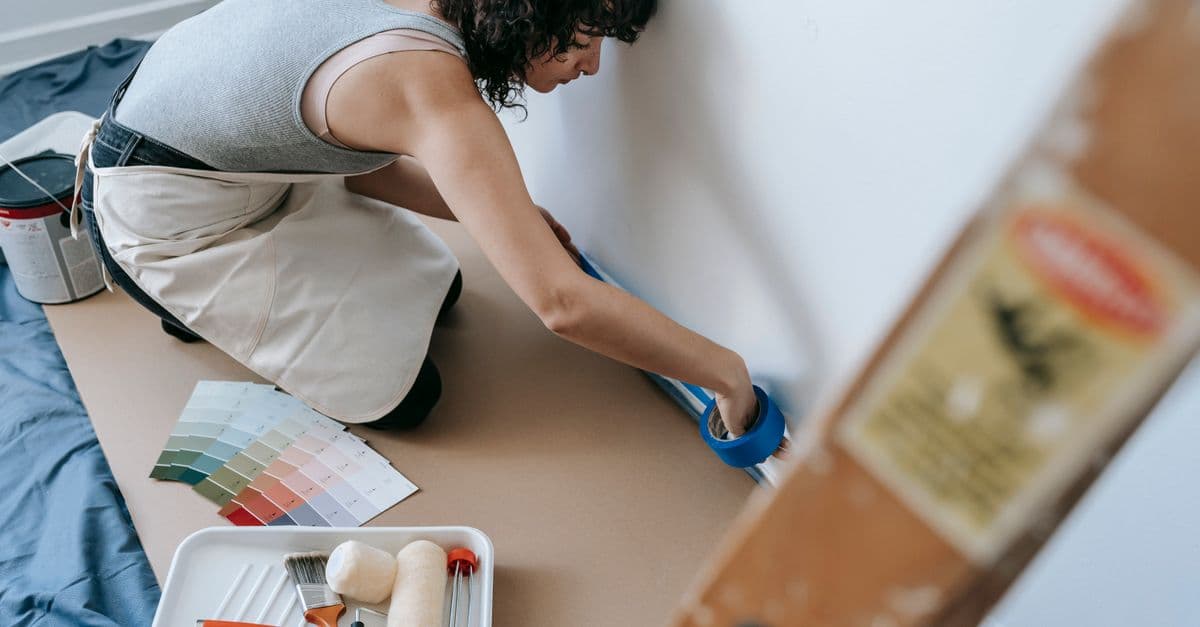
A contractor costume is a safe, realistic outfit that shows what you do. It’s great for school talks, job fairs, open houses, and community events. It’s also handy for team photos and social posts. Done right, it shows respect for safety and skill.
Many people only see the end result of a build. Your contractor costume helps them understand the work behind it. It teaches kids about trades. It shows clients you care about standards. It also makes your crew look sharp and united.
Safety First: Respect PPE and the Trade
Safety comes first, even in costume. Use this as your base:
- High‑vis vest or jacket that meets CSA Z96 Class 2 or Class 3.
- Hard hat that meets CSA Z94.1, Type 1 is common on most jobs.
- Safety glasses that meet CSA Z94.3 standards.
- Work gloves with an ANSI A3–A5 cut rating if you use any props.
- CSA Green Triangle boots (Grade 1 toe), 6–8 inch height for ankle support.
Keep props safe and light.
- No open blades. Use plastic or foam knives and saws.
- No live power tools. Use empty cases or prop shells.
- Ladders are for display only. If you use one, keep it low (3–6 ft) and block it off.
Respect the trade.
- Don’t fake licences. If your costume uses a trade logo, keep it generic or your own.
- Use real PPE if you step onto any active site. Costume gear is not site‑approved.
Materials Checklist For a Realistic Contractor Costume
Build your contractor costume with items you can reuse on the job or keep as props.
Clothing and PPE
- High‑vis vest (50 mm/2 inch reflective tape preferred) or jacket.
- Hard hat, white or company colour, with a clean shell.
- Safety glasses, clear lens for indoor events.
- Work gloves, snug fit so you can shake hands.
- Work boots, clean and dry soles for indoor floors.
- Base layer: dark jeans or work pants and a solid T‑shirt or flannel.
Props and Branding
- Tool belt (keep total weight under 4–6 kg to avoid strain).
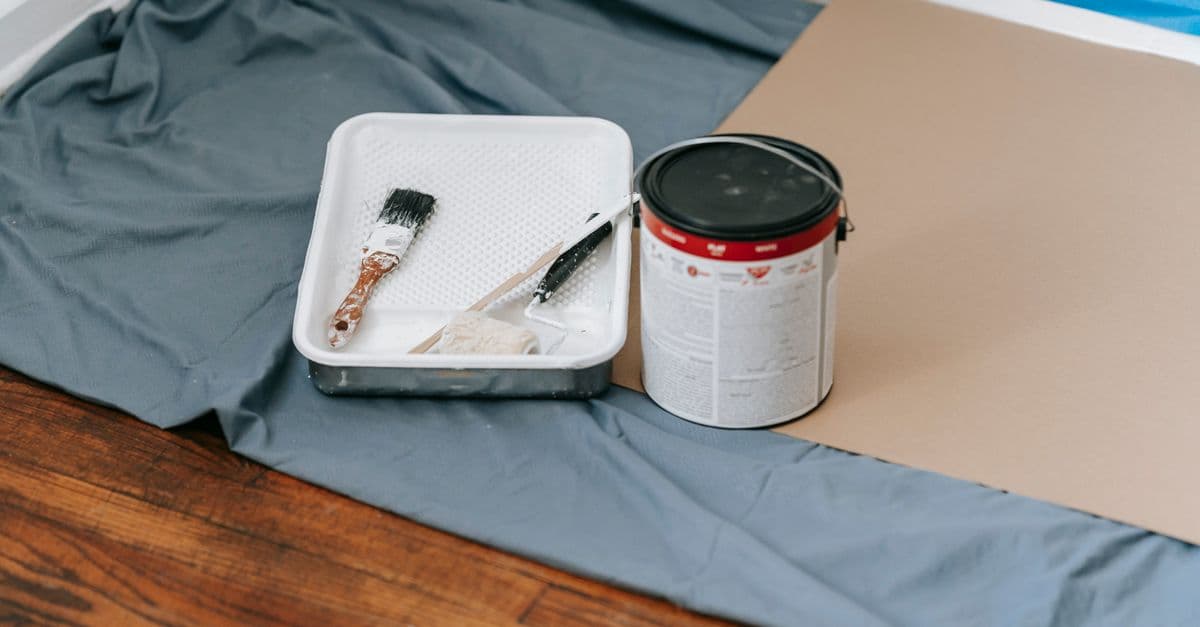
- Plastic or foam tools (hammer, measuring tape, level, square).
- Empty cordless drill shell or dummy battery (no bits).
- Clipboard with a simple “Job Sheet” or estimate template.
- 3×4 inch photo ID badge with name and role.
- Optional: 18×24 inch foam‑board sign for your booth or table.
Budget and Time
- Expect $75–$200 for basic pieces if buying new.
- Assembly takes 30–60 minutes, plus 10–15 minutes for photos.
Build Your Contractor Costume in 6 Steps
Follow these steps to build your contractor costume fast and safely.
-
Start With Clean Base Layers
Put on dark jeans or work pants and a solid shirt. Keep colours simple. Avoid stains if you’re meeting clients or kids.
-
Add Real PPE First
Wear your CSA‑rated boots, glasses, and hard hat. Then add the high‑vis vest or jacket. Real PPE sells the look in seconds.
-
Set Up a Light Tool Belt
Load only safe props. Use a plastic hammer, a level, and a closed measuring tape. No open blades. Keep the belt under 4–6 kg.
-
Create a Simple Badge and Clipboard
Print a 3×4 inch badge with your name and role: “Site Lead”, “Estimator”, or “Project Manager”. Add a clipboard with a one‑page “Job Sheet”. It looks pro without overdoing it.
-
Add One Feature Prop
Choose one: a rolled plan, sample tile, paint fan deck, or stud offcut with sanded edges. Big props read well from 2–3 metres in photos.
-
Do a 60‑Second Safety Check
Move, bend, and turn. Check that nothing snags. No sharp edges. No live tools. If you’re at a school or crowded event, tape shut any tool cases.
Brand It Right: Company, Roles, and Events
A contractor costume is also a branding moment. Keep it clean and honest.
- Company name: Use your own logo only. Place it on the vest front left and on the hard hat back.
- Roles: Pick one role and stick with it. Estimator? Add a pen and clipboard. Electrician? Add a non‑conductive plastic fish tape. Carpenter? Add a foam chisel and a square.
- Colours: Match your company colours when possible. Keep high‑vis compliant.
Event tips by audience
- Kids and schools: Drop the tool belt. Use one or two large plastic props. Talk about “why safety matters” for 30–60 seconds.
- Community fairs: Use the full set. Add a foam‑board sign (18×24 inches) with your services.
- Trade shows: Keep it sharp. Clean boots. Crisp vest. Use a digital tablet for sign‑ups.
If you’re also looking to streamline professional proposals, our guide on creating professional proposals pairs well with a branded event setup. For contractors refining pricing, check out our piece on pricing strategies that protect margin. And if you need faster billing after events, see our practical invoice templates resource.
Photo and Event Tips That Sell the Look
Make your contractor costume work for photos and conversations.
- Poses that read well: hold a level vertically, point to a simple plan, rest a boot on a toolbox (lid closed). Keep hands clear of the face.
- Framing: shoot from 1.5–2 metres with a clean background. Use natural light when possible.
- Details: keep reflective tape straight and flat. It pops in photos.
- Time your breaks: 10 minutes on, 5 minutes off. Heavy belts get tiring fast.
- Flooring safety: on polished concrete or gym floors, check sole grip. Wipe boots before walking in.
- Respect venues: no dust, no debris, no live tools. Ask before bringing a prop ladder.
Conclusion
A great contractor costume is simple: real PPE, safe props, and clean branding. Keep the belt light, the tools harmless, and the story honest. You can build it in under an hour and use it for school visits, fairs, and team photos.
Next steps:
- Gather PPE and props from the checklist today.
- Print a 3×4 inch badge and a one‑page “Job Sheet”.
- Do a quick photo test with good light and a clean background.
By following this guide, you’ll look professional, stay safe, and represent the trade with pride. Subscribe to get more practical jobsite tips and simple event tools that help your business stand out.