Intro
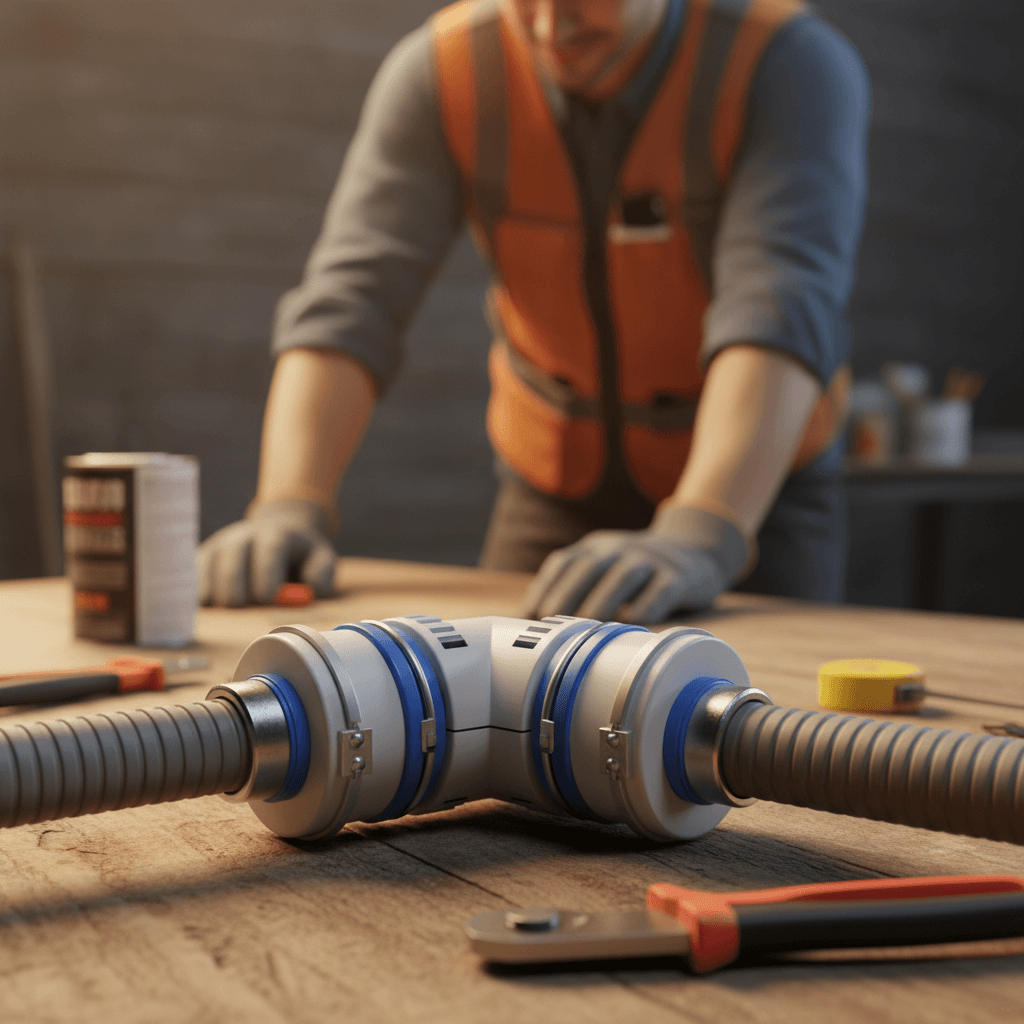
On most jobs, pipes never line up perfectly. Framing shifts. Slabs aren’t square. Existing lines wander. An Adjustable PVC Elbow for Flexible Pipe Alignment fixes this fast. It lets you dial in the angle without cutting a dozen short pieces. You get a clean run and fewer leak points.
This guide shows you when to use it, how to size it, and how to install it right. We’ll cover cement timing, support, testing, and code checks. You’ll see real field tips that save hours. Follow the steps and you’ll set the angle once, glue once, and move on.
Quick Answer
An Adjustable PVC Elbow for Flexible Pipe Alignment is a swivel-style fitting that covers angles (commonly 0°–90°). It replaces multiple fixed elbows, making tight alignments simple. Pick the correct size and schedule, dry-fit to set the angle, then solvent-weld per the manufacturer. Support within 12–18 inches and water-test within 30–60 minutes.
Table of Contents
Key Takeaways
- Adjustable elbows cover tricky angles and cut out 2–3 extra joints.
- Dry-fit first. Mark the angle so it doesn’t drift during glue-up.
- Hold each glued joint 15–30 seconds; allow 2+ hours cure when possible.
- Support within 12–18 inches; keep 1/4 inch per foot drain slope.
- Water test for 15–30 minutes before closing walls or backfilling.
Why Use an Adjustable PVC Elbow
On remodels and service calls, exact angles are rare. Framing, slabs, and old work push you off the line. An Adjustable PVC Elbow for Flexible Pipe Alignment lets you set any angle in the field. No guessing. No cutting five stubs to hit a sweet spot.
Benefits you’ll notice:
- Fewer leak points: One fitting instead of 2–4 fixed elbows.
- Faster layout: Dial the angle in 60–90 seconds during dry-fit.
- Cleaner look: Smooth runs and fewer “zig-zags.”
- Space saver: Great in tight chases and under sinks.
Use it when a straight run and a fixed 45° or 90° won’t land your centerline. It’s perfect for offsets around 1–8 inches over a 12–24 inch run.
Adjustable PVC Elbow for Flexible Pipe Alignment: Sizing and Specs
Picking the right Adjustable PVC Elbow for Flexible Pipe Alignment is simple if you check three things: size, schedule, and angle range.
- Size: Match pipe OD/ID. Common sizes run 1/2 inch to 4 inches. Keep transitions consistent through the offset.
- Schedule: Schedule 40 is typical for DWV and many cold-water lines. Schedule 80 offers thicker walls for higher pressure—check system design.
- Angle range: Many adjustable elbows cover 0°–90°. Some lock at set points; others swivel freely until glued or tightened.
- Socket depth: Mark insertion depth before cement. On 1 inch pipe, expect about 1–1.5 inches insertion—check the fitting’s chart.
- Temperature: Most PVC solvent-welds best between 40°F and 100°F. Cold weather needs longer set/cure times.
- Compatibility: For potable water, verify NSF markings. For DWV, check ASTM D2665 or local equivalent.
Tip: For drains, keep the overall run at 1/4 inch per foot slope. The adjustable elbow sets the angle; your slope still needs to stay consistent.
Install an Adjustable PVC Elbow Step by Step
Follow this simple process to install an Adjustable PVC Elbow for Flexible Pipe Alignment without rework.
- Measure and Dry-Fit
- Cut the pipe square. Deburr inside and outside edges.
- Dry-fit the elbow and the next length. Rotate to your perfect angle.
- Mark orientation lines across fitting and pipe with a marker.
- Check Slope and Clearances
- For DWV, confirm 1/4 inch per foot fall.
- Confirm at least 1 inch clearance from sharp edges or fasteners.
- Prime (If Required)
- Apply purple primer to socket and pipe end for 5–10 seconds.
- Let the primer flash off for about 10–15 seconds.
- Cement
- Coat pipe and fitting socket fully in 3–5 seconds each.
- Push pipe home to the depth mark with a 1/4 turn twist.
- Align the orientation marks as you seat the joint.
- Hold and Wipe
- Hold pressure 15–30 seconds so it doesn’t push back.
- Wipe off extra cement. Don’t stress the joint.
- Repeat for the Other Side
- Recheck the angle against your marks before gluing the second socket.
- Initial Set and Handling
- Allow at least 15 minutes before light handling at 60–100°F.
- Full Cure and Test
- For ≤2 inch pipe, aim for 2 hours cure when you can; up to 24 hours in cold weather or larger sizes.
Time saver: Pre-mark the socket depths and centerlines before you start glue-up. It keeps you fast and accurate.
Seal, Support, and Test the Joint
Sealing
- Solvent-weld creates a chemical bond. The joint is as strong as the pipe when cured.
- In damp or cold work, extend set time to 30–60 seconds and cure time to at least 4 hours if possible.
Support
- Strap within 12–18 inches of the elbow on both sides.
- For horizontal runs, add support every 4–6 feet (smaller pipe) or 6–8 feet (larger). Check local code tables.
Testing
- Potable lines: Commonly water-test at working pressure (e.g., 60–80 psi) for 30–60 minutes. Follow project spec.
- DWV: Many codes prefer a 10-foot head water test for 15 minutes. Avoid air pressure testing PVC unless the code and manufacturer allow it.
Numbers to remember
- Hold time: 15–30 seconds.
- Initial handling: 15 minutes.
- Preferred cure: 2 hours at 60–100°F for ≤2 inch.
- Slope: 1/4 inch per foot for drains.
Code Checks, Mistakes to Avoid, and Field Tips
Code and Standards
- Verify local plumbing code acceptance for the specific adjustable elbow design.
- Use NSF/ASTM-listed fittings where required (NSF-pw, ASTM D2466/D2665, etc.).
Common Mistakes
- Over-rotating during glue-up: The angle slips. Fix with clear orientation marks.
- Dry-fit too tight/loose: If the socket is loose, don’t rely on cement to fill big gaps.
- Rushing cure: Pressurizing at 10–30 minutes can blow weak joints.
- Skipping support: Unstrapped elbows sag, stressing the joint over time.
Field Tips
- In cramped spaces, assemble on the ground. Then set the whole unit.
- On sunny exteriors, shade the work. Hot sun flashes cement fast.
- If you need a tiny tweak later, consider a mission-style flexible coupling downstream instead of re-gluing.
Cost, Time, and Documentation
Cost
- An adjustable elbow often costs 1.5–3x a fixed elbow. But it can replace 2–4 fittings and 2–3 extra joints.
- Fewer cuts and joints can save 20–40 minutes on a typical offset.
Time
- Expect 10–15 minutes to measure, dry-fit, and glue one adjustable elbow well.
- Add 30–60 minutes for water testing, depending on system size.
Documentation
- If the adjustable fitting is a change from the original plan, note it on the work order. Clear notes avoid callbacks.
- For quoting small add-ons, solid pricing strategies help. If you’re also looking to streamline professional proposals, use clear item lines and photos. That keeps approval quick.
- For busy crews, creating professional proposals and fast approval can cut idle time. Tools like e-signatures and a simple client portal help.
Tip: If you handle upsells or extras on site, generating a quick, branded proposal and capturing approval before you proceed keeps cash flow clean. Platforms such as Donizo let you capture details by voice, send a PDF proposal, get a digital signature, and convert it to an invoice in one click.
Conclusion
An Adjustable PVC Elbow for Flexible Pipe Alignment solves tight offsets fast, reduces joints, and gives you a cleaner run. Dry-fit, mark, glue with the right timing, support within 12–18 inches, and water-test before cover. That’s the formula for leak-free work.
Next steps:
- Stock 0°–90° adjustable elbows in 3–4 common sizes.
- Keep primer, medium-body cement, and straps ready.
- Mark orientation lines every time—no angle drift.
When a fitting change affects scope or cost, capture details and get quick approval. Solutions like Donizo help you record the change, send a branded proposal, collect an e-signature, and invoice in one click. Do the work once, and move on with confidence.