Introduction
On most jobs, speed kills quality. Don't make this mistake in tile installation: setting tile on a bad substrate and skipping movement joints. That's the combo that cracks grout, pops tiles, and kills your margin. In this guide, you’ll see exactly how to prep the base, allow for movement, and get proper coverage. I’ll share clear numbers, simple steps, and real job tips you can use today.
Quick Answer
The biggest tile mistake is setting over an unprepped surface and ignoring movement joints. Fix it by flattening the substrate (as tight as 1/8" in 10' for large tile), cleaning and priming as needed, achieving 95% coverage in wet areas, and adding soft joints every 20–25' indoors with a 1/4" perimeter gap.
Table of Contents
Key Takeaways
- Flatten to 1/8" in 10' for large-format tile; 1/4" in 10' for smaller.
- Leave a 1/4" perimeter gap; add soft joints every 20–25' indoors, 8–12' outdoors.
- Aim for 95% thinset coverage in wet areas, 80% in dry; back-butter big tiles.
- Let thinset cure 24 hours before grouting; longer in cool or damp rooms.
- Document substrate issues on day one to prevent unpaid rework and callbacks.
Why This One Mistake Ruins Tile Jobs
Tile is rigid. Floors and walls move. Moisture, heat, and structure shifts cause that. When you set over a wavy, dirty, or weak base and don’t allow movement, failure is baked in. Cracks show up in 3–12 months. Sometimes sooner. Don't make this mistake in tile installation—fix the base, then let the system breathe.
Common Failures You’ll See
- Cracked grout along doorways and long runs
- Tented tiles in sunrooms and kitchens
- Hollow spots from poor coverage
- Lippage because the floor wasn’t flat
Don't Make This Mistake in Tile Installation: Substrate Prep
Good prep is simple: flat, clean, and sound.
Flatness Targets
- Large-format tile (one side ≥ 15"): keep variation within 1/8" in 10' and 1/16" in 24".
- Smaller tile: within 1/4" in 10'.
Use straightedges. Mark highs and lows. Fix it before thinset day.
How to Get There
- Self-leveler for dips over 1/4". Prime first.
- Grind high spots. Vacuum dust thoroughly.
- Patch cracks with a suitable filler. For active cracks, use a crack-isolation membrane.
Clean and Sound
- Remove paint, oil, and loose material. Thinset needs bite.
- New concrete? Many contractors wait 28 days or use a moisture-tolerant system.
- Wood floors need proper underlayment or a decoupling membrane. Check deflection.
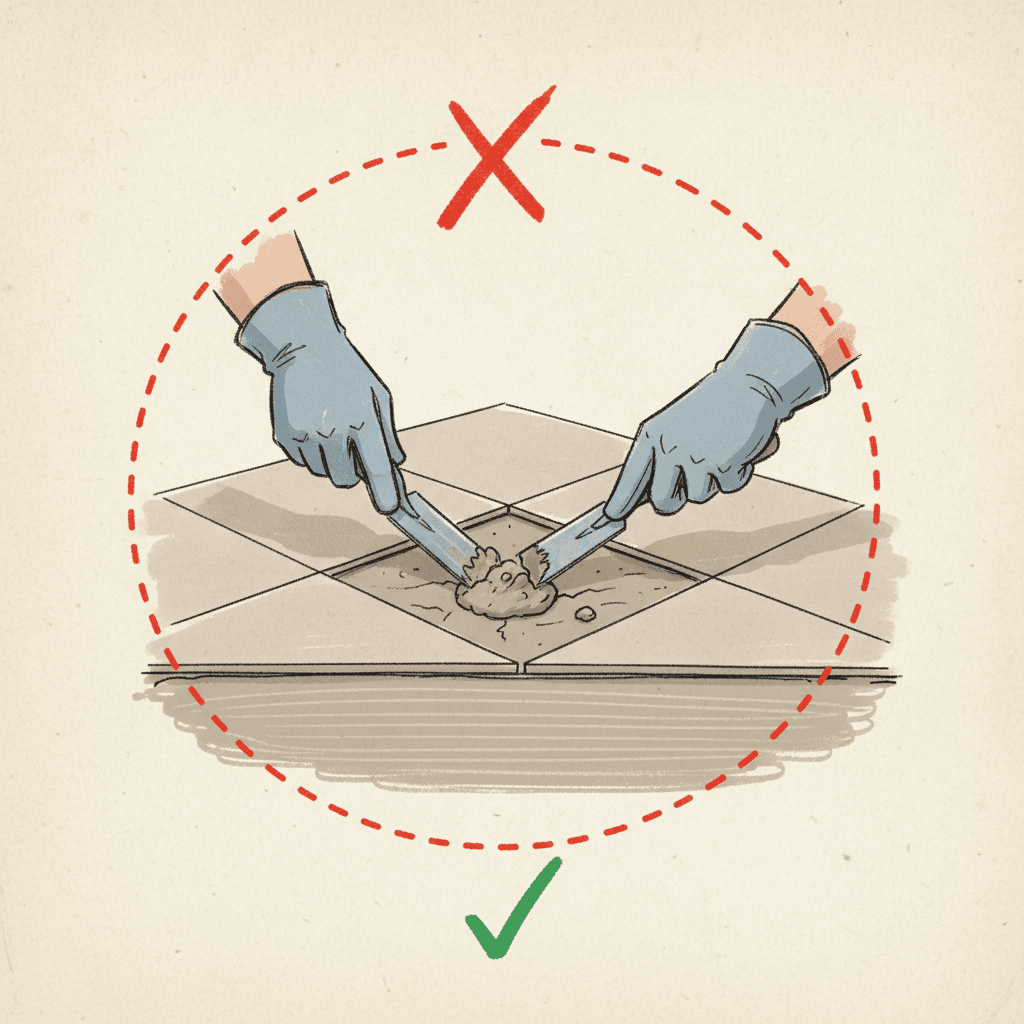
Don't make this mistake in tile installation: trying to “float it out” with thinset. Thinset is not a floor leveler.
Don't Make This Mistake in Tile Installation: Movement Joints
Tile needs room to move. Build in movement paths or the system fights itself.
Practical Spacing
- Interiors: soft joints every 20–25'.
- Exteriors or sun-heavy rooms: every 8–12'.
- Perimeter: maintain a 1/4" gap at walls, cabinets, and columns.
Where to Place Them
- Long hallways and big rooms
- Doorways and transitions
- Around fixed objects and columns
Fill with a flexible sealant or use engineered movement joint profiles. In showers and wet rooms, match the joint plan to the layout. Don’t hard-pack every edge. Don’t make this mistake in tile installation by grouting tight to walls or tubs.
Mortar, Trowel, and Coverage You Can Trust
Coverage matters. Voids create weak spots and water paths.
Coverage Goals
- Wet areas: 95% coverage, no voids bigger than a dime.
- Dry areas: 80% coverage. Still aim higher on floors.
How to Hit the Numbers
- Use the right notch: 1/4" x 3/8" square notch is common for 12"x24". Go larger if needed.
- Trowel in one direction. Set and slide the tile 1–2" to collapse ridges.
- Back-butter large-format tiles.
- Pull a tile every 10–15 minutes to check coverage.
Choose mortar matched to tile and substrate. Many installers use a large-and-heavy-tile (LHT) mortar for big pieces. Don’t make this mistake in tile installation: using mastic where thinset is required.
Step-By-Step: Avoid the Mistake Every Time
- Assess the base (30–45 minutes).
- Check flatness with a 10' straightedge and a 2' level. Mark issues.
- Fix the plane (2–6 hours depending on size).
- Grind highs, fill lows, or pour leveler. Let it cure per product data.
- Plan movement (15–30 minutes).
- Mark perimeter gaps (1/4"). Add soft joints every 20–25' indoors; 8–12' outdoors.
- Choose materials (10–20 minutes).
- Pick LHT mortar for big tiles. Select trowel size to meet coverage.
- Set tile (variable).
- Trowel in straight lines. Back-butter big pieces. Check coverage.
- Cure and grout (24 hours typical).
- Allow mortar to cure. Use flexible sealant at movement joints and perimeter.
Don't make this mistake in tile installation by rushing steps 1–3. Those hours save you days of rework.
Document It and Protect Your Margin
When you’re on site, take photos of cracks, dips, and moisture concerns. Note movement joint locations in your plan. Add time and materials for prep. If scope is light on prep, call it out and price it.
- Use tools like Donizo to capture site details with voice, text, and photos, then turn that into a clear, branded proposal the same day.
- Send for e-sign and convert to invoice in one click when the client approves. Platforms such as Donizo help you lock in scope for prep work, soft joints, and membranes.
Internal link ideas to support this topic:
- Link “professional proposals” to a post on writing clear scopes.
- Link “project timelines” to a scheduling guide for tile jobs.
- Link “invoice templates” to resources on billing by milestone.
- Link “change orders” to a post on handling unexpected prep.
Conclusion
Tile fails when the base is wrong and movement is ignored. Flatten the substrate, keep it clean and sound, hit real coverage, and add movement joints where needed. That’s the play. Next steps: 1) Measure flatness and fix it. 2) Mark soft joints and perimeter gaps. 3) Document prep in your proposal and get sign-off. If you want clean paperwork and fast approvals, tools like Donizo make it easy to capture site notes, send proposals, and lock scope with e-signatures. Do the prep now. Avoid callbacks later.