Brick Wall Cap Block Alignment Tool Methodmasonrybrickworkwall-capsconstruction-methods
Brick Wall Cap Block Alignment Tool: Field Method
Set perfect cap blocks fast. Learn the Brick Wall Cap Block Alignment Tool Method with simple jigs, clear tolerances, and step-by-step checks that save hours.
Introduction
On most jobs, the top course makes or breaks the look. The Brick Wall Cap Block Alignment Tool Method keeps cap blocks straight, level, and even from end to end. It uses a simple alignment rail, joint spacers, and a bed-depth gauge. You set your drip line once, then lay caps fast with tight tolerances. This method is quick to set up and easy to teach. It avoids wavy lines, wandering overhangs, and fat joints. You’ll see better speed, better finish, and fewer callbacks.
Quick Answer
The Brick Wall Cap Block Alignment Tool Method uses a straight reference rail set to your overhang, 3/8 inch joint spacers, and a bed-depth gauge to control mortar. Snap a line, set the rail, screed the bed to 1/2 inch, then place caps against the rail. Check every 8–10 feet and keep joints within ±1/16 inch.
Screed a 1/2 inch bed for full contact and height.
Recheck line every 8–10 feet or every 5–6 caps.
What Is the Method and Why It Works
The Brick Wall Cap Block Alignment Tool Method is a simple jig-based system. You create a straight “rail” at the drip line, then use spacers and a bed gauge to control every cap. It removes guesswork.
The rail locks your outer edge. No wandering overhang.
Spacers lock joint width, usually 3/8 inch.
A T-shaped screed locks bed thickness, often 1/2 inch.
With those three locked, you get a straight cap run, true height, and clean water shed. Many contractors find it cuts layout time by 30–40 minutes on a 40 foot run and reduces rework.
Tools and Materials
1 straight rail: 1-1/2 inch x 1-1/2 inch aluminum angle, 8–12 feet long.
Rail clamps: spring clamps or masonry screws with washers (every 3–4 feet).
3/8 inch joint spacers: plastic shims or 3/8 inch plywood strips, 1 inch x 3 inch.
Bed-depth gauge: T-screed sized to 1/2 inch mortar thickness.
Stringline or green-beam laser line.
Tape, rule, and story pole marked at 16 inches and 32 inches.
Rubber mallet, margin trowel, 4 foot level.
Mortar board, pointing tool, sponge.
Typical caps: 4 inch x 16 inch x 16 inch or 2 inch x 8 inch x 16 inch units. Common overhang: 1–1/2 inches each side. Common drip groove: 1/8 inch x 1/4 inch.
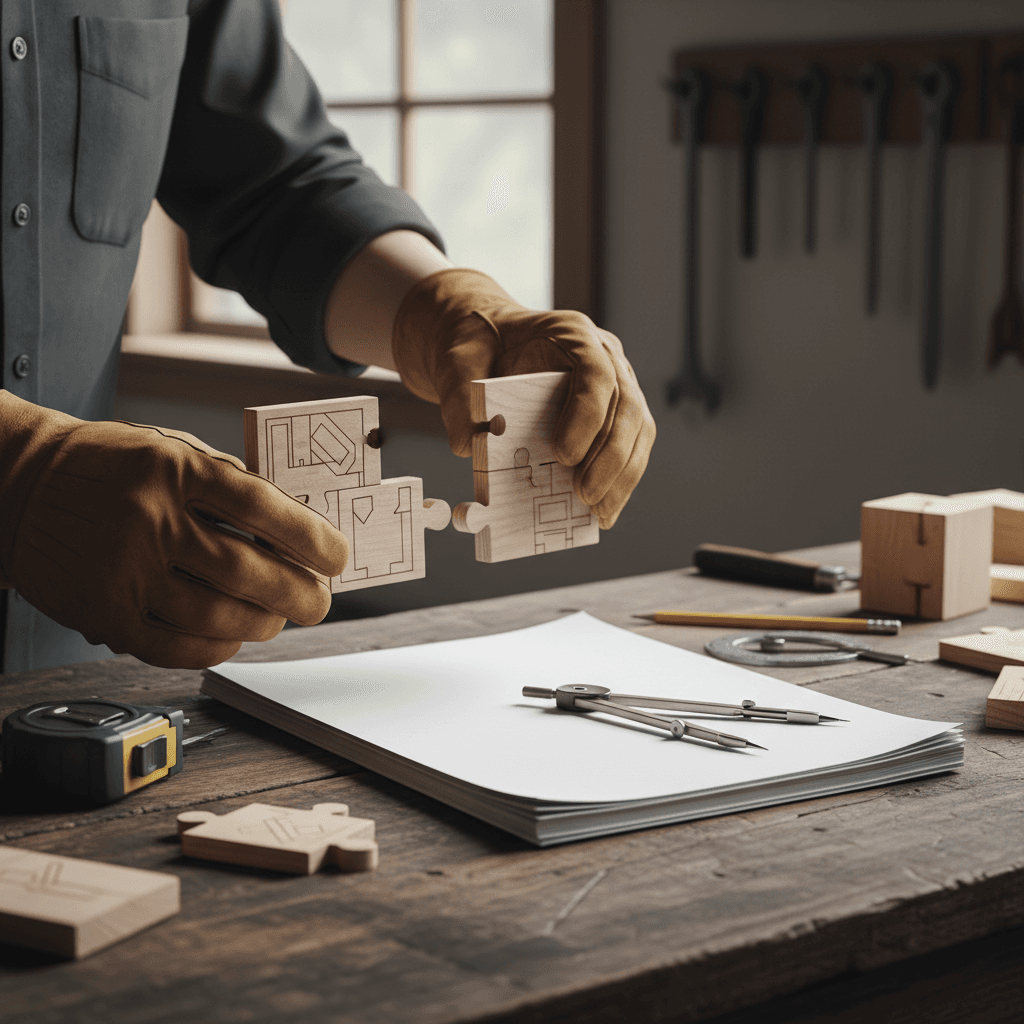
Build the Alignment Tool and Jigs
Follow these steps to prep your jigs. This supports HowTo schema and keeps work repeatable.
Cut the Rail to Length
Use a 10–12 foot aluminum angle for stiffness. Longer rails reduce resets.
Deburr edges so it won’t mark fresh caps.
Mark a Fixed Overhang
Mark 1–1/2 inches from the wall face along the rail. Use a fine Sharpie every 12 inches.
This gives a visual check as you set the rail.
Pre-Drill Clamp Points (If Using Screws)
Drill 1/4 inch holes every 32 inches on the vertical leg. Use tapcons with fender washers.
On delicate veneer, use clamps instead of screws.
Make 3/8 Inch Joint Spacers
Cut 3/8 inch plastic or plywood: 1 inch x 3 inch. Make 20–30 pieces.
Bevel one end slightly so you can pull them out clean.
Build the Bed-Depth Gauge
Rip a straight 1x2 to span the wall. Screw a 1/2 inch thick runner under it.
The runner rides the wall edges and leaves a 1/2 inch mortar bed.
Prepare an Overhang Stop Block (Optional)
A small wood block set to 1–1/2 inches helps spot-check every cap.
Add a 1/8 inch notch if you form a drip groove.
Time to build: 25–40 minutes the first time. Reuse on every job.
Install Caps With the Method
Use this step-by-step Brick Wall Cap Block Alignment Tool Method to set caps fast and true.
Snap Your Reference Line
Snap a chalk line for the drip edge. Hold it 1–1/2 inches from the wall face.
Check top-of-wall crowns with a 6 foot level. Grind any high spots over 1/8 inch.
Set the Rail to the Line
Align the rail to the chalk line. Clamp or screw every 32 inches.
Check with a stringline or laser. Keep the rail within ±1/16 inch over 10 feet.
Dry Lay 3–4 Caps
Place dry units against the rail. Insert 3/8 inch spacers.
Confirm overhang and joint rhythm. Adjust before mixing mortar.
Mix Mortar and Butter Joints
Mix to a peanut-butter feel. Not soupy.
Butter end joints 3/8 inch thick. Keep faces clean.
Screed the Bed to 1/2 Inch
Drop mortar on the wall. Use the T-screed to set a 1/2 inch bed.
Leave 1/2 inch clear at the rail to avoid squeeze-out on the face.
Set First Two Caps
Set against the rail. Tap with a rubber mallet.
Use the 3/8 inch spacers in joints. Check level across and along.
Continue in Runs of 6–8 Feet
Keep the rail tight and clean. Reset as needed.
Check height with a 4 foot level every 2 caps. Maintain ±1/16 inch.
Form the Drip Edge (If Needed)
Tool a 1/8 inch chamfer under the overhang or align to factory drip.
Ensure at least 1/4 inch back from the face for water break.
Strike Joints at Thumbprint Hard
Wait 20–40 minutes, depending on weather.
Strike flush or slight concave. Clean faces with a damp sponge.
Final Check and Protect
Sight the edge. You should see a straight, even line.
Cover with breathable tarps if rain or sun is harsh.
Typical pace: After setup, 2–3 minutes per cap. A 30 foot run can be topped in 2–3 hours by a two-person crew.
Quality Checks and Common Mistakes
Keep these tolerances tight:
Overhang: 1–1/2 inches ±1/16 inch.
Joint width: 3/8 inch ±1/16 inch.
Bed depth: 1/2 inch ±1/16 inch.
Straightness: ±1/8 inch over 20 feet.
Avoid these mistakes:
Skipping the dry lay. You’ll chase joints later.
Over-bedding. More than 5/8 inch will sag and telegraph.
Dirty rail. Mortar on the rail pushes caps out of line.
Not resetting the rail. Move it every 8–10 feet for control.
Pro tip: Use a story pole marked at 16 inches and 32 inches for quick checks at posts, corners, and returns.
Document the Detail and Win Work
Clients notice clean caps. Show the detail in your scope: overhang dimension, joint width, drip edge, and sealer (if used). That sets clear expectations and protects you on punch.
Include a simple sketch with 1–1/2 inch overhang and 3/8 inch joints.
Note “bed depth 1/2 inch” and “drip edge 1/8 inch min.”
Add curing and protection time: 24–48 hours before heavy contact.
If you’re building your bid package, tools like Donizo help capture these details using Voice to Proposal, then send a branded PDF for e-signature. This pairs well with internal topics like professional proposals, project timelines, and invoice templates.
FAQ
What overhang should cap blocks have?
Most cap blocks look right at a 1–1/2 inch overhang each side. It sheds water clear of the wall. Keep it within ±1/16 inch for a clean, straight sightline. Historic work may call for 1 inch; heavy walls sometimes use 2 inches.
How thick should the mortar bed be under caps?
A 1/2 inch bed is standard. It gives room to correct small highs and lows while keeping strength. Don’t exceed 5/8 inch unless you’re leveling a bad spot. Use a T-screed to hold the depth consistent.
Can I use a laser instead of a stringline?
Yes. A green-beam laser works great for long runs. Set the rail to the laser line and spot-check with a stringline. Many crews use both: laser for setup, stringline for quick checks during laying.
How often should I reset or recheck the rail?
Every 8–10 feet, or every 5–6 caps. Also recheck after breaks or temperature swings. Sight the rail, confirm overhang with a stop block, and verify joint width with your 3/8 inch spacer.
Do I need a drip edge on the caps?
If the cap has a factory groove, align it to the overhang. If not, tool a small 1/8 inch chamfer under the edge. This creates a water break so water doesn’t run back onto the wall face.
Conclusion
Clean cap lines sell your work. The Brick Wall Cap Block Alignment Tool Method controls= overhang, joint width, and bed depth with simple jigs. Set the rail once, use 3/8 inch spacers, and screed a 1/2 inch bed. You’ll get straight caps, faster installs, and fewer touch-ups.
Next steps:
Build the rail, spacers, and T-screed today.
Practice on a 10 foot mock-up and time your crew.
Add overhang, joints, and drip notes to your proposal.
To capture these details fast and win sign-off, platforms such as Donizo let you create and send proposals with e-signatures and convert them to invoices in one click. Put the method to work on your next wall and set a new standard.
Related Articles
Discover more insights and tips for your construction business