Intro
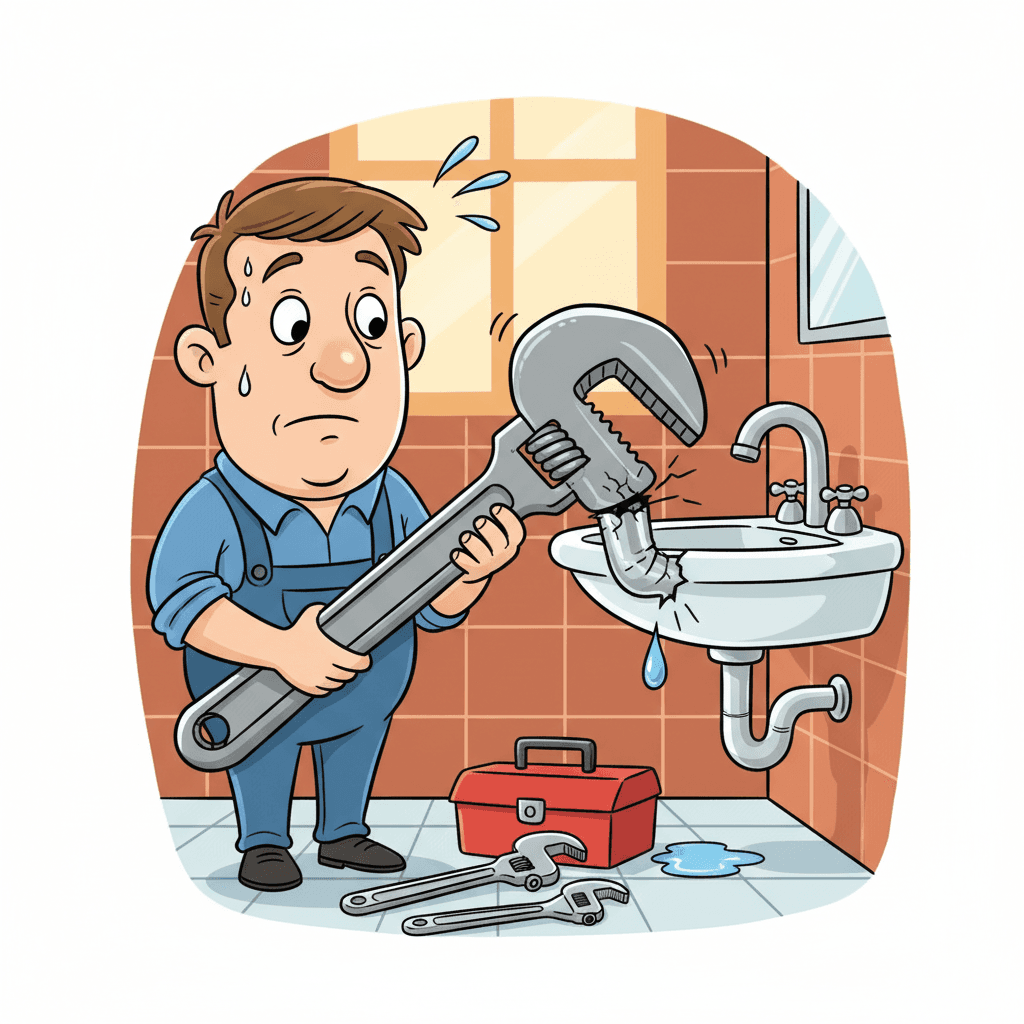
On most jobs, mouldy silicone is the first thing clients see. It looks bad. It smells. And it can lead to leaks. Here’s how to remove old mouldy silicone and apply new, the right way. You’ll learn the tools, the steps, and the small tricks that keep your bead straight and clean. We’ll cover safe mold treatment, bead size, cure times, and common mistakes. Follow this guide and you’ll finish faster, with fewer call-backs.
Quick Answer
To remove old mouldy silicone and apply new, cut both edges with a sharp utility blade and peel the bead. Scrape residue, clean with alcohol, dry fully, then mask tight. Gun a 3–5 mm bead, tool within 2 minutes, pull tape, and let it cure 24 hours before use.
Table of Contents
Key Takeaways
- Cut both edges, then peel. Don’t pry at the tile face.
- Clean with 70–90% isopropyl alcohol. Let it dry 30–60 minutes.
- Aim for a 3–5 mm bead across a 6–10 mm gap.
- Tool within 1–2 minutes. Pull tape within 2–3 minutes.
- Keep the area dry for 24 hours. In humid rooms, wait up to 48 hours.
Why Silicone Moulds And When To Replace It
Bathrooms, kitchens, and wet rooms stay damp. That invites mold. Soap scum feeds it. Poor ventilation locks in moisture. Over time, silicone loses its oils and cracks. It pulls from edges and traps water.
Replace silicone when you see any of these:
- Black spots that return after cleaning.
- Gaps or lifting at corners.
- Soft, jelly-like sections.
- Water staining below the joint.
If you’re teaching a new tech how to remove old mouldy silicone and apply new, start with inspection. Fix the cause first: leaks, movement, or bad ventilation.
- Utility knife with fresh blades (cut at 30–45°)
- Plastic scraper or caulk remover tool (avoid metal on delicate finishes)
- Needle-nose pliers (for pulling long beads)
- Isopropyl alcohol 70–90% and clean rags
- Fungicidal wash or 1:10 bleach solution (avoid bleach on natural stone)
- Masking tape (12–18 mm)
- Caulk gun with smooth rod and drip stop
- Neutral-cure sanitary silicone (mold resistant). Use acetoxy only on non-porous, compatible surfaces.
- Backer rod (if gap is deeper than 10 mm)
- Nitrile gloves, eye protection, and ventilation (fan or open window)
Many contractors keep a small “silicone kit” in the van. It saves 20–30 minutes hunting for bits.
Step-By-Step: How To Remove Old Mouldy Silicone And Apply New
Follow these numbered steps on every job. This is the clean, repeatable method.
-
Protect And Ventilate
- Lay towels or a drop cloth. Set a fan for airflow. Wear gloves and eye protection.
-
Cut The Bead
- Run a sharp blade along the top and bottom edges. Keep the knife at 30–45° to avoid scratching.
-
Peel And Scrape
- Grab a corner with pliers and peel in one piece if possible. Use a plastic scraper to lift residue. Avoid metal on tubs and shower trays.
-
Soften Stubborn Residue (Optional)
- Use a silicone remover gel if needed. Follow the label. Typical dwell time is 10–20 minutes. Scrape again.
-
Treat Mold And Clean
- If there’s visible mold on the substrate, use a fungicidal wash. For non-stone surfaces, 1:10 bleach works. Rinse, then wipe with 70–90% alcohol.
- On natural stone, avoid bleach. Use alcohol only. Let dry 30–60 minutes.
-
Check Gap Depth And Add Backer Rod
- Ideal joint depth is 6–10 mm. If the gap is deep, press in backer rod sized 25–33% larger than the gap. This sets the right depth and saves silicone.
-
Mask For Clean Lines
- Tape parallel to the joint, leaving a 3–5 mm channel. Press tape edges firmly. Tight tape means crisp lines.
-
Cut The Nozzle And Load The Gun
- Cut the nozzle at a 30–45° angle to match the joint width. Start small; you can cut wider once. Puncture the tube seal cleanly.
- Tool within 1–2 minutes. Use a caulking tool or a gloved finger dipped in soapy water (2–3 drops dish soap in a cup of water). Smooth once. Don’t overwork.
- Pull The Tape
- Remove tape within 2–3 minutes, while silicone is still wet. Pull at 45° away from the joint.
- Cure Time
- Keep dry for 24 hours. In cold or humid rooms, allow up to 48 hours. Most silicones skin in 10–20 minutes, but full cure needs time.
- Final Check
- Inspect edges and corners. If you spot a gap, slice it out and touch up immediately, or wait until full cure and rework that section.
That’s the full process of how to remove old mouldy silicone and apply new without mess.
Pro Tips For Prep, Application, And Curing
-
Pick The Right Silicone
- Use neutral-cure sanitary silicone around metals, mirrors, and natural stone. It won’t corrode or stain. Acetoxy cure is okay for glass and glazed tiles.
-
Control Bead Size
- Most bathroom joints look best at 3–5 mm wide. Too wide wastes material and looks sloppy. For a 6–10 mm depth, you’ll need a steady pass and maybe backer rod.
-
Keep It Dry
- Water kills adhesion. Dry the area with a cloth and let it sit 30–60 minutes after cleaning. A heat gun on low for 2–3 minutes can help in cold rooms.
-
One Pass Wins
- Aim to place the bead in one pass, then one tool pass. The more you touch it, the worse it gets.
-
Mind The Corners
- Start or finish at corners. Feather the overlap 10–15 mm so the join is invisible.
-
Label Notes
- Different brands cure at different rates. Read the tube. Some allow light misting; most do not. When teaching crews how to remove old mouldy silicone and apply new, make "read the label" a rule.
Common Mistakes And Fast Fixes
-
Applying Over Old Silicone
- New silicone won’t bond to old. Always remove it fully. If you forgot, cut it out and redo that span.
-
Skipping Mold Treatment
- Mold will bleed back through. Clean with fungicide or alcohol, then dry. If mold returns, improve ventilation or add a timed fan.
-
Using The Wrong Silicone Type
- Acetoxy near natural stone causes staining. Switch to neutral-cure sanitary silicone.
-
Overworking The Bead
- Smearing creates ridges. Tool once, slowly. If you mess it up, lift that section right away and re-gun.
-
Waiting Too Long To Pull Tape
- Pull tape within 2–3 minutes. If it skins, you’ll tear edges. If that happens, lightly slice the top edge and re-smooth.
-
Not Respecting Cure Time
- Showers too soon wash out the joint. Block the area for 24 hours. Leave a note for clients.
Small Job Admin: Quote, Sign-Off, And Invoice
Even tiny silicone jobs deserve a clear scope. List the joints, the silicone type, color, and cure time. Add a note: "Area must stay dry for 24–48 hours."
- Scope It Fast
- Snap photos and dictate notes on site. Tools like Donizo let you turn voice, text, and photos into a clean proposal in minutes.
- Get It Signed
- Send a branded PDF and secure e-signature. With Donizo, clients sign digitally, and you can convert the accepted proposal to an invoice in one click.
- Internal Link Ideas
- If you’re also pricing small repairs, look for a guide on pricing strategies for small jobs.
- This pairs well with understanding project timelines for minor works.
- For faster billing, check resources on invoice templates that save time.
FAQ
Can I apply new silicone over old silicone?
No. New silicone doesn’t bond well to old. Always cut out and remove the full bead, scrape residue, clean with alcohol, dry, then apply new.
How do I remove silicone residue safely?
Use a plastic scraper first. For stubborn bits, apply a silicone remover gel for 10–20 minutes, then scrape. Wipe with 70–90% isopropyl alcohol. Avoid harsh solvents on acrylic tubs or natural stone.
How long before the area can get wet?
Keep it dry for 24 hours. In cold or humid rooms, wait up to 48 hours. Most silicones skin in 10–20 minutes, but full cure needs a full day.
What silicone should I use in bathrooms?
Use neutral-cure sanitary silicone with mold inhibitors. It’s safe for metals, mirrors, and natural stone. Acetoxy cure is fine for glass and glazed tile but can stain stone and corrode some metals.
How do I stop mold from coming back?
Fix moisture first. Improve ventilation, add a fan timer, and wipe down surfaces after use. Clean joints with mild cleaner weekly. If mold keeps returning, check for hidden leaks or missing backer rod causing deep, damp joints.
Conclusion
Removing and replacing silicone is simple if you follow a tight process: cut, peel, clean, dry, mask, gun, tool, and cure. Do it the same way every time and you’ll avoid callbacks.
Next steps:
- Stock a dedicated silicone kit and spare blades today.
- Standardize your bead size (3–5 mm) and cure notes on every job.
- Capture photos and scope on site, then send a quick proposal.
For fast admin on small sealant jobs, platforms such as Donizo help you go from voice notes to signed proposals and invoices without the back-and-forth. Do clean work, communicate clearly, and you’ll get hired back.