Intro
On most deck jobs, the ledger is where things go right—or very wrong. Good Deck Ledger Prep keeps the house dry and the deck solid. It also makes inspections smooth. In this guide, you’ll learn what to check, what to use, and how to install a ledger that lasts. We’ll cover code basics, layout, fasteners, flashing, and final checks. Follow the steps and you’ll avoid leaks, rot, and loose connections.
Quick Answer
Deck Ledger Prep means verifying structure, removing siding, setting layout, installing proper flashing, and fastening the ledger with code-approved hardware. Use hot‑dip galvanized or stainless fasteners, follow spacing from local tables, add lateral load connectors, and document everything. Done right, it keeps water out and passes inspection.
Table of Contents
Key Takeaways
- Plan 2–4 hours for layout and wall prep before fastening anything.
- Keep deck surface 1-1/2" to 2" below door thresholds to reduce water risk.
- Stagger 1/2" bolts or structural screws in 2 rows with 2" edge distance.
- Use a 3-layer flashing system and slope it out at about 1/4" per foot.
- Add 2–4 lateral load connectors (often 750 lb each) as required locally.
Deck Ledger Prep: Planning And Code Checks
Before you buy materials, check the structure. You can’t attach a ledger to:
- Cantilevered floors or bay windows with no solid support.
- Brick, stone veneer, or stucco without special details.
- Rotten or thin sheathing with no solid rim board.
What to verify first:
- Solid rim joist or concrete/masonry backup. No foam or air gap.
- Joist span and spacing (common: 16" on-center). This affects bolt spacing.
- Sill height and door thresholds. Keep deck 1-1/2" to 2" lower.
- Grade. Keep wood at least 6" above grade to avoid splashback.
- Housewrap condition. Plan to integrate flashing with the WRB.
Local codes often reference IRC R507 for decks. Inspectors look for correct fastener type, spacing, lateral load connectors, and proper flashing. If you’re also improving your estimating process, see our advice on building clear professional proposals and managing project timelines effectively.
Use materials that pass inspection and fight corrosion:
- Ledger: Pressure-treated No. 2 or better. Match deck joist depth (e.g., 2x10).
- Fasteners: 1/2" hot‑dip galvanized through-bolts, or code‑listed structural screws. Avoid plain lags without approval.
- Washers: Hot‑dip galvanized. Consider 1/2" spacers or standoffs for drainage if allowed locally.
- Flashing: Self‑adhered flashing membrane (6"–9" wide). 26–28 gauge metal Z‑flashing or L‑flashing, sloped to shed water.
- Connectors: Joist hangers, post bases, and 2–4 lateral load connectors (e.g., DTT‑style) per plan.
- Sealants: Compatible with pressure‑treated lumber and membranes.
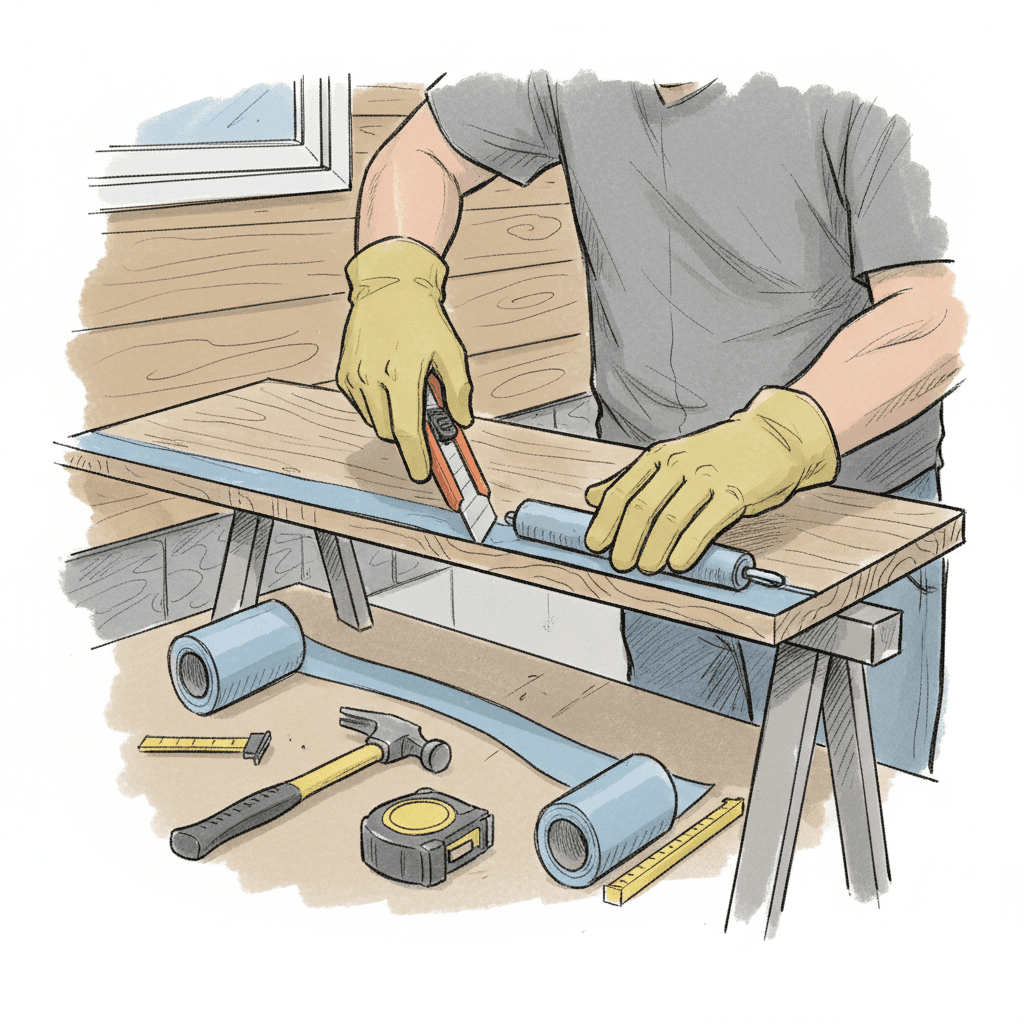
- Tools: Level or laser, chalk line, oscillating saw for siding cuts, drill/impact, right bits, and PPE.
Tip: Pre‑finish cuts and holes with preservative for treated lumber. It’s a small step that saves callbacks.
Step-by-Step Deck Ledger Prep
Follow these numbered steps for a clean, code‑ready install.
-
Confirm Structure (20–30 minutes)
- Open the wall at the layout area. Verify a solid rim board or masonry. No foam gaps. No rot.
-
Establish Height And Slope (10–15 minutes)
- Mark finish deck height. Keep 1-1/2" to 2" below door thresholds. Snap a level line for the top of ledger based on joist depth and hanger height.
-
Remove Siding Cleanly (30–45 minutes)
- Cut and remove cladding where the ledger goes. Leave at least a 1/2" clearance gap above future decking at the house. Protect the WRB.
-
Prep The WRB (15–25 minutes)
- Lift or cut WRB to accept flashing laps. Repair any tears. Dry the area. No dust, no wet surfaces for membranes.
-
Dry-Fit The Ledger (10–15 minutes)
- Hold or prop the ledger to the layout line. Check for straight, plumb, and full bearing. Shim only with approved materials if the wall isn’t flat.
-
Mark Fastener Pattern (10–15 minutes)
- Stagger two rows. Keep 2" edge distance from top/bottom and ends. Follow local tables for spacing (often 12"–24" on-center depending on joist span).
-
Pre-Drill And Install First Fasteners (15–25 minutes)
- Start with two temporary fasteners to hold the ledger. Then install 1/2" through‑bolts or listed structural screws per spacing. Use proper washers. Do not crush the wood.
-
Add Lateral Load Connectors (20–40 minutes)
- Reinstall trim with a 1/4"–1/2" gap above deck boards for drainage. Seal small joints. Do not trap water behind caulk.
Fasteners, Spacing, And Connectors
Get this part right the first time. Inspectors always check it.
- Fastener Type: Use 1/2" through‑bolts with nuts and washers, or code‑listed structural screws. Avoid unlisted lag screws.
- Edge Distances: Keep 2" from lumber edges and 2" from ends. Stagger two rows about 3"–4" apart vertically for better load spread.
- Example Spacing: For a 12' deck with 2x10 joists at 16" o.c., many tables allow 1/2" bolts at roughly 15"–18" o.c. in two staggered rows. This is an example—verify with your local table.
- Masonry Or Concrete: Use 1/2" anchors rated for the load with proper embedment (often 2-1/2"+). Do not attach to veneer only.
- Lateral Load: Add 2–4 connectors (commonly 750 lb each). Tie the joist back to a house joist or stud pack per the connector instructions.
If you handle change orders on site, this pairs well with understanding how to document changes clearly and protect your margin.
Flashing And Waterproofing That Drains
Waterproofing fails when it traps water. Build a drainable path.
-
Three Layers That Work:
- Self‑adhered membrane over the sheathing and behind the ledger top.
- Metal flashing over the ledger, pitched out. Hemmed drip edge helps.
- Counter‑flashing membrane lapped under the WRB and over the metal leg.
-
Details That Matter:
- Slope the metal flashing out about 1/4" per foot.
- Lap membranes 4"–6". Roll tight with a J‑roller.
- Keep deck boards 1/4"–3/8" from the siding/trim to allow drainage and air.
- Leave a visible flashing reveal so you can inspect later.
-
Optional Standoffs:
- 1/2"–1" spacers can improve drying and let water escape. Use only if allowed by your local authority and manufacturer.
Common miss: caulking everything tight. Don’t seal the bottom edge of flashing. Let it drain.
Final Checks, Inspection, And Documentation
Before you hang joists, pause for a quality check.
- Verify heights and clearances: 1-1/2"–2" step down, 6" to grade, proper gaps.
- Confirm fastener pattern: spacing matches your plan and local table.
- Check connectors: lateral load hardware is installed and tight.
- Inspect flashing: continuous laps, proper slope, no trapped water points.
- Take photos: fastener spacing, edge distances, flashing laps, and connectors. These photos make inspections fast.
Tip: Add notes to your job file on bolt counts, spacing, and connector locations. It makes invoicing and any future service simple. If you also manage invoices and proposals, consider building clear invoice templates that save time.
Conclusion
Solid Deck Ledger Prep prevents leaks and failures. Verify structure, set clear heights, fasten with listed hardware, and build a drainable flashing system. Document your work so inspections go smoothly. Next steps: 1) Print your local ledger fastener table, 2) Build a standard 10‑step checklist, 3) Train your crew on flashing details.
When you’re ready to turn site notes into clean paperwork, tools like Donizo help you capture details by voice, send branded proposals, get e‑signatures, and convert to invoices in one click. Build better decks, and make the admin easy.