Intro
Kitchen Drain Repair work shows up on almost every service route. Sinks back up. Traps leak. Garbage disposals jam. Clients want a fast fix and no mess. This guide covers what to check first, how to repair common failures, and how to prevent call-backs. We keep it simple and job-ready. You’ll get clear steps, common measurements, simple tests, and client tips. On most jobs, a clean diagnosis saves 30 to 45 minutes. Do the basics well. Then document the repair so your team and your client know exactly what you did.
Quick Answer
Kitchen Drain Repair starts with diagnosis: check the strainer, P-trap, and trap arm, then test the vent path. Clear clogs with a hand auger or small drum machine. Rebuild the tubular set with proper slope and new washers. Finish with a 3–5 minute flow test and leak check.
Table of Contents
Key Takeaways
- Diagnose before you disassemble. This saves 20–30 minutes.
- Keep 1/4 inch fall per foot on horizontal runs.
- Most sink tubular is 1-1/2 inch. Don’t mix sizes without a reducer.
- Run a 3–5 minute full-flow test after repairs.
- Photograph the setup before and after. It prevents disputes.
Know the System Before You Start
A kitchen sink layout is simple but picky. You have a strainer basket, tailpiece, P-trap, trap arm, and the wall stub-out. Many sinks add a disposal and dishwasher air gap. Venting keeps flow smooth and prevents gurgle. When you plan Kitchen Drain Repair, think flow path. Water enters, traps sewer gas, moves horizontal, then drops. If any part sags, leaks, or clogs, your client will feel it fast.
Common Trouble Spots
- Cross-threaded slip nuts that never seal
- Worn bevel washers on the trap joint
- Flat, no-slope trap arms holding grease
- Disposals mounted too low for proper fall
- Dishwasher discharge routing without a true high loop= or air gap
Diagnose Fast: Find the Real Fault
Good Kitchen Drain Repair starts with a tight diagnosis. Don’t rush the wrench.
1. Visual and Touch Check (2–3 minutes)
- Run hot water. Watch for slow drain, gurgle, or backflow.
- Feel every joint. Look for tracking drips or mineral lines.
- Check cabinet base for swelling or stains.
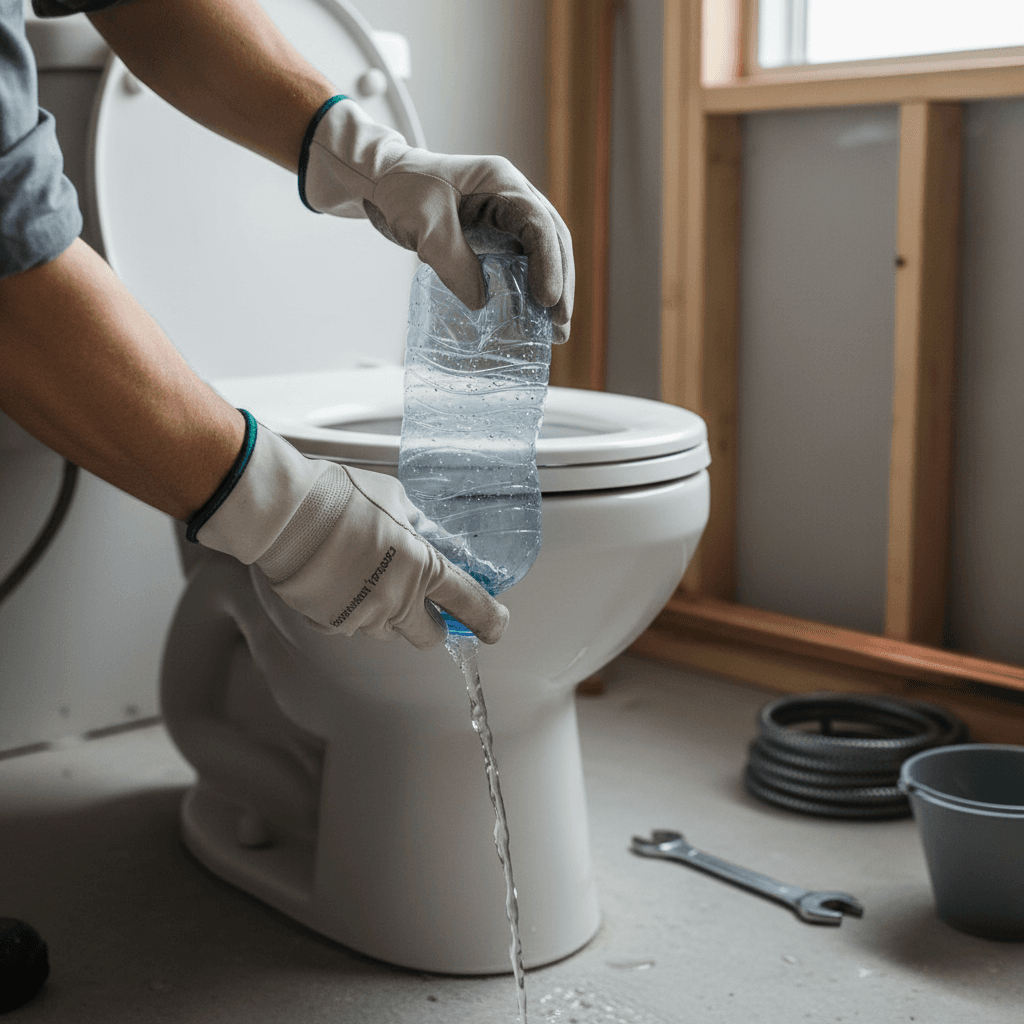
2. Fill and Dump Test (5–7 minutes)
- Plug the sink. Fill 2–3 inches. Pull the plug.
- If it backs up fast, clog is near the trap. If slow, it’s downstream.
3. Disposal and Dishwasher Check (3–5 minutes)
- Kill power. Spin the disposal with a wrench key.
- Make sure the dishwasher knockout is open on new installs.
- Confirm a high loop= or air gap. Aim for at least 20 inches off the floor or per local code.
4. Vent Clues
- Gurgling usually points to vent issues or partial block.
- A trap that self-empties can mean siphoning from poor venting.
Step-By-Step Kitchen Drain Repair
Follow these steps like a mini HowTo. This sequence works on most homes.
-
Kill Power and Prep (2 minutes)
- Turn off disposal power at the switch or breaker.
- Place a shallow pan and rags under the trap.
-
Disassemble the Tubular Set (5–10 minutes)
- Loosen the slip nuts by hand first, then use pliers gently.
- Save the old parts for layout reference.
-
Clear the Obvious Clog (5–15 minutes)
- Start with a hand auger, 15–25 feet is usually enough for a kitchen branch.
- Feed slowly. Rotate and pull back often to grab grease.
-
Inspect the Wall Stub-Out
- Shine a light. Check for a broken or corroded ferrule.
- If offset is bad, plan a new trap adapter.
-
Rebuild the Trap and Arm (10–20 minutes)
- Most kitchen tubular is 1-1/2 inch. Match sizes.
- Keep horizontal slope at 1/4 inch per foot.
- Keep the trap weir within common limits. Many codes allow up to 24 inches of trap arm before vent, but verify local rules.
-
Disposal and Dishwasher Connections (5–10 minutes)
- Use the correct flange and plumber’s putty, about a 3/8 inch bead.
- Tighten evenly. Don’t over-crush gaskets.
- Add a real high loop= or air gap. Keep at least 1 inch air gap where required.
-
Seal and Align
This Kitchen Drain Repair sequence handles 80–90% of calls. For heavy grease lines, a small drum machine with a 3/8 inch cable works well.
Have the right gear on the truck. It cuts time in half.
- 3/8 inch hand auger, 15–25 feet
- Small drum machine for tougher clogs
- Tongue-and-groove pliers, basin wrench
- Flashlight and inspection mirror
Materials
- 1-1/2 inch tubular P-trap kit and extension tubes
- Trap adapter with new ferrule and nut
- Bevel and flat slip-joint washers
- Plumber’s putty or silicone (per flange type)
- Dishwasher air gap or high loop= hardware
Key Measurements
- Slope: 1/4 inch per foot on horizontal piping
- Trap arm: commonly up to 24 inches before vent (verify locally)
- Air gap: often 1 inch minimum vertical separation (where used)
- Putty bead: about 3/8 inch under sink strainers
Prevent Call-Backs: Testing and Documentation
Call-backs kill margin. A clean finish prevents them.
Testing Routine
- Run hot water full blast for 3–5 minutes.
- Run cold water another 2 minutes. Some leaks only show when PVC shrinks.
- Fill sink to 2–3 inches and dump again. Watch for surge leaks.
Documentation Tips
- Photograph before and after. Include joints and slope.
- Note cable length used, 15 or 25 feet. It helps if issues return.
- Record parts replaced and brand of disposal or strainer.
If you’re also looking to streamline professional proposals, our guide covers “professional proposals” with clear scope and photos. This pairs well with understanding “invoice templates” that save time after small service calls. For contractors dealing with change orders mid-service, we recommend content on “managing project timelines” and approvals.
Pricing, Proposals, and Client Communication
Clients want clarity. Give them a straight plan and a firm number when possible.
- Explain the cause in one sentence. Example: “Grease packed the trap arm about 18 inches in.”
- Offer two options when it makes sense. Example: clear and rebuild vs. clear only.
- Set a time window. Most Kitchen Drain Repair calls finish in 45–90 minutes.
- Show photos. A picture of the sagging trap sells the fix.
For fast paperwork, tools like Donizo help you capture site notes by voice, turn them into a branded proposal, send it for e‑signature, and convert to an invoice in one click. This keeps small jobs profitable and clean.
Questions and Answers
How much slope should a kitchen drain have?
Keep 1/4 inch fall per foot on horizontal runs. Less than that collects grease. More than that can let water outrun solids. Stick to steady, even slope.
What size is a typical kitchen sink trap?
Most kitchen traps use 1-1/2 inch tubular. If the wall stub is 2 inches, use a proper reducer or adapter. Don’t force parts to fit. Leaks follow bad sizing.
When should I use a drum machine instead of a hand auger?
Use a drum machine when a 15–25 foot hand auger can’t clear the clog, or when heavy grease keeps returning. A 3/8 inch cable handles most kitchen lines without over-cutting.
Do I need an air gap for a dishwasher?
Many areas require either a countertop air gap or at least a high loop. Check local code. In general, an air gap offers better protection against backflow into the dishwasher.
How long should a standard repair take?
Most Kitchen Drain Repair calls take 45–90 minutes. Add time for disposal swaps, corroded adapters, or vent issues. Plan for testing and cleanup at the end.
Conclusion
Strong Kitchen Drain Repair work is simple: diagnose first, rebuild right, and test long enough to catch leaks. Document everything with photos and notes so the client sees the value. Next steps: 1) Standardize your truck stock for 1-1/2 inch tubular, 2) Use a set testing routine, 3) Create a simple proposal template for service calls. Platforms such as Donizo can turn site notes into clean proposals with e‑signatures and quick invoicing. Do the basics well, and your call-backs will drop.