Intro
On most jobs, electrical wiring decides the pace and finish. If it’s clean, labelled, and tested, your handover is smooth. If not, delays stack up. This guide shows you how to plan, install, and test electrical wiring the simple way. We cover circuits, cable routes, safe zones, and paperwork. You’ll get clear steps, real measurements, and checks you can use on site today. Follow this to cut rework, pass inspections, and keep clients happy.
Quick Answer
Electrical wiring comes down to planning loads, routing in safe zones, protecting with the right devices, and testing before power-up. Use correct cable sizes, RCDs at 30 mA where required, and label everything. First fix, second fix, test, and document. Do it in that order, every time.
Table of Contents
Electrical Wiring Basics
Electrical wiring is about safe power from source to point. Keep it simple and consistent.
Circuits You See Every Day
- Ring final circuit: 2.5 mm² twin & earth on a 32 A breaker. Good for sockets in many homes.
- Radial circuit: 2.5 mm² on 20 A (or 4.0 mm² on 32 A) for sockets or fixed loads.
- Lighting circuit: 1.5 mm² on 6–10 A. Many use 1.5 mm² for less volt drop and heat.
- Cooker/shower: Often 6.0–10.0 mm² on 32–45 A, depending on load and distance.
Protection That Saves Lives
- RCD protection at 30 mA is standard for many final circuits. It trips fast to reduce shock risk.
- MCB or RCBO sized to cable and load. Don’t oversize to “stop nuisance trips”. Fix the cause.
- Earthing and bonding: Main bonds to gas and water within 600 mm of entry, using correct size conductors.
Cable Routes And Safe Zones
- Run vertically or horizontally to an accessory. Don’t zigzag.
- Safe zones: within 150 mm of the ceiling or corners, or in line with accessories.
- In studs or joists, keep cables at least 50 mm from the surface or use steel plates or conduit.
Plan Your Electrical Wiring
Good planning saves hours. It also avoids swiss-cheese walls.
Step 1: List Loads And Circuits
- Count socket points and expected loads. Kettle at 3 kW, washer 2 kW, dryer 2.5 kW.
- Decide ring or radial. In general, rings suit spread loads; radials suit clear zones or outbuildings.
- Add dedicated feeds for EV chargers, ovens, and showers.
Step 2: Choose Protection And Cable Sizes
- Size by current, distance, and installation method. Warm lofts reduce capacity.
- Keep volt drop under limits. As a simple rule, long runs often need 4.0 mm² instead of 2.5 mm².
- Fit 30 mA RCD/RCBO for sockets, bathrooms, and outdoor circuits.
Step 3: Map Routes And Heights
- Socket centres commonly 450 mm above finished floor in new builds (check client spec).
- Switches commonly 1,050–1,200 mm above finished floor.
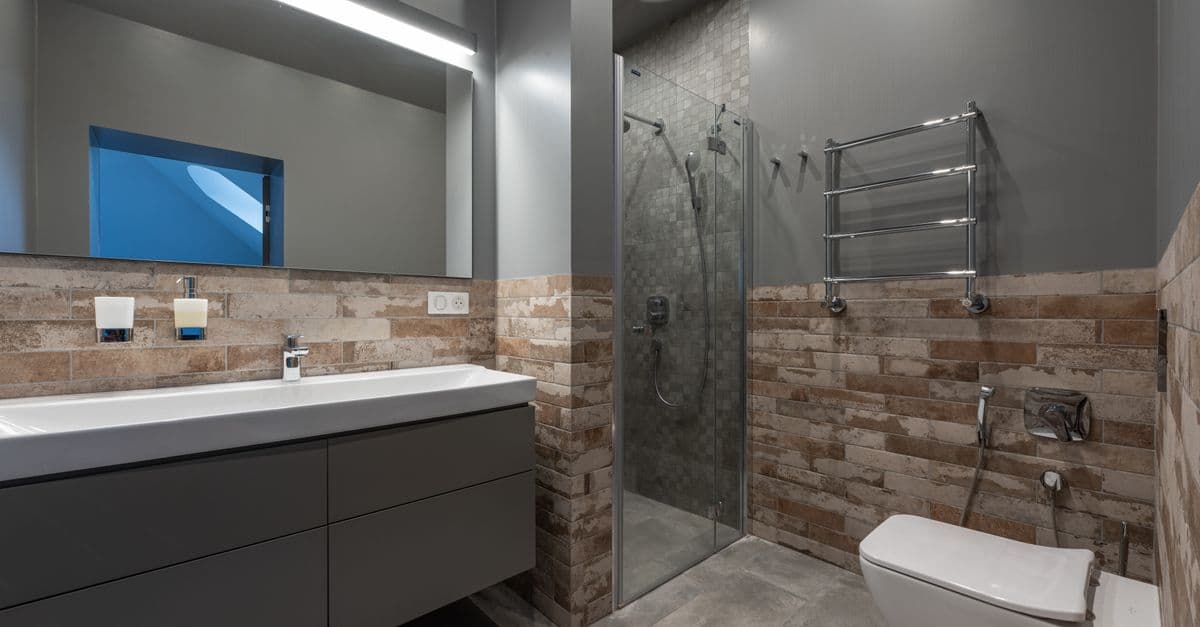
- Bathrooms: Zone 1 up to 2.25 m above bath/shower; use IP-rated fittings (IPX4/IP44 or better).
- Keep services apart. In general, separate power from data by 50–200 mm to reduce noise.
Tip for internal linking: If you’re also looking to streamline professional proposals, our guide covers “professional proposals” with layouts clients understand.
Install Step-By-Step: First Fix To Final Fix
Keep your sequence tight. Fewer surprises, cleaner finish.
1. Mark Out
- Mark every outlet, switch, and accessory. Write circuit numbers on the wall.
- Agree changes with the client now. Don’t move points twice.
2. Drill And Chase
- Chase vertical/horizontal only. Use a depth gauge. In many jobs, 25–30 mm is enough for conduit.
- Drill studs along centre line. Keep holes at least 50 mm from edges.
3. Pull Cables
- Pull with labels on both ends. Use circuit codes: “L1”, “S1”, “RF-A”.
- Leave 200–300 mm tails at outlets. You’ll thank yourself at second fix.
4. Terminate At Boxes
- Use proper strip length. No copper showing. No insulation under terminals.
- Twist earths neatly with sleeving. Add a fly lead to metal back boxes.
5. Board And Make Good
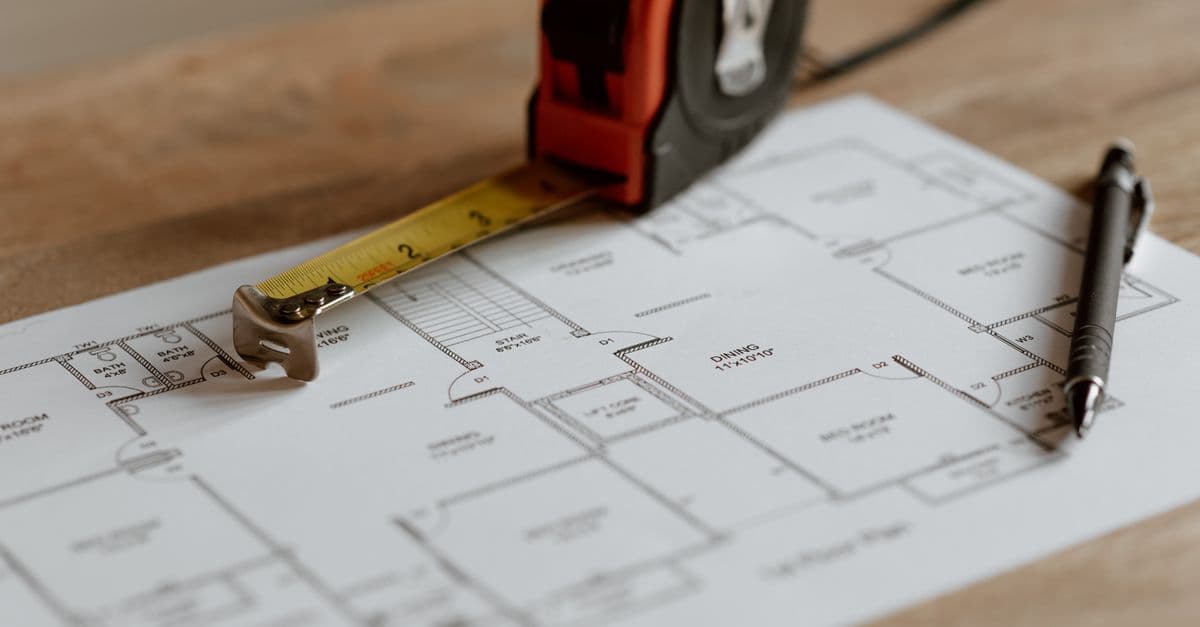
- Photograph every wall before boarding. Include a tape measure for scale in photos.
- Note cable depths and routes. This speeds later fault finding.
6. Second Fix
- Fit sockets, switches, and lights. Torque terminations as per device spec (often 0.5–1.2 Nm).
- Check polarities as you go. Live to live, neutral to neutral, earth continuous.
7. Dead Tests Before Power
- Continuity of protective conductors (R1+R2). Record values.
- Insulation resistance at 500 V DC (or 250 V where needed). Aim for ≥1 MΩ.
8. Live Tests And Energise
- Zs at furthest point. Compare to MCB/RCBO max allowed.
- RCD trip test at 30 mA. Check at 0.5×, 1×, and 5× where applicable. Record times.
Timeframes: On a three-bed rewire, first fix often takes 2–3 days with two workers, second fix 1–2 days, and testing half a day. Always allow a buffer for variations.
Testing, Certification, And Handover
Testing proves the job is safe. Paperwork proves you did it.
What To Test
- Continuity (CPC and ring conductors).
- Insulation resistance between L–N, L–E, and N–E.
- Polarity at accessories.
- Earth fault loop= impedance (Zs) and prospective fault current.
- RCD performance (30 mA devices trip quickly; record times).
What To Document
- Circuit schedule with breaker sizes and cable types.
- Test results sheet with measured values.
- As-fitted drawings or marked-up plans with key routes.
- Manufacturer data for critical equipment (EV, heat pumps, cookers).
Tip for internal linking: This pairs well with understanding invoice templates that save time, so your test sheets and invoices match line by line.
Electrical Wiring Safety, Code, And Common Mistakes
Stay sharp. Small slips cause big problems.
Safety And Code
- Follow BS 7671 (IET Wiring Regulations) and local building control. Keep your latest copy handy.
- Use 30 mA RCD protection on required circuits. Bathrooms and outdoor circuits need it.
- Respect bathroom zones. Use IP-rated gear. Keep switches and sockets out unless allowed.
Common Mistakes To Avoid
- Overfilling back boxes. Use 35 mm or 47 mm boxes for USB and smart devices.
- Loose terminations. Always recheck torque. Many faults are loose screws.
- Missing labels. Label both ends. Label the board. Future you will be grateful.
- Cables outside safe zones. If you must, add steel plates or conduit and RCD protection.
- Mixed conductor sizes on rings. Keep ring legs the same size, usually 2.5 mm².
If you handle project changes often, see our guidance on managing change orders to protect your margin.
Pricing, Proposals, And Client Sign-Off
Clear pricing cuts noise later.
- Break jobs into stages: survey, first fix, second fix, testing, and certification.
- Show what’s included: number of points, fittings, and any making good.
- Add clear prices for extras: extra socket, extra downlight, extra data point.
- Capture acceptance in writing. E-signatures reduce disputes.
Tools like Donizo help you capture site notes with Voice to Proposal, send branded PDFs for approval, collect e-signatures, and convert accepted proposals to invoices in one click.
Key Takeaways
- Plan circuits early: load list, routes, and protection. Saves 2–3 hours per job.
- Keep to safe zones: 150 mm rules and straight runs prevent strikes later.
- Use 30 mA RCD/RCBOs where required. Test and record real numbers.
- Photograph first fix with measurements. Speeds fault finding by half.
- Label everything: board, circuits, and accessories. Handover becomes painless.
Conclusion
Electrical wiring goes smoothly when you plan loads, route in safe zones, size and protect correctly, and test before power-up. Do the same steps every time.
Next steps:
- Walk your next job and map circuits, routes, and safe zones.
- Build a simple test sheet and label plan before you start.
- Use platforms such as Donizo to capture details, send proposals, collect e-signatures, and invoice without double entry.
By tightening your process now, you’ll cut rework, pass inspections, and hand over with confidence.