Intro
A good tradesman costume does more than look the part. It shows pride in the craft and keeps people safe. You might need a tradesman costume for a school visit, a trade show, a community fair, or a team photo. In this guide, you’ll learn what to include, what to avoid, and how to build one in 60 minutes. We’ll keep it simple, safe, and on-brand. You’ll get a clear checklist, step-by-step build, and tips for photos that help your business.
Quick Answer
A tradesman costume should look real but stay safe: branded shirt, hi-vis vest, empty tool belt, soft-toy tools, and closed-toe boots. Skip live PPE and real tools in public spaces. Build it in about 60 minutes with a 7-item checklist, spending £20–£60 using basic workwear and child-safe props.
Table of Contents
Key Takeaways
- Keep it safe: no live tools, no live PPE in public settings.
- Use a 7-item checklist to build the outfit in 60 minutes.
- Spend £20–£60 using simple workwear and soft props.
- Brand it: clean logos, two colours max, readable at 2–3 metres.
- Photograph with 3 angles and natural light for strong results.
Why a Tradesman Costume Matters
A clean tradesman costume shows pride in the trade. It helps at school days, careers talks, and open-site tours. People remember what they see. When you look sharp, they trust your work.
For events, a simple tradesman costume also protects your brand. It keeps your team consistent. It’s easier to spot staff in a crowd. That reduces mix-ups and saves time.
If you run events or community talks, this pairs well with understanding professional proposals. Consider linking to your guide on professional proposals to turn interest into work.
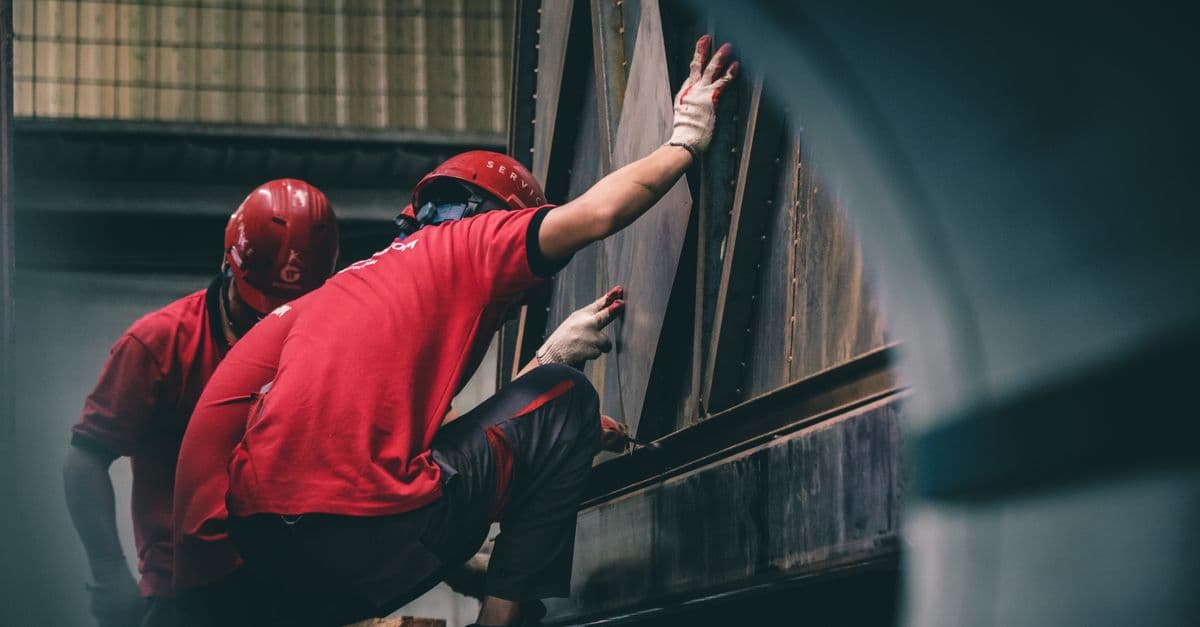
Safety First: Tradesman Costume Without Risk
Safety comes first. A tradesman costume can look real and stay risk-free. Follow these three rules:
- No live tools. Use soft-toy hammers and plastic spanners. Keep blades away.
- No live PPE for public wear. Hard hats and safety specs are made for hazards, not crowds. Use un-rated replicas or foam versions for costumes.
- Closed-toe footwear. Trainers or work boots with dull treads prevent slips.
Add these simple checks:
- Fit: sleeves end 1–2 cm above the wrist. Trousers sit 1–2 cm above the heel.
- Visibility: hi-vis vest must not cover your logo fully; leave 6–8 cm clear space.
- Comfort: total outfit should weigh under 2–3 kg for children.
If children are wearing the tradesman costume, size by age ranges: 4–6, 7–9, and 10–12. Aim for light layers. Many contractors find one thin base layer and one vest works best indoors.
Head-to-Toe Checklist
Here’s a simple, realistic tradesman costume checklist. It works for plumbers, sparkies, chippies, and painters.
- Branded T-shirt or polo (clean, cotton, logo left chest)
- Hi-vis vest (orange or yellow; keep branding visible)
- Work trousers or cargo shorts (knee-length for heat, trousers for cold)
- Empty tool belt or pouch (remove sharp bits; add plastic clips)
- Soft-toy or plastic tools (hammer, spanner, tape measure shell)
- Cap or replica hard hat (foam or costume grade)
- Closed-toe footwear (clean trainers or work boots)
Optional extras:
- Name badge with first name only.
- Wipes for hands and boots before photos.
- A clean microfibre cloth for dusty props.
Avoid:
- Real blades, saws, or live drivers.
- Loose lanyards longer than 30 cm.
- Full-face masks or dark specs that hide identity at public events.
Build a Tradesman Costume in 60 Minutes
You can build a strong tradesman costume in about 60 minutes. Here’s the step-by-step.
-
Gather kit (10 minutes)
- Pull a branded top, hi-vis vest, trousers, and empty belt.
- Choose 3 soft props: toy hammer, plastic spanner, empty tape housing.
-
Prep clothing (10–15 minutes)
- Wipe boots; remove dry mud.
- Roll sleeves to mid-forearm for easy movement.
- Steam or iron shirt for 2–3 minutes to remove creases.
-
Fit check (10 minutes)
- Stand straight; check hems and cuffs (1–2 cm clear, as above).
- Test walking 10–15 steps. Adjust belt so pouches sit on the hip bones.
-
Brand pass (10 minutes)
- Place logo where a camera sees it at 2–3 metres.
- Keep colours simple: 1 base colour + 1 highlight colour.
-
Safety sweep (10 minutes)
- Remove sharp bits, bits, and blades. Check pouches are empty.
- Replace metal props with plastic or foam.
-
Photo test (5 minutes)
- Take 3 angles: front, 45°, and side.
- Use daylight near a window; avoid flash glare on hi-vis.
Tip: If you’re also refining invoice templates that save time, note that a clean brand look in photos pairs well with consistent documents—use that as anchor text for an internal link.
On-Brand Looks for Events and Photos
A tradesman costume is also a mini-uniform. Keep it on-brand.
- Colours: stick to two colours plus neutral. For example, navy + yellow with black boots.
- Logo zones: left chest and centre back. Keep at least 6–8 cm clear around logos.
- Name badges: black text on white. First name only for safety.
- Props: match the trade. Electricians with plastic testers; plumbers with toy wrench; painters with a clean, dry roller.
Photography tips:
- Light: use daylight. Face the light. Avoid harsh midday sun.
- Angles: shoot at chest height. Keep 1–2 metres distance for clear frames.
- Background: plain wall, tidy van side, or stacked timber. No clutter or bins.
If you run a small stand at a fair, place 2–3 photo boards. Show before/after work, team safety, and finished rooms. This supports your tradesman costume visuals and builds trust. For contractors dealing with client management, consider an internal link on client management basics to turn interest into booked visits.
Common Mistakes to Avoid
Even a simple tradesman costume can go wrong. Avoid these traps.
- Real tools in crowds: a quick way to create risk. Use soft props only.
- Dirty kit: oil stains and dust send the wrong message at public events.
- Too many colours: keep it to two. More looks messy in photos.
- Hard hat misuse: don’t wear a rated hard hat as a toy. Use a replica for costumes.
- Dangling lanyards: keep them under 30 cm or remove.
- Overloaded belts: empty is best. Add one or two plastic shells for looks.
If you’re building price sheets for events, this pairs well with understanding pricing strategies. Suggest an internal link on pricing strategies to help readers set fair rates after the event.
Conclusion
A strong tradesman costume is simple: clean workwear, safe props, and a clear brand. Build it in about 60 minutes using the checklist and steps above. Take three clean photos and keep colours tight for a professional look.
Next steps:
- Gather your 7-item kit and do a 5-minute safety sweep.
- Shoot three photos in daylight and update your event board.
- Plan a short school or fair visit using these safety rules.
When your costume and photos bring in interest, tools like Donizo help turn chats into work with Voice to Proposal, quick e-signatures, and one-click invoicing. Keep it safe, keep it simple, and show pride in your trade.