Intro
On many jobs you see damp patches, peeling paint, and musty smell. You fix the leak, repaint, and it fails again. Here’s the straight talk: stop damp and repainting—install PVC ceiling and wall panelling. It creates a moisture-resistant skin, hides minor defects, and finishes fast. In this guide, you’ll learn why PVC works, what to check before you cover, tools you need, and a simple step-by-step method. We’ll also cover costs, timeframes, trims, and common mistakes to avoid. Use this as a field-ready playbook for bathrooms, kitchens, basements, and stairwells.
Quick Answer
PVC ceiling and wall panelling resists moisture, so paint won’t bubble and walls look clean. Fix the water source first, then install PVC on battens or a flat substrate. A 10×12 ft room can finish in 6–8 hours, with 7–10 mm panels, 300 mm fixing centers, and 3–5 mm expansion gaps.
Table of Contents
Key Takeaways
- PVC panelling blocks surface moisture and avoids repaint cycles.
- Always stop leaks first; PVC is not a waterproofing fix.
- Keep 3–5 mm expansion gaps and 300 mm screw spacing.
- One installer can cover 120–180 sq ft per day on simple walls.
Why PVC Works Against Damp
Moisture ruins paint. It causes blistering, powdering, and mold. PVC panelling breaks that cycle.
- It is non-porous. Water does not soak in.
- Joints are tight with interlocking tongues.
- Panels are light. Typical thickness is 7–10 mm.
- You can clean them with mild soap. No repainting every monsoon.
Use PVC in high-splash and high-humidity zones: baths, kitchens, basements, and service shafts. It’s also handy for quick makeovers in rental units.
Pre-Checks: Fix the Source First
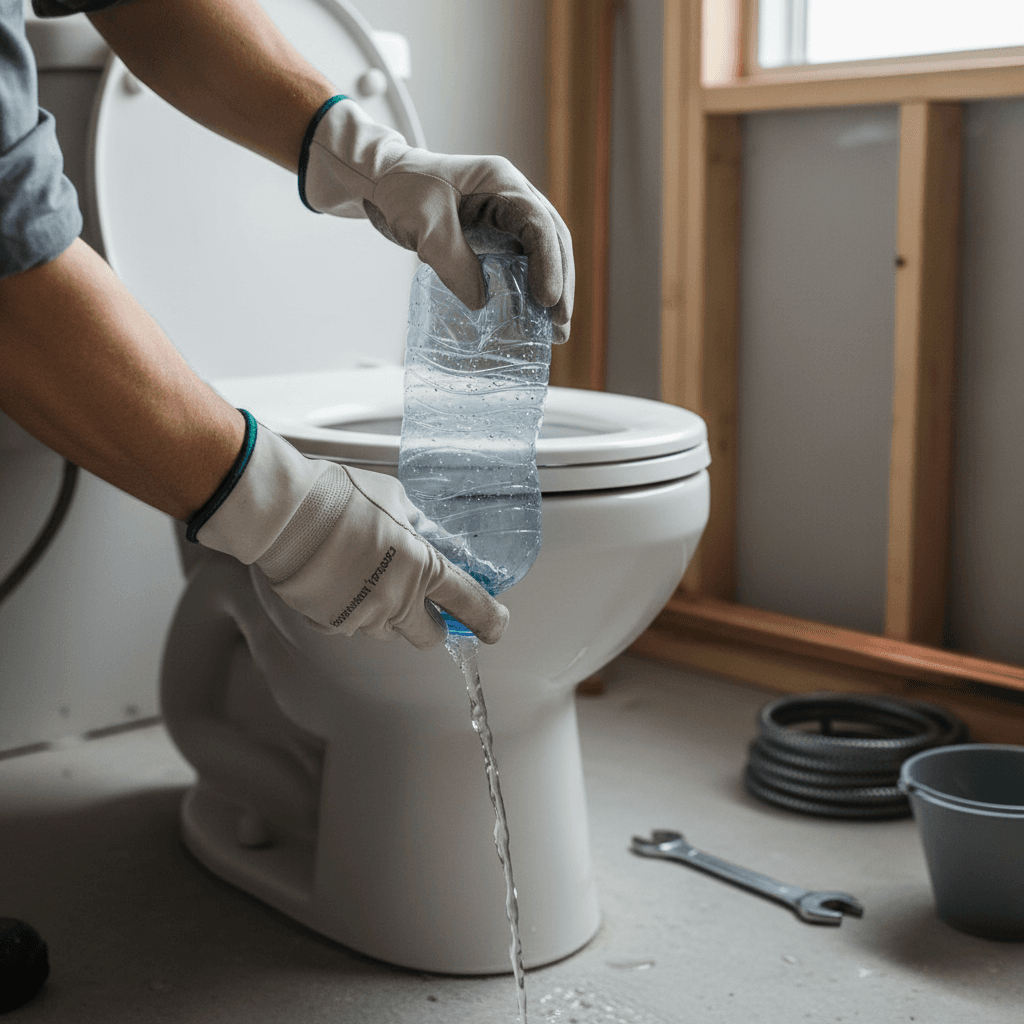
PVC hides stains, but it won’t stop a live leak. Do these checks first.
Find the Moisture Source
- Roof or terrace seepage above the ceiling
- Plumbing leaks in adjacent walls
- Rising damp from floor or plinth
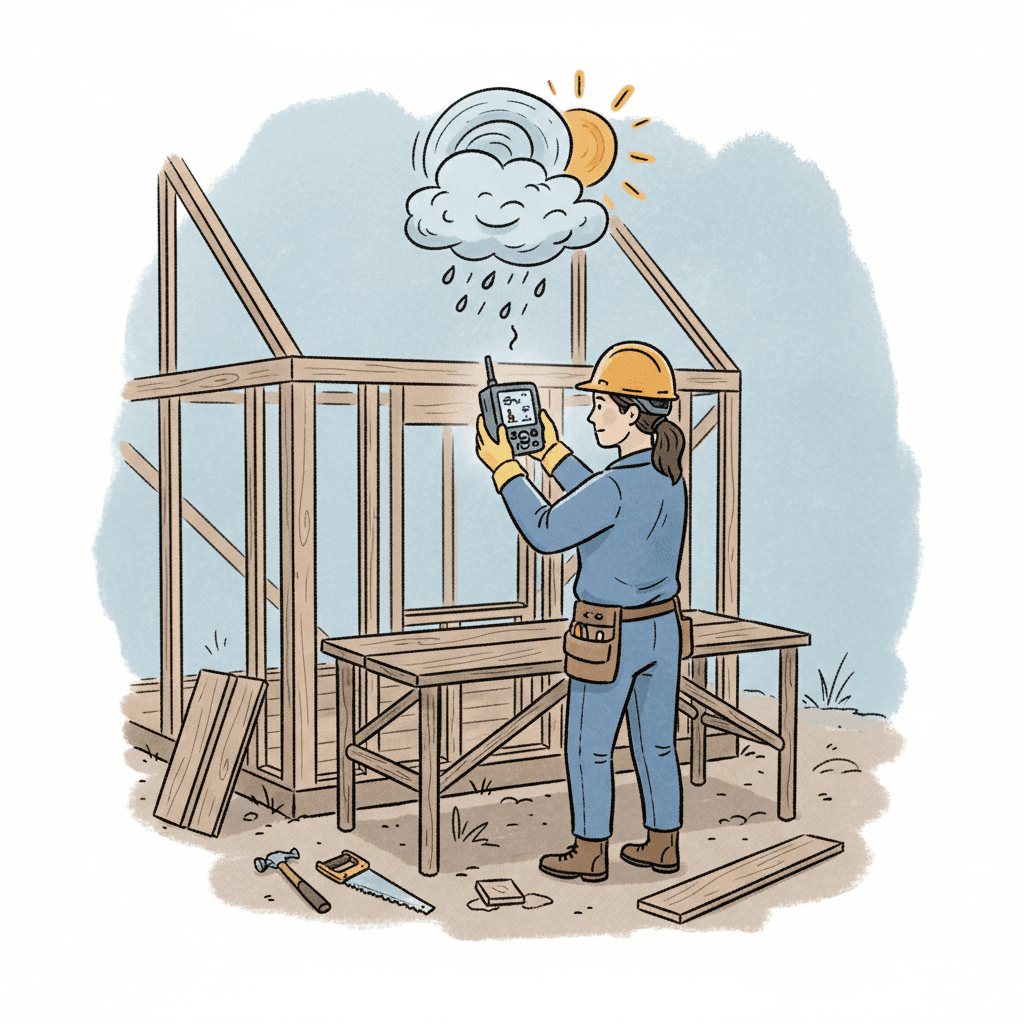
- Condensation from poor ventilation
Fix, Then Cover
- Repair pipe joints and traps. Pressure test if needed.
- Reseal terraces, parapets, or sunken slabs.
- Improve ventilation: add exhaust fans or vents.
- Treat salt efflorescence and let walls dry for 24–72 hours when possible.
Only then start panelling. This keeps the finish stable and the client happy.
Keep it simple. Most jobs need common tools.
- Panels: 7–10 mm thick, 8–10 ft long common
- PVC trims: starter, internal/external corners, end caps, H-joiners
- Subframe: PVC or treated wood battens; or direct fix to flat substrate
- Fixings: 25–30 mm self-tapping screws or nails; anchors for masonry
- Adhesive: MS polymer or construction adhesive (for flat, dry substrates)
- Accessories: measuring tape, level, chalk line, jigsaw/cutter, silicone sealant
Key measurements:
- Screw spacing: 300 mm centers along battens
- Batten spacing: 400–600 mm centers on walls; 300–400 mm on ceilings
- Expansion gap: 3–5 mm at edges and around fixtures
- Room example: 10×12 ft ceiling finishes in 6–8 hours by 2 installers
Step-by-Step: Install PVC Wall & Ceiling Panelling
Follow these numbered steps for a clean, repeatable job.
-
Measure and Plan
- Measure length, height, and ceiling span. Sketch batten layout.
- Plan panel direction. Vertical on wet walls helps runoff.
-
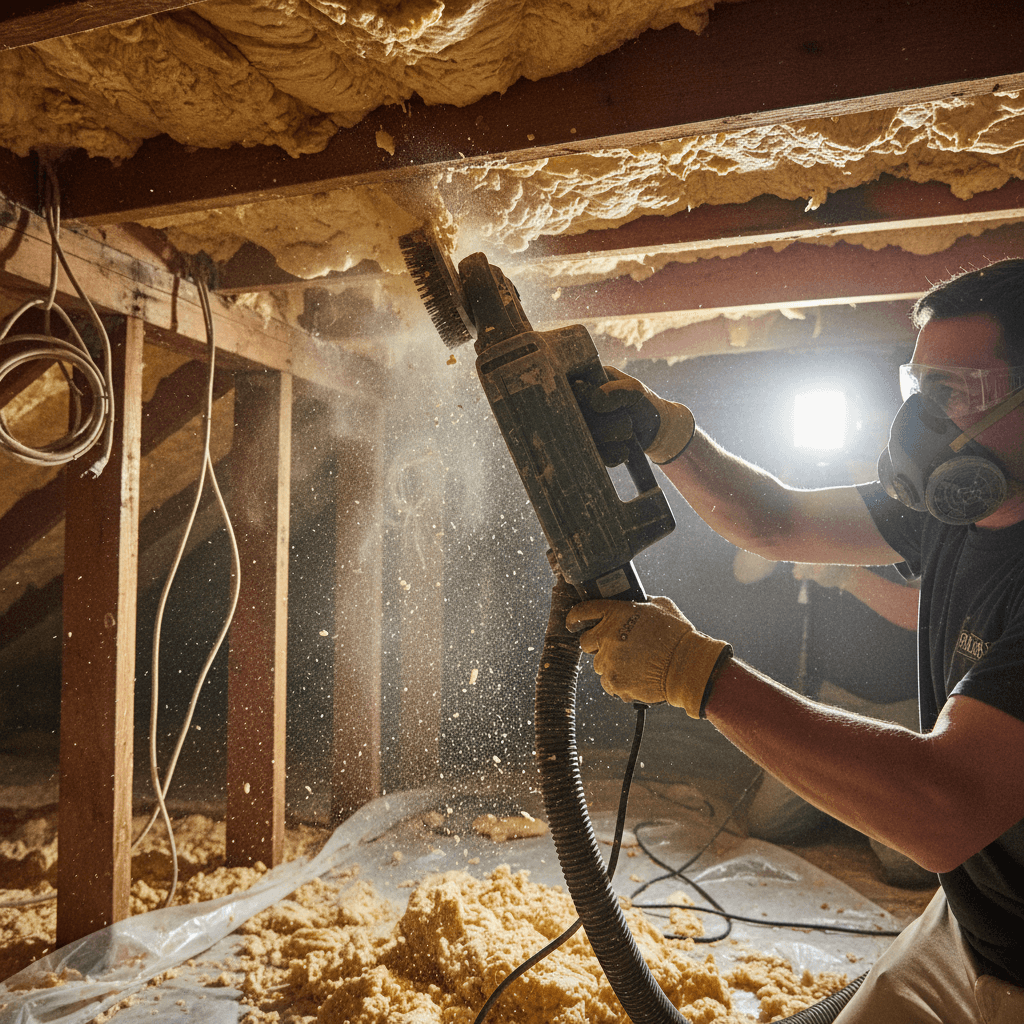
Prepare Substrate
- Remove loose paint and bulges. Knock off high spots over 5 mm.
- Treat any active mold. Let it dry.
-
Install Battens (Recommended)
- Mark lines with a level. Use 400–600 mm centers on walls.
- Fix with anchors. Keep all battens in the same plane. Shim as needed.
-
Fit Starter and Corner Trims
- Fix U-starters at edges. Add internal/external corners.
- Leave 3–5 mm expansion at perimeters.
-
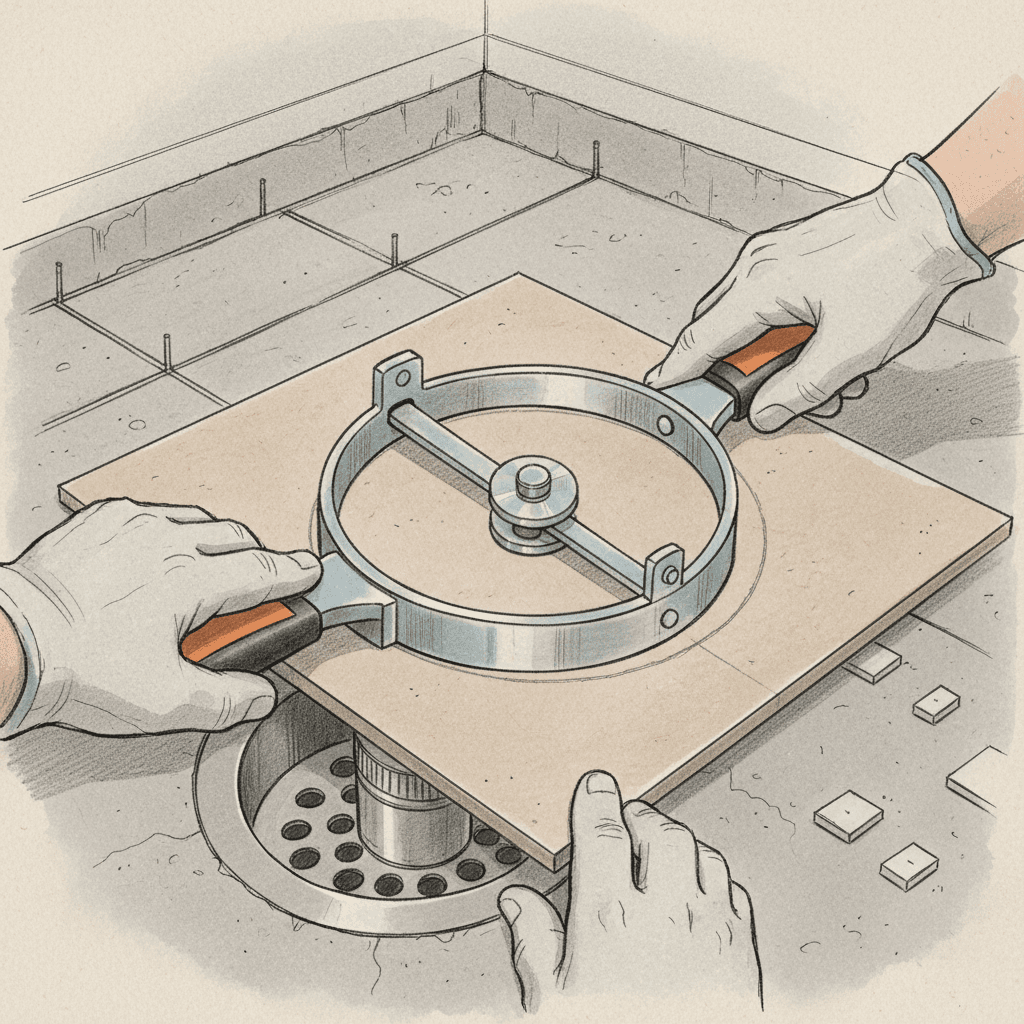
Cut Panels to Size
- Score and snap, or use a fine-tooth blade.
- Dry-fit the first panel. Check plumb.
-
Fix the First Panel
- Slide into the starter and corner trims.
- Screw through the tongue into battens at 300 mm centers.
-
Continue Paneling
- Click the next panel into the groove. Keep joints tight.
- Stagger joints on long walls if using shorter panels.
-
Ceilings
- Use end caps around windows and doors.
- Cut neat holes for exhaust fans and lights. Keep 3–5 mm clearance.
Tip: For flat, dry walls, you can direct-bond with MS polymer and a few mechanical fixings. Still keep expansion gaps.
Costs, Timeframes, and Finishing Details
- Time: A 10×12 ft room walls and ceiling often complete in 1 day with a 2-person crew.
- Coverage: One installer typically sets 120–180 sq ft per day on simple runs.
- Trims: Always include starters, corners, H-joiners, and end caps in your estimate.
- Finishing: Use color-matched silicone. Keep beads small and smooth.
- Durability: Many contractors report 5–10 years of clean service with basic care.
- Cleaning: Wipe with mild soap. Avoid strong solvents or abrasive pads.
Compared to plaster+putty+two coats paint, PVC usually saves 2–3 days on small jobs. It also avoids repeat call-backs due to bubbles in humid months.
Common Mistakes and How to Avoid Them
- Ignoring the leak: Fix water ingress first. PVC is not a dam.
- No expansion gap: Leave 3–5 mm at all edges.
- Wide batten spacing: Keep 300–400 mm on ceilings. Avoid sag.
- Screwing through the face: Fix through tongues for a clean look.
- Using cheap silicone: Use neutral-cure, mildew-resistant sealant.
- Not sealing wet corners: Run a light bead in corners and around fixtures.
If you’re also looking to streamline professional proposals, our guide covers best formats, clear scope lines, and allowances. This pairs well with understanding project timelines and scheduling buffer days for drying or ventilation upgrades.
Sell and Deliver PVC Jobs Smoothly
Clients say yes faster when they see a clear plan and fixed line items.
- Create a simple scope: panels, trims, battens, sealant, and waste removal.
- List checks: leak fix, ventilation, substrate prep.
- Show measurements: panel count, trim lengths, and fixings at 300 mm centers.
Tools like Donizo help you capture site details with voice, photos, and notes, then generate a branded PDF proposal. Clients can approve with e-signature, and you can convert to an invoice in one click. This can save you 1–2 hours per small job and reduce back-and-forth.
For contractors dealing with detailed pricing, we recommend building reusable invoice templates and clear change-order language for extra repairs if fresh leaks appear.
FAQ
Will PVC panels stop damp or only hide it?
They won’t stop a live leak. Fix the leak or seepage first. PVC panels then block surface moisture, hide stains, and prevent paint failures. Always check plumbing, roof, and ventilation before installing.
Can I install PVC over peeling paint and minor mold?
Yes, but prep first. Scrape loose paint, treat mold, and let the area dry 24–72 hours if possible. Install battens to create a stable plane. Seal corners and wet edges with mildew-resistant silicone.
Are PVC panels safe for kitchens and bathrooms?
Commonly, yes. Use fire-rated panels where codes require. Keep panels away from direct flame and seal around sinks, showers, and cooktops. Add an exhaust fan to cut condensation.
How do I finish joints and corners?
Use matching trims: starters, internal/external corners, H-joiners, and end caps. Fix panels through tongues at 300 mm centers. Seal corners and wet edges with neutral-cure silicone for a neat, watertight finish.
How long do PVC panels last, and how do I clean them?
With normal use, many installers see 5–10 years or more. Clean with mild soap and a soft cloth. Avoid abrasives and harsh solvents. Reseal high-splash corners if needed over time.
Conclusion
PVC ceiling and wall panelling is a fast, clean way to stop damp-related paint problems. Fix the water source, plan your battens, keep 3–5 mm gaps, and seal smart. Next steps:
- Inspect and fix leaks, then measure and plan trims.
- Set battens at 300–600 mm centers and install panels in one day.
- Send a clear proposal and get quick approval with platforms such as Donizo.
Do this, and you cut call-backs, speed finishes, and keep clients happy year-round.