Intro
On most jobs, the fight isn’t new installs. It’s seized joints. Rusted nipples. Chrome you can’t scratch. That’s where the legend grows: the chain and wrench plumber who never gets stuck. This guide shows you how to be “A Legendary Trick Chain and Wrench Plumber!” with simple setups that protect pipe, boost leverage, and break threads clean. You’ll learn safe grip points, back‑up wrench placement, how much force to apply, and when to switch tools. Use these steps to save 30–60 minutes per tough joint and avoid costly breakages.
Quick Answer
A “Legendary Trick Chain and Wrench Plumber” pairs a chain wrench with a solid back‑up wrench to counter‑torque the fitting, protects surfaces with pads, uses short controlled pulls (¼ turns), and applies penetrant or heat only when safe. This setup multiplies leverage, prevents ovaling, and frees stuck joints in 5–15 minutes without damage.
Table of Contents
Key Takeaways
- Use a back‑up wrench 8–12 inches from the fitting to stop twist.
- Soak penetrant 10–15 minutes; reapply if needed before muscle.
- Work in ¼ turns, then reset 30–45 degrees. Don’t yank full swings.
- Choose wrench size by pipe: 18–24 inches covers ¾–2 inch lines.
- Pad chrome with 3–5 mm rubber or a leather belt to prevent marks.
Why Chain Wrenches Beat Stubborn Joints
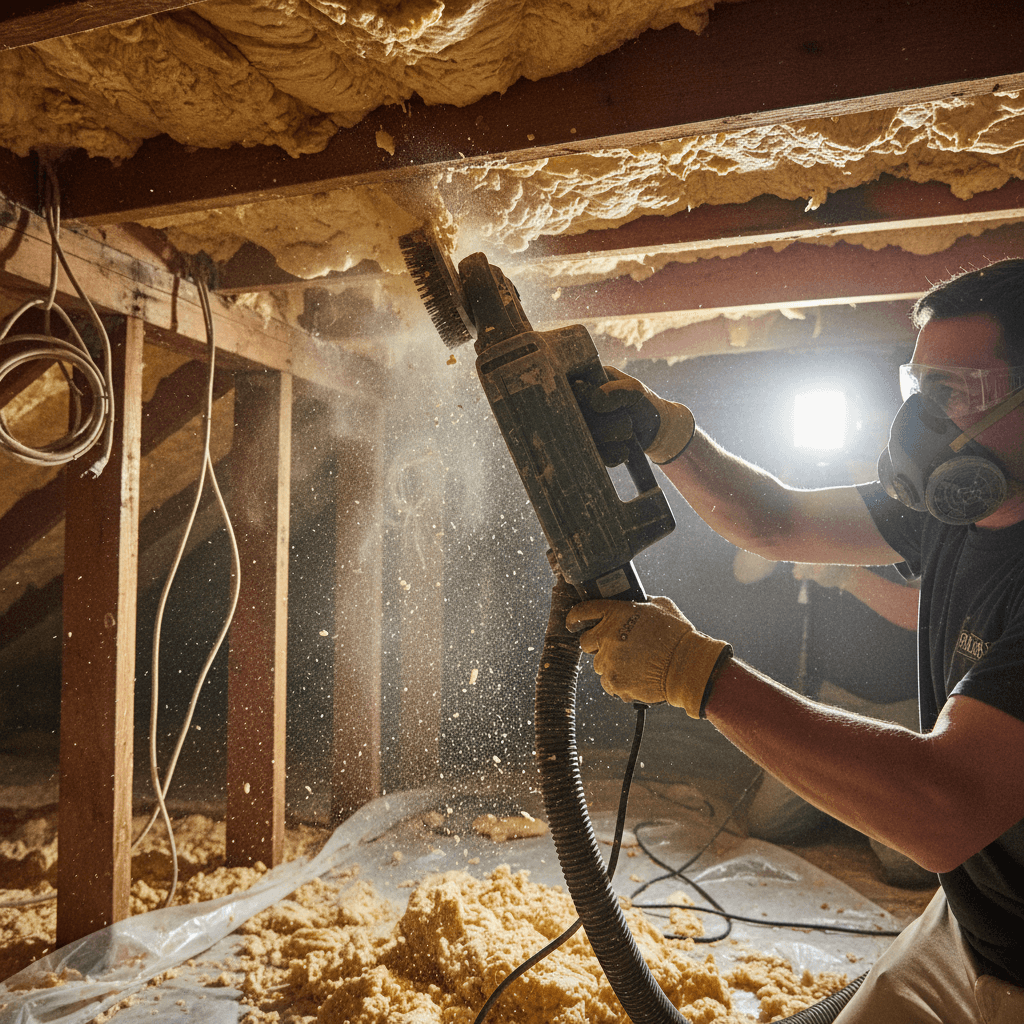
Chain wrenches grab round surfaces without chewing them. The chain wraps, the teeth bite the chain, not the pipe. You get even pressure. That matters most on old 1‑inch to 2‑inch galvanized, cast iron, or painted fittings.
A pipe wrench needs flats or a rough bite. On smooth or painted pipe, it slips or eggs the pipe. A chain wrench stays planted. It also fits in tight corners. The head pivots, and you only need a few links around the pipe.
Use a pipe wrench for hex fittings and nuts. Use a chain wrench for round pipe, chrome traps, and painted or rusted sections where you need a full wrap and a soft pad.
The Core Trick Every Legendary Chain and Wrench Plumber Uses
This is the move that makes you a legendary chain and wrench plumber. You don’t twist the system. You lock the joint with a back‑up wrench and turn only the part you want.
- Identify the fixed side and the turning side. Mark an arrow.
- Place a back‑up wrench 8–12 inches from the joint on the fixed side. Keep it square to the fitting.
- Pad the pipe if needed. Use 3–5 mm rubber or a leather belt.
- Set the chain wrench on the turning side. Wrap 2–3 extra links. The chain should pull into the head.
- Stand so your pull is inline with the wrench. No side‑loading.
- Apply penetrant and wait 10–15 minutes if the joint looks dry or rusted.
- Pull a short ¼ turn. Reset 30–45 degrees. Repeat. Listen for a creak. That’s the break.
Why it works: The back‑up wrench blocks twist and protects soldered joints, copper risers, and valves. The chain wrench gives you even bite, even on round surfaces. Short pulls avoid ovaling and thread tearing.
Step‑By‑Step: Freeing Galvanized and Cast Iron
Here’s the field‑tested routine for the worst offenders.
1. 1‑Inch to 2‑Inch Galvanized Nipples
- Support both sides. Back‑up on the fitting, chain wrench on the nipple.
- Add penetrant. Wait 10–15 minutes. Tap lightly with a hammer to wick oil in.
- Pull ¼ turn with a 24‑inch wrench. Reset 30–45 degrees. Repeat.
- If no movement after 3–4 cycles, add gentle heat away from seals. Keep flame moving for 60–90 seconds. Never on gas lines.
- Once it moves, walk it out with 1/8 turns to avoid galling.
2. 3‑Inch to 4‑Inch Cast Iron Hubs (No‑Hub Bands)
- Back‑up the opposite side with chain tongs or a second chain wrench.
- Loosen band clamps evenly, ½ turn per pass. Don’t cock the shield.
- Wiggle the hub 5–10 mm each way. Work around the circumference.
- If frozen, cut the band and slice the shield. Replace with a new band.
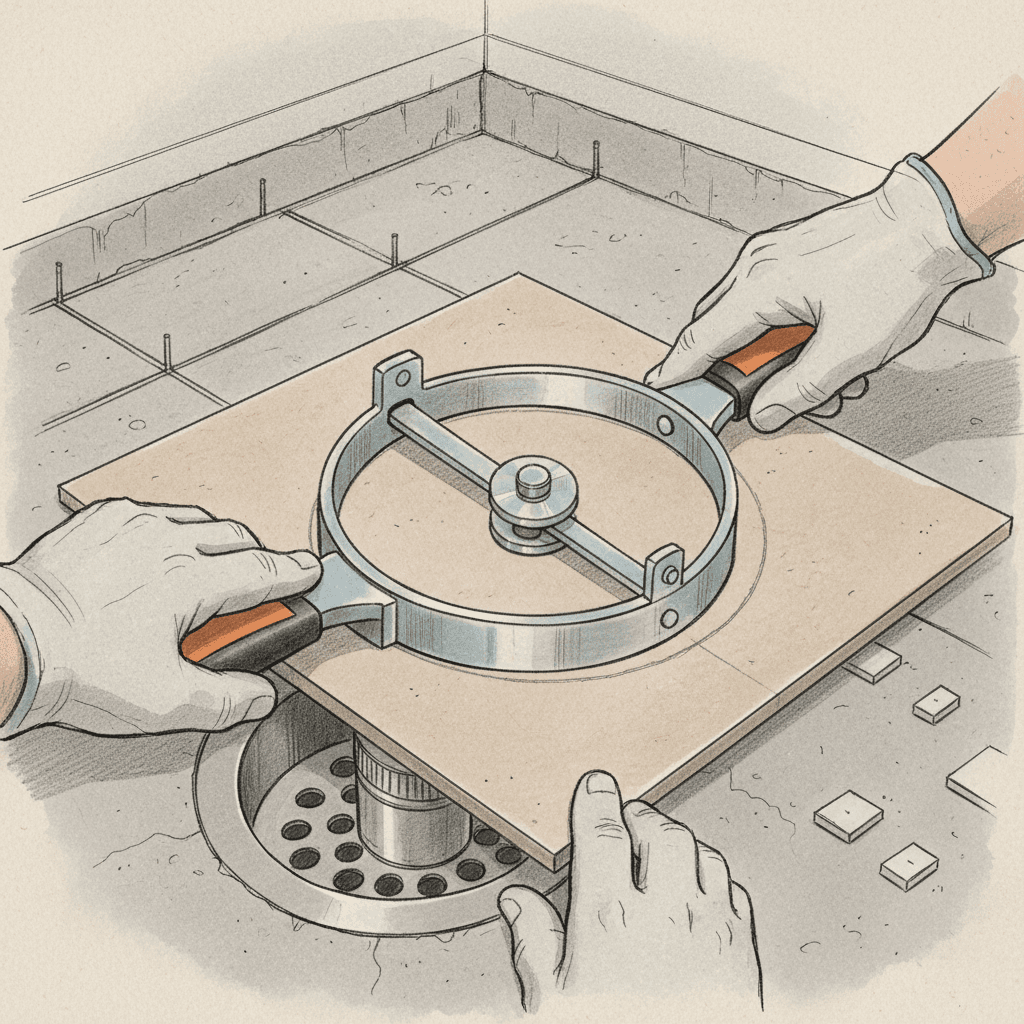
3. Chrome P‑Traps and Slip Nuts
- Never use teeth on chrome. Use a strap wrench or padded tongue‑and‑groove pliers.
- If stuck, warm gently with a heat gun for 30–60 seconds. Protect finishes.
- Break free with small 1/8 turns. Reassemble with 2–3 wraps of PTFE tape on threads if allowed, or a light film of lubricant on seals.
4. Old Radiator Unions
- Back‑up on the radiator side. Wrench on the tailpiece side.
- Heat the union nut evenly 60–90 seconds. Avoid overheating paint.
- Crack ¼ turn. Reset and walk it off. Replace gaskets.
Protecting Pipe and Fixtures
Damage costs you money. Protect the work while you work.
- Use pads: 3–5 mm EPDM rubber, leather, or even a folded bike tube works.
- For chrome, switch to a strap wrench. No teeth. No chain.
- On thin‑wall ½‑inch copper, always use a back‑up wrench. Don’t twist the wall.
- On PVC, avoid chain wrenches. Use strap wrenches or a soft‑jaw vise.
- Add wood shims under clamps or vises to spread load 10–20 mm.
Selling this step to clients matters. If you’re also looking to streamline professional proposals, our guide on professional proposals explains how to show this protection step clearly. It pairs well with understanding project timelines and using invoice templates that save time.
Mistakes That Break Fittings (And How to Avoid Them)
- Over‑pulling long swings. Solution: Work in ¼ turns, then reset 30–45 degrees.
- No back‑up wrench. Solution: Always counter‑torque 8–12 inches from the joint.
- Teeth on chrome. Solution: Strap wrench or heavy pad, light pressure.
- Heat on the wrong system. Solution: Never heat gas lines. Keep flame away from soldered copper joints and rubber seals.
- Wrench too small. Solution: Use 18–24 inch handles for ¾–2 inch pipe.
- Wrong direction. Solution: Sight the thread. Mark an arrow on the joint.
Become a Legendary Chain and Wrench Plumber On Site
Want the “A Legendary Trick Chain and Wrench Plumber!” reputation? Build a simple kit and a simple routine.
Field Kit (Fits in One Bucket)
- Chain wrench (18 inch) and chain wrench (24 inch)
- Pipe wrench (18 inch) for flats and nuts
- Strap wrench for chrome and PVC
- Padded sleeves: 3–5 mm rubber strips, leather belt, rag
- Penetrant oil, heat gun, small hammer
- Short cheater (12–16 inch) if manufacturer allows, used carefully
Daily Routine
- Inspect and mark turn direction. 30 seconds.
- Set back‑up and chain wrenches. 60 seconds.
- Penetrant soak. 10–15 minutes while you prep another task.
- Short pulls. 2–5 minutes. Reset. Repeat.
- If stubborn, add heat. 60–90 seconds. Retry.
Document the protection steps and the soak time. Clients like to see careful work. When you wrap, tools like Donizo help you capture voice notes, generate a clean proposal, get e‑signatures on scope changes, and convert to an invoice in one click. It keeps your careful process on paper.
FAQ
What’s the difference between a chain wrench, chain tongs, and a strap wrench?
A chain wrench wraps a chain around round pipe and bites through the chain. Chain tongs are similar but longer and made for big diameters like 3–6 inch. A strap wrench uses a fabric or rubber strap for delicate finishes like chrome or PVC.
How much more leverage does a 24‑inch wrench give over an 18‑inch?
Leverage scales with handle length. A 24‑inch handle is about 33% longer than an 18‑inch, so you get roughly 33% more leverage with the same effort. Use longer handles on larger pipe, but keep pulls short and controlled.
Should I use heat on galvanized or unions?
Use gentle, even heat only when safe. Keep flame moving 60–90 seconds. Never heat gas lines. Keep heat away from soldered joints, rubber seals, and painted finishes when possible. A heat gun is safer near finishes than a torch.
How do I avoid crushing thin‑wall or chrome pipe?
Pad the surface with 3–5 mm rubber or leather, switch to a strap wrench, and use a back‑up wrench. Take 1/8 to ¼‑turn pulls. If the pipe starts to oval, stop and change the setup.
How long should penetrant sit before pulling?
Give it 10–15 minutes on most jobs. For severe rust, reapply and let it sit longer, even 30–60 minutes or overnight if you can. Light tapping helps the oil wick into the threads.
Conclusion
A legendary chain‑and‑wrench plumber isn’t lucky. You use a back‑up wrench, protect the surface, make short controlled pulls, and add penetrant or heat only when safe. Do that, and most seized joints give up in minutes, not hours.
Next steps:
- Build the bucket kit listed above.
- Practice the ¼‑turn, 30–45 degree reset on scrap.
- Document your method on jobs; clients respect careful work.
When you’re ready to present that care clearly, platforms such as Donizo make it easy to capture details, send proposals, collect e‑signatures, and invoice fast. Work smart, protect the pipe, and own the stubborn joint.