Intro
Freeze Testing Plumbing Materials helps you prove what survives winter and what fails. You freeze pipe samples on purpose, then pressure test them. This shows how copper, PEX, CPVC, and PVC behave when water turns to ice. In this guide, you’ll get simple steps, shop setups, and pass/fail targets. You’ll also see how to document results for clients. Use this process before you bid cold-climate jobs or choose materials for poorly heated spaces. It saves callbacks and protects your margin when the temperature drops.
Quick Answer
Freeze Testing Plumbing Materials means chilling water-filled samples below 32°F to create ice, thawing them, and then pressure testing. Run controlled cycles, like 24 hours at −20°F, thaw to 70°F, and pressure test at 100 psi for 15 minutes. Inspect for splits, leaks, and fitting damage. Document the full process.
Table of Contents
Key Takeaways
- Water expands about 9% when it freezes; pipe walls must flex or split.
- A practical shop freeze test: −20°F for 24 hours, thaw 2 hours, then 100 psi for 15 minutes.
- Run 3 cycles on 12–24 inch samples for consistent results.
- PEX often survives bulging; rigid PVC often cracks; copper Type L can split at seams.
- Document temps, times, pressure, and photos; add results to proposals and warranties.
Why Freeze Testing Plumbing Materials Matters
On most jobs, the pipe you choose drives your winter risk. Freeze Testing Plumbing Materials gives you real proof, not guesses. You see how materials handle ice expansion, fittings, and joints.
Many contractors find this testing pays off fast. One split line can cost 4–6 hours and hundreds in repairs. A simple shop test tells you what to install in crawl spaces, garages, exterior walls, and seasonal cabins.
Use this testing before you promise warranties. It also supports clear language in your professional proposals and change orders. If you’re also looking to streamline professional proposals, make that part of your process.
Material Behavior In A Freeze
Different materials fail in different ways. Knowing this helps you pick wisely and install with confidence.
Copper (Type L and M)
- Strong and proven, but rigid.
- Common failure: longitudinal split 2–8 inches long.
- Elbows and tees can deform near solder joints.
- Type L lasts longer than M under freeze cycles.
PEX (A, B, C)
- Flexible and forgiving; can expand under freeze.
- Often survives multiple cycles with minor bulges.
- Watch fittings: brass crimp/cinch/sleeve points can become leak spots.
- After thaw, pressure test to 100 psi for 15 minutes; check every joint.
CPVC (CTS)
- More brittle in cold.
- Solvent-welded joints can micro-crack after cycles.
- Good in warm buildings, risky in exposed, unheated runs.
PVC (Schedule 40)
- Rigid and brittle in deep cold.
- Common failure: circumferential crack near fittings.
- Better for drains than pressurized supply in cold zones.
This section is your step-by-step plan. It’s simple and repeatable.
- Chest freezer or test box that reaches −20°F (−29°C)
- Digital thermometer (±1°F accuracy)
- Pressure test pump and gauge (0–200 psi)
- 12–24 inch pipe samples (1/2 inch and 3/4 inch sizes)
- Caps, tees, valves, and your chosen fittings
- Measuring cup, marker, notepad, and a camera
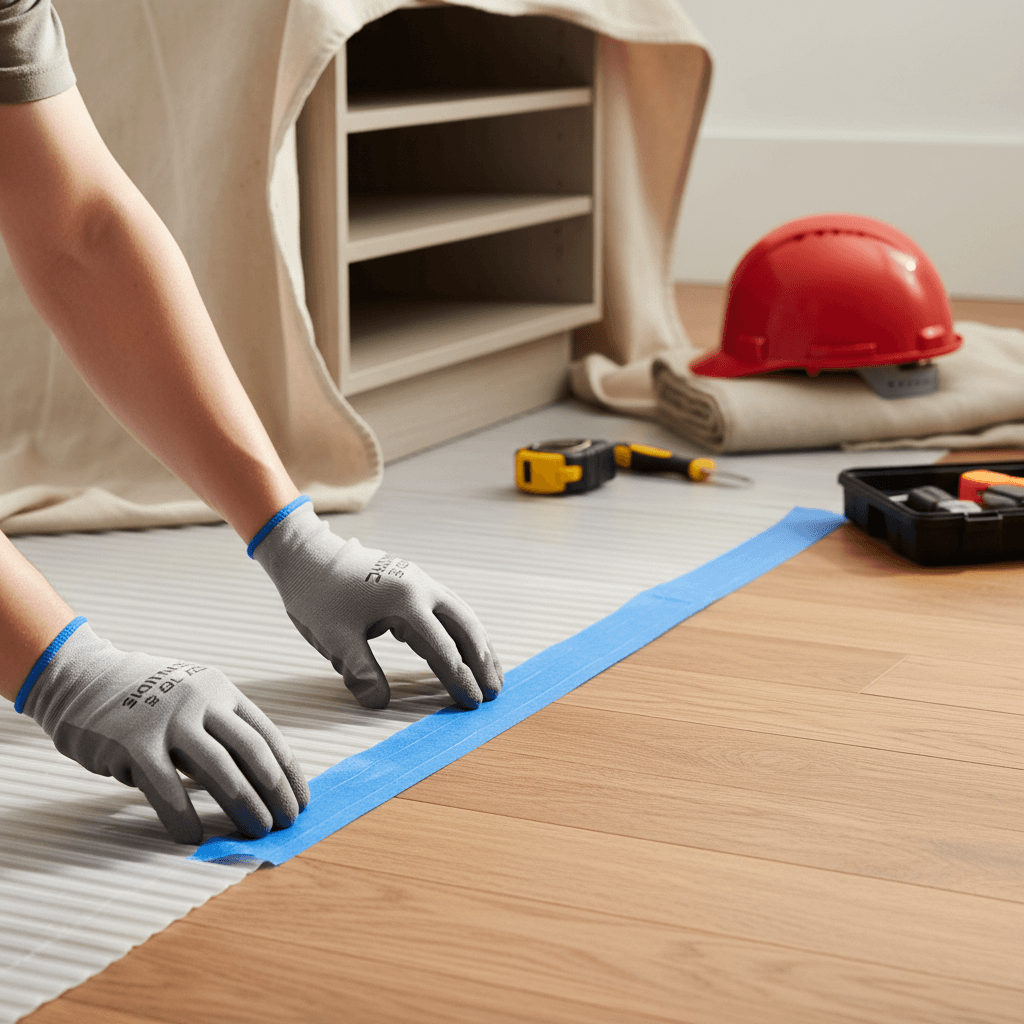
Step-By-Step: Shop Freeze Test (HowTo)
- Cut Samples: Prepare 12–24 inch lengths. Label material, size, and fitting type.
- Assemble: Install typical joints (one elbow, one coupling). Include 2–3 fittings per sample.
- Fill To 95%: Leave about 5% air gap. Mark fill line. This keeps the test consistent.
- Pre-Check: At 70°F, pressure test to 60 psi for 5 minutes. Fix any leaks now.
- Freeze Cycle: Place samples in the freezer at −20°F for 24 hours. Record time and temperature.
- Thaw: Remove and thaw to 70°F for 2 hours. Don’t rush it with heat guns.
- Pressure Test: Pump to 100 psi for 15 minutes. Watch the gauge every 5 minutes.
- Inspect: Look for sweat beads, hairlines, bulges, and fitting stress marks.
- Repeat: Run 3 full cycles for each material/fitting set.
- Document: Log temps, times, pressures, and photos. Note pass/fail.
Safety Notes
- Never pressurize frozen samples.
- Wear eye protection when pressure testing to 100 psi.
- Keep electrical gear dry around thawing water.
Interpreting Freeze Testing Plumbing Materials Results
A test is only useful if you call it correctly. Use clear criteria.
Pass/Fail Checklist
- Pass: No visible cracks, no drips at 100 psi for 15 minutes, no permanent deformation that restricts flow.
- Conditional Pass: Minor bulge on PEX under 5% diameter growth, no leaks, stable gauge.
- Fail: Any pressure drop over 2 psi in 15 minutes, visible crack, sweating joints, or fitting distortion.
What Good Looks Like
- PEX sample after 3 cycles: slight bulge at mid-span, all joints dry, holds 100 psi. Note: recheck at 150 psi for 5 minutes if you want a higher bar.
- Copper Type L: no seam splits, joints clean, passes 3 cycles without movement on the gauge.
What Bad Looks Like
- PVC near elbow: hairline along socket, drip forms at 8 minutes during pressure test.
- CPVC coupling: tiny weep after second cycle; solvent joint shows white stress banding.
Field Prevention And Repair Playbook
Testing is half the battle. Use what you learned on site.
Prevention Basics
- Insulate: Minimum R-6 on exposed runs; more if within 12 inches of exterior walls.
- Heat Trace: Use self-regulating cable with thermostat on risky spans.
- Slope And Drain: Add drain points for seasonal properties; install isolation valves within 6 feet of branches.
- Choose Smart: Use PEX for unheated garages and crawl spaces when allowed by code.
When A Line Freezes
- Shut Off And Open: Close supply, open downstream faucets to relieve pressure.
- Gentle Thaw: Warm the area with a space heater or towels; avoid open flame.
- Inspect: Check joints first; they’re the usual leak points.
- Pressure Test: After thaw, 60 psi for 5 minutes before full service.
- Replace: If you see bulges on rigid pipe, swap the section; don’t gamble.
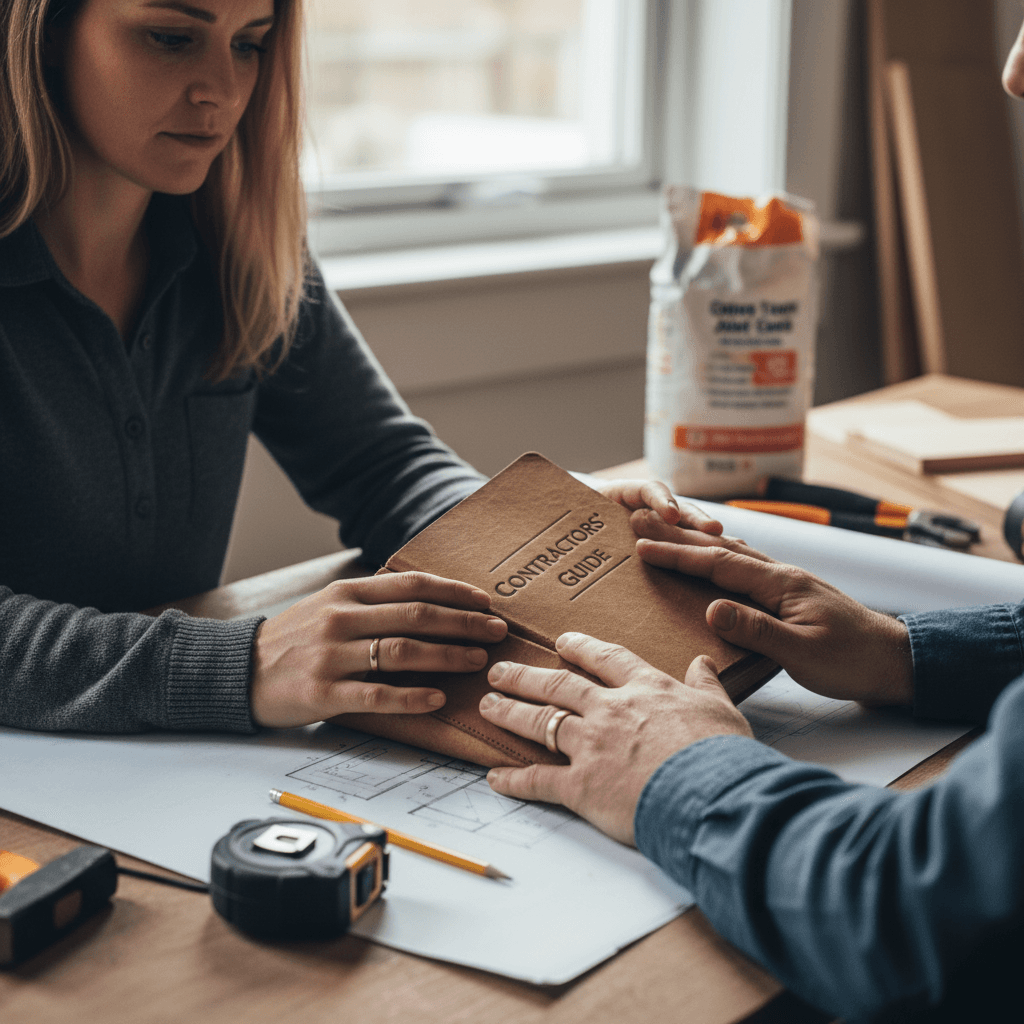
For contractors dealing with change orders on freeze protection, we recommend adding clear scope language and pricing. This pairs well with understanding pricing strategies for warranty risk.
Documenting Results And Reducing Risk
Your test notes protect you in cold snaps.
- Record Everything: Temperature (−20°F), duration (24 hours), thaw time (2 hours), pressure (100 psi), and cycle count (3).
- Photos Win: Capture close-ups before and after each cycle.
- Standardize: Use the same lengths, fill percentage (95%), and sizes (1/2 inch, 3/4 inch) for fair comparisons.
- Proposals: Add a “Cold Weather Risk” section that states materials tested, pass/fail criteria, and what’s excluded.
- Acceptance: Get the client to approve freeze protection scope before work starts.
Tools like Donizo can help you capture details with voice, add freeze-protection notes to professional proposals, send them for e‑signature, and convert accepted work into invoices in one click. If you’re building repeatable processes, also plan internal links to topics like project timelines and invoice templates to keep your paperwork tight.
FAQ
How Many Freeze Cycles Should I Run?
Run 3 full cycles for a fair picture. One cycle can miss slow damage at fittings. Three cycles at −20°F for 24 hours each, with a 2-hour thaw, shows real performance.
What Temperature And Times Work Best?
A practical setup is −20°F for 24 hours, then thaw to 70°F for 2 hours. That’s cold enough to stress most materials without special lab gear. Keep it consistent across samples.
Is PEX Truly Freeze-Proof?
No material is freeze-proof. PEX often survives better because it flexes. But fittings can still leak, and repeated freezes can weaken spots. Always pressure test after thaw.
Can I Freeze Test Assemblies With Valves?
Yes, but be careful. Valves trap water in cavities. Open or mid-position settings change results. Document handle position and test the same way for each cycle.
Will Freeze Testing Void Manufacturer Warranties?
Check the fine print. Many warranties exclude damage from freezing. Your shop testing is for selection and proof of concept. Don’t claim manufacturer approvals unless stated.
Conclusion
Freeze Testing Plumbing Materials gives you hard proof before winter hits. You run 3 cycles at −20°F, thaw, then pressure test at 100 psi. You see which pipe and fittings can handle the cold. Next steps: 1) Build a small test kit, 2) Run side‑by‑side samples, 3) Add a “Cold Weather Risk” section to your proposals. Platforms such as Donizo make it easy to capture your test notes by voice, send branded proposals for e‑signature, and invoice accepted work. Do the testing now, and avoid late-night burst calls later.