Intro
On most jobs, the wall looks flat until the light hits it. Then you see waves and dips. Perfect Wall Plastering with a Straight Edge Tool stops that. You set guides, load the coat, and rule it off clean. This guide shows the full method, step by step. We keep it simple. You’ll see tools, mixes, thickness, times, and checks. Follow this, and your walls will pass any 6‑foot test.
Quick Answer
Perfect Wall Plastering with a Straight Edge Tool means building straight screeds, applying a 8–12 mm base coat, and ruling off with a 6 ft edge. Fill hollows, re-rule, then skim 2–3 mm after 20–30 minutes. Trowel tight at 45–60 minutes. Your check gap should stay under 2 mm across the wall.
Table of Contents
Key Takeaways
- Use a 6 ft (1.8 m) straight edge for most walls. Keep gaps under 2 mm.
- Base coat 8–12 mm; skim 2–3 mm. Second pass at 20–30 minutes.
- Build solid screeds first. The wall follows the screeds, not the eye.
- Rule in long strokes. Fill low spots before they fully set.
- Light checks at 45–60 minutes catch issues before it’s too late.
What Makes a Wall Truly Flat
A wall is flat when your 6 ft straight edge touches in most places, and any gap is small. Aim for less than 2 mm. Light at a low angle will show problems. If you see shadows, you have dips or humps. Perfect Wall Plastering with a Straight Edge Tool controls= this. You don’t guess with your trowel. You set guides and follow them.
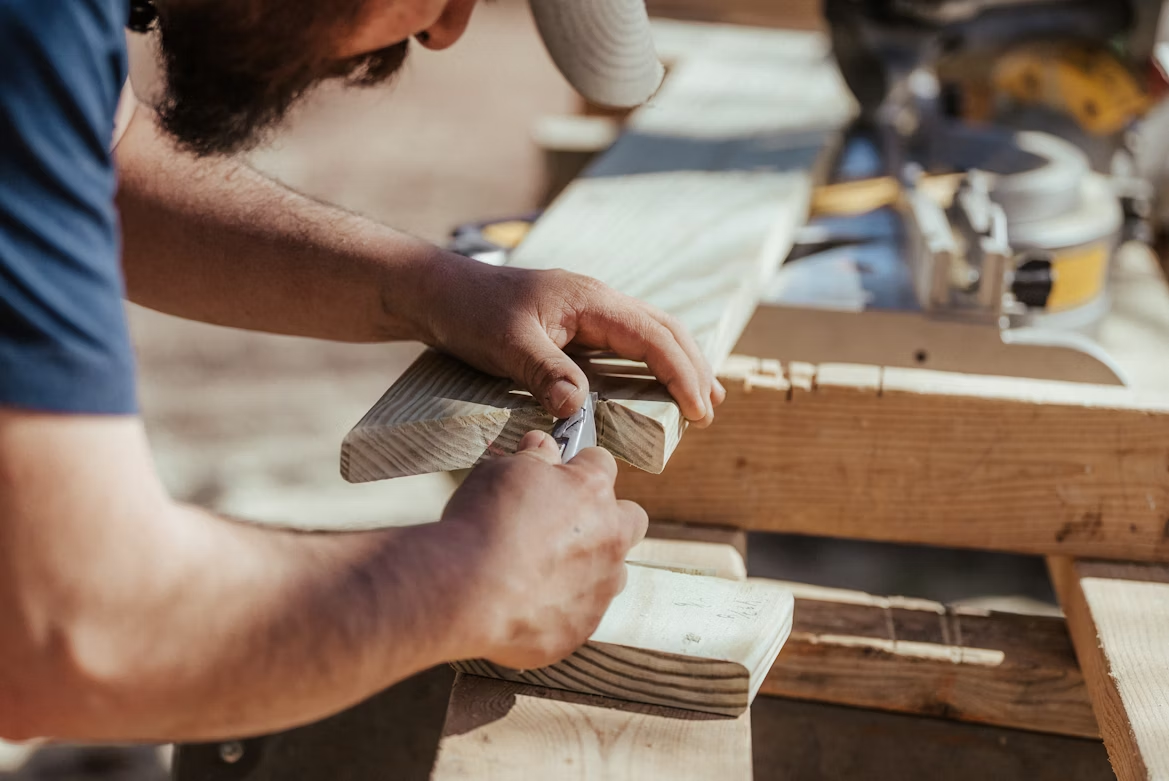
You need the right kit to work fast and clean.
- Straight edges: 6 ft (1.8 m) and 4 ft (1.2 m)
- Featheredge or aluminum box level; keep it true
- Trowels: finishing and pointing; margin trowel for tight spots
- Hawk/board and bucket trowel
- Mixing paddle; clean bucket; clean water
- Beads: corner beads, stop beads
- Spirit level/laser; plumb line
- Sponge float and steel float
Prep matters. Remove loose material. Prime dusty surfaces. Set corner beads plumb and level. Mark high and low spots with a pencil and your straight edge. In general, a 25 kg gypsum bag mixes with the water on the bag. Don’t eyeball ratios. Keep tools clean; even small lumps leave lines.
Follow these steps for consistent results.
-
Mark Control Lines (5–10 minutes)
- Snap a vertical line each corner. Use a laser if you have one. Check the wall with your 6 ft edge. Note any areas out by more than 5 mm.
-
Set Screeds/Beacons (15–25 minutes)
- Apply two vertical plaster screeds about 8–12 mm thick, 150–200 mm from each corner. Plumb them with a level. Run your straight edge between them. Add one or two mid-wall screeds if the wall is wide (over 8 ft). These control flatness. Perfect Wall Plastering with a Straight Edge Tool starts here.
-
Mix and Rest the Plaster (5–8 minutes)
- Add plaster to clean water, not water to plaster. Mix smooth. Rest 2–3 minutes. Remix briefly. Don’t overwater; it weakens the set.
-
Load the Base Coat (10–20 minutes)
- Fill between screeds to 8–12 mm. Work bottom to top. Keep a bit proud of the screeds by 1–2 mm. Many workers find two smaller passes cleaner than one heavy pass.
-
Rule Off with the Straight Edge (10–15 minutes)
- Hold the edge at a slight angle. Pull upward in long, steady strokes. Zigzag slightly to cut high spots and leave plaster in lows. Knock off ridges with your trowel. This is the core of Perfect Wall Plastering with a Straight Edge Tool.
-
Fill Hollows and Re-Rule (8–12 minutes)
- Pencil-mark hollows. Butter them and re-rule. Repeat until gaps under your edge are under 2 mm. Work while the plaster is still workable.
-
Close the Surface (5–10 minutes)
- Light trowel as it firms. Keep the trowel at 10–15 degrees. Don’t burn it early. You’re just sealing and smoothing.
- Clean tools immediately. Dried plaster in a bucket will ruin the next mix and mark your wall.
Time note: An 8×10 ft wall usually takes 45–90 minutes, depending on the substrate and crew size.
Do these checks before it fully sets.
- Long Edge Check: Run the 6 ft edge vertically, horizontally, and diagonally. Any gap over 2 mm? Fill and re-trowel.
- Light Check: Use a raking light at a 30–45° angle. Shadows show dips. Shine across the whole wall.
- Corner Check: Place the edge tight to beads. Look for daylight. Touch-up with a pointing trowel.
- Texture Check: After 60 minutes, the surface should feel firm, not sandy. If sandy, you waited too long to close.
Perfect Wall Plastering with a Straight Edge Tool is about repeatable checks. The edge and the light don’t lie.
Edges, Corners, and Problem Areas
- Beads and Stops: Fix beads straight. If the bead waves, your finish will wave. Set with screws or plaster dabs every 12–16 inches.
- Openings: Around windows and sockets, use the 4 ft edge. Short strokes help. Don’t chase tiny pits early; fill when it firms.
- Bad Substrates: On very uneven blockwork, scratch in a base coat first. Let it set 24 hours. Then follow the same straight edge method.
- Cracks: Bridge with 100 mm mesh tape in the skim. Work it flat now; don’t sand later.
- Ceilings: Same rules. Use a 6 ft featheredge. Keep thickness to 2–3 mm skim unless leveling badly dipped joists.
Workflow, Cleanup, and Documentation
- Staging: Mix in small batches. A 25 kg bag commonly covers around 80–110 sq ft at 2 mm. Don’t overmix and rush. Plan the wall in lanes.
- Climate: Hot rooms shorten your 20–30 minute sweet spot. Cool rooms extend it. Control airflow. Avoid strong sun on fresh plaster.
- Variations: If the client adds “can you also skim that return?” log it. Use simple notes and photos. For clean scope changes and quick sign-off, tools like Donizo help you capture details by voice, send a branded proposal, get e-signatures, and convert to an invoice in one click.
- Internal Links To Explore:
- Learn how to write clear, professional proposals (anchor: professional proposals).
- See how to manage project timelines without chaos (anchor: project timelines).
- Use change orders to protect your margin (anchor: change orders).
- Set up invoice templates that save time (anchor: invoice templates).
FAQ
What length straight edge is best for walls?
Use a 6 ft (1.8 m) straight edge for most walls. Keep a 4 ft (1.2 m) edge for tight areas and openings. Longer edges catch big waves. Shorter edges are for detail work.
How thick should plaster be under a straight edge?
Base coat is usually 8–12 mm to flatten. Skim coat is 2–3 mm to finish. Don’t go thin trying to save material. Thin coats won’t hide a bowed wall.
When do I re-rule or trowel again?
Fill hollows and re-rule within 10–15 minutes of the first pass. Skim after 20–30 minutes, when the base is firm but workable. Final trowel at 45–60 minutes, as it tightens.
Do I need screeds every time?
If the wall is already very true, you can rule from beads and corners. On most jobs, screeds give you control and speed. They make Perfect Wall Plastering with a Straight Edge Tool consistent.
Can I paint the next day?
For a 2–3 mm skim, many painters wait 24–48 hours, until the wall is evenly dry. For thicker leveling coats, allow 3–7 days. Always follow the product data and check moisture visually.
Conclusion
Flat walls come from a system, not luck. Build true screeds, load the coat, and rule off clean. Keep gaps under 2 mm, skim 2–3 mm, and trowel at 45–60 minutes. That’s reliable, professional work. Next steps: 1) Check your edges for true today. 2) Set screeds on your next wall. 3) Use a side light to verify flatness. If scope changes mid-job, platforms such as Donizo make proposals, signatures, and invoicing simple. Keep your finishes tight, your paperwork tighter.