Intro
Aluminum railing is a fast, clean way to finish decks, stairs, and balconies. It’s light, strong, and low maintenance. In most regions, it beats wood and steel on install speed and upkeep. This guide shows you what aluminum railing is, why contractors choose it, and how to install it right the first time. We’ll cover code basics, layout, tools, and a simple step-by-step process. You’ll also see pricing tips, warranty notes, and ways to avoid callbacks. Use this as a field-ready checklist you can follow on any aluminum railing job.
Quick Answer
Aluminum railing installs fast, resists corrosion, and meets common guard and handrail codes when you follow manufacturer specs. Use 36 in. height for most homes and 42 in. for many commercial decks, with baluster gaps under 4 in. Lay out posts at 6–8 ft, anchor securely, and assemble panels per kit.
Table of Contents
Key Takeaways
- Aluminum railing is light, strong, and low maintenance compared to wood or steel.
- Common heights: 36 in. residential, 42 in. commercial; max gap < 4 in.
- Typical post spacing: 6–8 ft (check your brand’s span chart).
- Two workers can install 20–30 ft in 4–6 hours with good prep.
- Include 3–5% waste and all brackets/caps in your estimate to avoid delays.
Why Choose Aluminum Railing
Aluminum railing is built for speed and durability. It won’t rust like steel. It won’t warp or rot like wood. The powder-coated finish holds color and resists chips. Many contractors find it cuts install time by one-third on repeatable decks.
It’s also light. One person can carry 6–8 ft panels without strain. Posts are easy to set and plumb. Most systems use hidden fasteners, so the finish looks clean and premium. Your clients get a sharp look with almost no yearly upkeep.
You can use pickets, glass, or cable infills. Pickets are the fastest. Glass looks high-end but needs careful handling. Cable needs tension tools. Pick the system that fits the job, code, and budget.
Codes, Sizes, and Layout
Getting aluminum railing code-right starts with height and spacing. Commonly used rules (verify locally):
- Guard height: 36 in. for most single-family decks, 42 in. for many commercial jobs.
- Handrail height (stairs): 34–38 in. measured nose-to-top of handrail.
- Baluster gap: a 4 in. sphere should not pass through openings.
- Stair openings: a 4-3/8 in. sphere rule is often used on stair risers.
Layout Basics
- Post spacing: 6–8 ft center-to-center, depending on your brand and wind load.
- Corner posts: place exactly on layout lines; keep panels square.
- End returns: plan for wall mounts or return caps.
- Stairs: confirm angle with a digital level; many systems cover 30–38°.
- Expansion: leave about 1/8 in. where the manufacturer calls for clearance.
Snap a chalk line for the guard height. Mark post centers. Pre-drill anchors so posts set fast and true. On most jobs, clean layout saves you at least one hour.
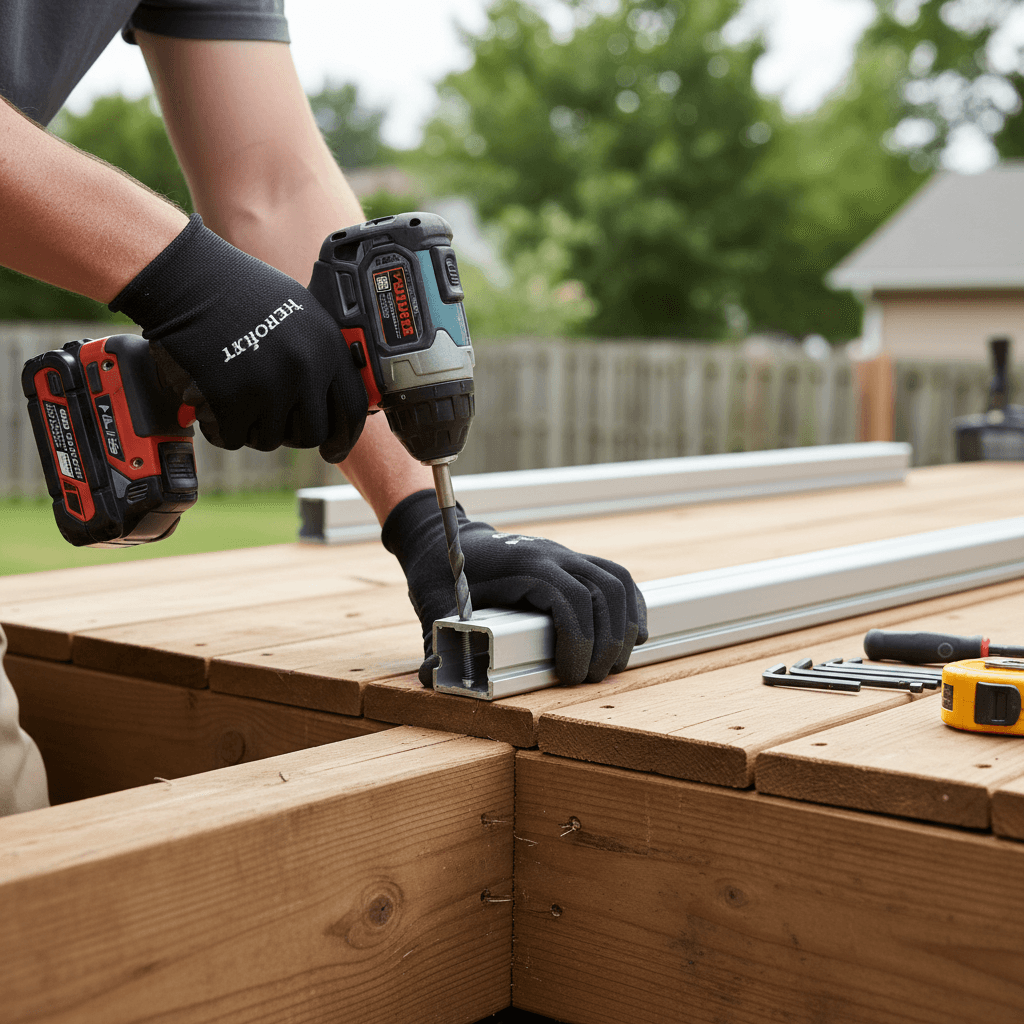
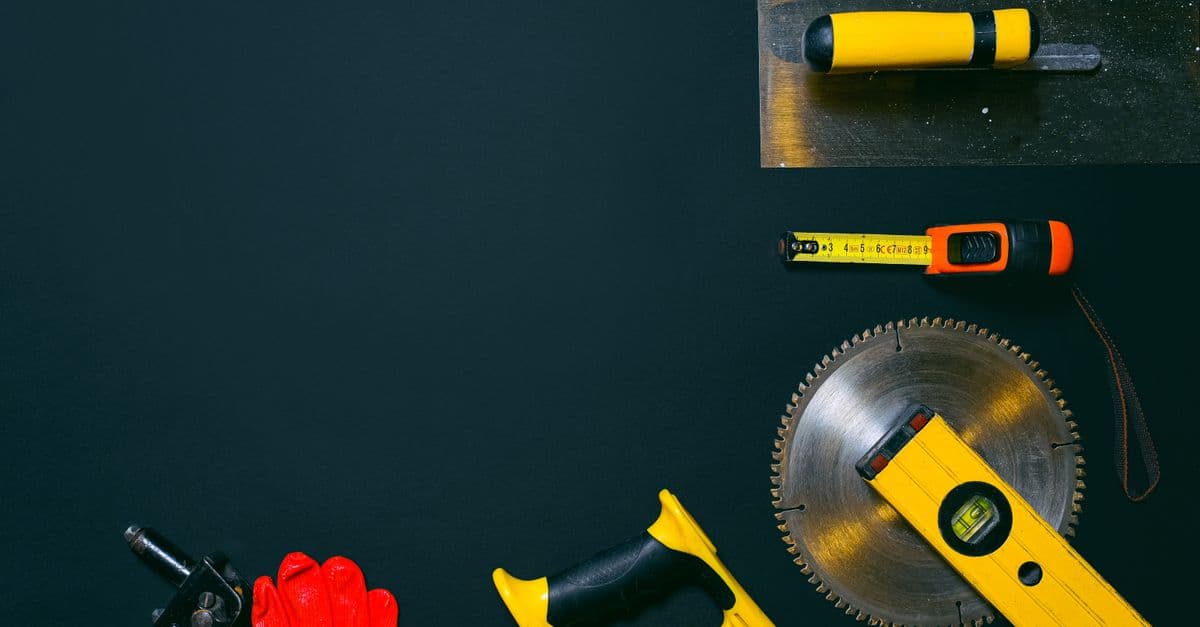
Bring the right kit so you don’t waste trips:
- Miter saw with a non-ferrous blade (80+ tooth) for clean aluminum cuts.
- Cordless drill/driver, impact driver, and step bits (3/16 in., 1/4 in.).
- Masonry bits for concrete; wood bits for framing.
- Anchors: 5/16 in. lags for wood framing, or rated concrete anchors (3/16–1/4 in.) per engineer notes.
- Stainless or coated fasteners per the brand; avoid mixing metals that corrode.
- Post base shims, level, square, and string line.
- Touch-up paint from the manufacturer.
- Safety: eye protection, hearing protection, gloves.
Tip: Pre-stage hardware. Keep rail brackets, screws, and caps in labeled bins. This alone can save 20–30 minutes on a 30 ft run.
Aluminum Railing Installation: Step-by-Step
Follow this sequence to avoid rework. Always read your brand’s manual first.
- Verify Structure
- Confirm the deck or slab can hold guard loads. Tighten or add blocking under post locations. For wood, add 2x blocking around each post base for solid bite.
- Snap Lines and Mark Posts
- Mark post centers every 6–8 ft. Check corner-to-corner measurements. Use a string line for straight runs.
- Dry Fit Posts
- Set posts without anchors. Check reveal to edges, door swings, and stair nosings. Adjust for equal panel sizes at ends if needed.
- Anchor Posts
- Plumb posts on two sides. Shim as needed. Drive rated anchors: 5/16 in. lags into framing or specified concrete anchors into slab. Torque per brand guidance; do not overtighten.
- Cut Rails to Length
- Measure twice. Cut once with a non-ferrous blade. Deburr cuts. Leave 1/8 in. gap where the brand calls for expansion.
- Install Bottom Rail and Brackets
- Set brackets to height. Fasten with #10 screws if specified. Check level across posts.
- Add Balusters or Infill
- For pickets, snap into grommets or sleeves. Keep spacing under 4 in. For glass, use setting blocks and gloves. For cable, tension evenly with a gauge.
- Install Top Rail
- Seat the top rail onto brackets. Check for level and smooth lines. Secure with hidden fasteners where provided.
- Stairs and Transitions
- Use stair-specific brackets. Match the measured stair angle. Keep handrail height 34–38 in. from nosing lines.
- Caps, Touch-Up, and Clean
- Press on post caps. Touch up cut ends with factory paint. Wipe rails clean. Final-check plumb and fastener tightness.
Time check: Two techs can finish 20–30 ft of straight railing in 4–6 hours if blocking and surfaces are ready. Add 1–2 hours for one stair flight or glass sections.
Estimating, Pricing, and Change Orders
Most contractors price aluminum railing by linear foot plus add-ons. Include these in your takeoff:
- Straight runs, corners, and stair runs.
- Post count and type (end, line, corner; surface vs. fascia mount).
- Brackets, splices, angles, caps, and touch-up paint.
- Infill upgrades (glass or cable) and gate kits (often 36 in. wide).
- Hardware for wood vs. concrete. Engineering if required.
- Waste factor: 3–5% for cuts and field adjustments.
Proposal tip: Photograph the site and record measurements on voice notes. Tools like Donizo let you capture details with Voice to Proposal, generate a branded PDF, send it via email, and collect an e-signature. That can cut back-and-forth in half and help you win jobs faster.
For internal process improvements, this pairs well with understanding professional proposals, pricing strategies, and change orders. If you’re also looking to streamline project timelines and invoice templates, our related guides cover those topics in depth.
Maintenance, Warranty, and Callbacks
Aluminum railing is low maintenance, not zero maintenance. Set clear client expectations to prevent callbacks.
- Cleaning: Rinse with water and mild soap 2–4 times per year. Avoid harsh chlorides.
- Fastener Check: Re-check post anchors and bracket screws annually.
- Touch-Up: Seal cut edges with factory paint during install. Repaint chips quickly.
- Corrosion Control: Isolate aluminum from treated lumber with gaskets or tape. Use compatible fasteners.
- Warranty: Many finishes carry 10–20 year limited warranties. Keep your receipts and the brand’s care guide in the handover pack.
Common callback causes include loose posts from weak blocking, over-spanned panels, and stair angles drilled off by 2–3°. A tight layout and the right anchors prevent most of these.
Conclusion
Aluminum railing installs fast, looks sharp, and keeps callbacks low when you follow code and manufacturer steps. Start with solid blocking, tight layout, and the right anchors. Then cut clean, keep gaps under 4 in., and set your handrail heights correctly.
Next steps:
- Walk your next deck and mark post centers every 6–8 ft.
- Pre-stage all brackets, caps, and touch-up paint before cutting rails.
- Capture site notes and build a clean proposal using platforms such as Donizo to speed approvals.
By dialing in this workflow, you’ll install aluminum railing with confidence and finish more linear feet per day.