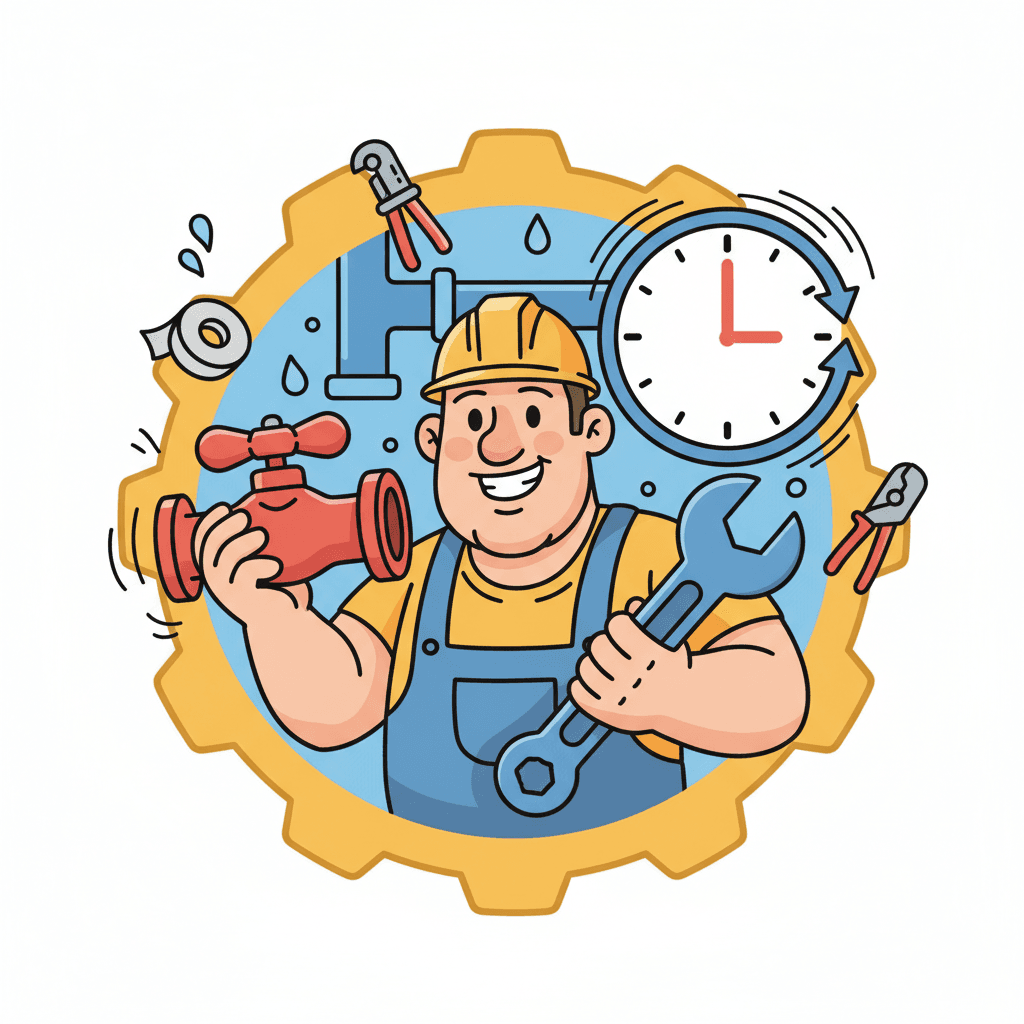
Intro
On most jobs, the clock dies every time you shut the whole house. Drains run slow. Tenants complain. Your day slips. Here’s the fix. Plumbers are using this shutoff valve hack to save time and keep work moving. You install a quick isolation point on the branch you’re touching. Then you open and close that new valve as needed. No constant trips to the main. In this guide, we’ll show what the hack is, why it works, and how to do it right. You’ll get clear steps, code notes, and field tips.
Quick Answer
Plumbers are using this shutoff valve hack to save time by adding a temporary (or permanent) inline ball valve with a drain port at the start of the branch they’re repairing. Install a push-fit slip or press ball valve, bleed through the waste port, and isolate that zone. You’ll test faster, avoid whole-house shutdowns, and cut 30–60 minutes per job.
Table of Contents
Key Takeaways
- Add one isolation ball valve with a drain port and work the branch fast.
- Expect 30–60 minutes saved on multi-fixture jobs with 2–4 test cycles.
- Carry 1/2-inch and 3/4-inch push-fit slip or press valves in your kit.
- Deburr, mark insertion depth, and leave 2–3 inches of straight pipe.
- Label the new isolation so the next tech can use it in 10 seconds.
What Is the Shutoff Valve Hack?
This hack is simple. You create a new shutoff point close to the work area. Use a quarter-turn ball valve with a drain (often called a stop-and-waste or isolation valve with bleed). Install it on the branch you’re repairing. Now you can isolate only that zone. Open and close it as many times as you want while you swap fixtures, solder, press, or test.
Most plumbers do it two ways:
- Push-fit slip ball valve (great when a little water is weeping)
- Press-connect ball valve (great when you can press fast and clean)
It works on 1/2-inch and 3/4-inch copper, PEX, and CPVC, with the right ends. Many kits include a drain port you can hose to a bucket. That speeds purging and testing.
Tools you’ll likely use:
- Pipe/tube cutter and deburring tool
- Depth gauge/marking pen
- Press tool or push-fit slip valve
- Bucket, short hose (1–3 feet), and rags
- PEX stiffeners if needed
Why Plumbers Are Using This Shutoff Valve Hack
Plumbers are using this shutoff valve hack to save time because it avoids repeated whole-house shutdowns. On a bathroom remodel with three fixture swaps, you might shut the main 4–6 times. Each shutdown adds 5–10 minutes of walking, draining, and bleeding air. That’s 20–60 minutes gone.
The hack changes the math:
- You shut the main once for 2–5 minutes to install the valve.
- After that, you isolate only the branch in 2–3 seconds.
- You bleed through the valve’s drain. No running to the lowest faucet.
- You test one fixture at a time without waking the whole building.
It’s especially helpful at 40–80 psi systems and in multi-unit buildings. Less disruption. Fewer callbacks about noisy pipes and air. Cleaner timelines your GC can trust.
If you’re also looking to streamline professional proposals, our guide on clear, itemized professional proposals pairs well with this. It helps you set expectations for water-off windows and testing steps.
How to Use the Shutoff Valve Hack (Step-by-Step)
- Identify the branch. Pick the nearest straight section feeding your work. Leave at least 2–3 inches of straight pipe.
- Notify the client. Give a tight window: “Water off for 5–10 minutes.” Keep trust high.
- Kill pressure. Shut the main. Open the nearest low faucet or drain a small amount to drop pressure.
- Cut the pipe. Remove about 1 inch for a slip valve, or follow your valve’s spec. Deburr inside and outside. Clean ends.
- Mark insertion depth. Typical push-fit depth on 1/2-inch is about 15/16 to 1-1/8 inches. Check your brand spec.
- Install the valve. Push or press the ball valve onto the upstream side first. Align the body so the drain faces a bucket. Complete the slip/press per instructions.
- Attach a short hose to the drain. Aim to a bucket. Close the valve handle. Open the drain.
- Turn the main back on. The branch stays isolated. System pressure returns everywhere else.
- Work the branch fast. Open/close the new valve for each step. Bleed water through the drain as needed. Test one fixture at a time.
- Label and support. Strap within 12–18 inches if needed. Tag the valve: “Bath Branch Isolation – Close for service.”
Time check: The install often takes 5–10 minutes. It can save 30–60 minutes on a multi-step job.
Code, Safety, and Product Choices
- Use listed, quarter-turn ball valves rated for potable water and the pipe material. Look for lead-free markings where required.
- Stop-and-waste (drain) ports are handy. Cap the drain when not in use.
- Push-fit in concealed spaces: Only if the fitting is listed for concealed use by the manufacturer and allowed by local code. Press valves are widely approved in walls.
- Saddle valves: Avoid. Many codes do not allow them on potable water.
- Transition correctly. Use proper adapters for copper, PEX, or CPVC. Install PEX stiffeners where required.
- Support piping. Add a strap within 12–18 inches of the new valve if the run needs it.
- Pressure test. After work, test at operating pressure (commonly 40–80 psi). Fix any weeps before closing walls.
- Always follow local code and manufacturer instructions. If in doubt, ask your AHJ.
Jobs Where Plumbers Are Using This Shutoff Valve Hack
Plumbers are using this shutoff valve hack to save time in:
- Bathroom remodels: Swap angle stops, faucets, and shower valves with 2–3 quick tests.
- Kitchen re-pipes: Isolate the sink branch; test dishwasher and ice maker without killing the house.
- Multi-family units: Add a hallway branch isolation. Tenants next door keep water during your work.
- Water heater changeouts: Add an upstream isolation and drain port to purge fast and avoid house-wide air.
- Slab leak reroutes: Create zone valves as you repipe. It keeps partial service on while you move fixtures.
Example: In a two-bath condo, you might need 3–4 test cycles. With the hack, each cycle is a 2–3 second valve flip and a 30–60 second bleed. Without it, each cycle can be a 5–10 minute shutdown and drain. The difference adds up.
If you manage project timelines, check our tips on managing project timelines and clear client updates. It fits perfectly with planning short water-off windows.
Pro Tips to Get Even More Time Back
- Build a universal stop kit: 1/2-inch and 3/4-inch slip ball valves, depth gauge, deburr tool, short bleed hose, and caps. Keep 2–3 of each on the truck.
- Mark depth every time. Missing depth marks is the #1 push-fit leak risk.
- Fight weeping water: Use a CO2/ice plug kit or a wet/dry vac on a nearby faucet to pull a slight vacuum. Even a tiny drip can block solder or press.
- Choose valves with a true full port on main feeds. Better flow. Less noise.
- Label clearly. A 5-second label can save the next tech 20 minutes.
- Put it in writing. In your proposal, list “Add isolation valve with drain for service/testing.” It sets scope and avoids debates later. Tools like Donizo help you capture details with voice, send branded proposals for e‑signature, and convert accepted work to invoices fast.
For contractors dealing with changes mid-job, our advice on handling change orders will help lock scope and protect your margin. For billing clarity, see our simple invoice templates that save time.
Conclusion
Plumbers are using this shutoff valve hack to save time because it turns a full-house shutdown into a quick, local isolation. Add one ball valve with a drain, work fast, and test cleanly. Next steps: 1) Stock 1/2-inch and 3/4-inch slip or press valves, 2) Build a small bleed kit, and 3) Label every new isolation. When you write proposals, note the isolation work and short water-off windows; platforms such as Donizo make it easy to capture details by voice, send for e‑signature, and invoice in one flow. Put this into practice today and keep your day on schedule.