Intro
On busy jobs, speed matters. Skarkbite copper press fittings help you make strong copper joints fast, with no flame. They work with standard copper tube and a press tool. In this guide, you’ll learn what Skarkbite copper press fittings are, when to use them, and how to press perfect joints every time. We’ll cover tools, step-by-step work, code checks, and real job tips. You’ll see how these fittings can save hours across a project while keeping quality tight.
Quick Answer
Skarkbite copper press fittings are mechanical fittings for copper tube. You slide the pipe to a marked depth and press the fitting with the right jaw. Most water systems press in under 10 seconds per joint and hold up to common ratings like 200 psi and 250°F. Always follow the manufacturer’s spec sheet.
Table of Contents
Key Takeaways
- Pressed copper joints go in fast: often 10–15 seconds per press.
- Typical copper sizes run 1/2", 3/4", 1", 1-1/4", 1-1/2", 2".
- Many systems rate to 200 psi and 250°F. Verify your spec.
- Mark insertion depth every time. It prevents partial insertion leaks.
- Deburr inside and outside edges. A sharp burr can cut the O-ring.
What Are Skarkbite Copper Press Fittings?
Skarkbite copper press fittings use an internal sealing element and a metal sleeve. You push the pipe to a set depth and compress the sleeve with a press tool. The tool forms a permanent mechanical joint.
Most systems include elbows, tees, couplings, adapters, ball valves, and drop-ear fittings. You’ll see common copper tube sizes like 1/2", 3/4", 1", and up to 2" on many lines. Seals are often EPDM for potable water. Gas uses different seals, so check the label.
Why many contractors choose them:
- No torch. Great for tight spaces and finished areas.
- Speed. Press in seconds. Move to the next task.
- Consistency. Same press force every time with a calibrated tool.
If you’re building content hubs, this topic pairs well with internal links on “professional proposals,” “project timelines,” and “invoice templates that save time.”
When to Use Skarkbite Copper Press Fittings
Use Skarkbite copper press fittings when you need speed and clean work.
Good fits:
- Occupied homes where open flame is risky.
- Commercial retrofits with active sprinklers or alarms.
- Tight shafts and overhead runs where you can’t sweat easily.
- Cold or damp conditions where soldering is tough.
Think twice:
- High-temperature loops above 250°F. Check seal limits.
- Specialty fluids or chemicals. Verify compatible O-rings.
- Underground or embedded runs. Follow the burial rating and wrap rules.
Inspection note: Many inspectors know press systems well. Still, show the tool calibration date and fitting listings on request. It speeds sign-off.
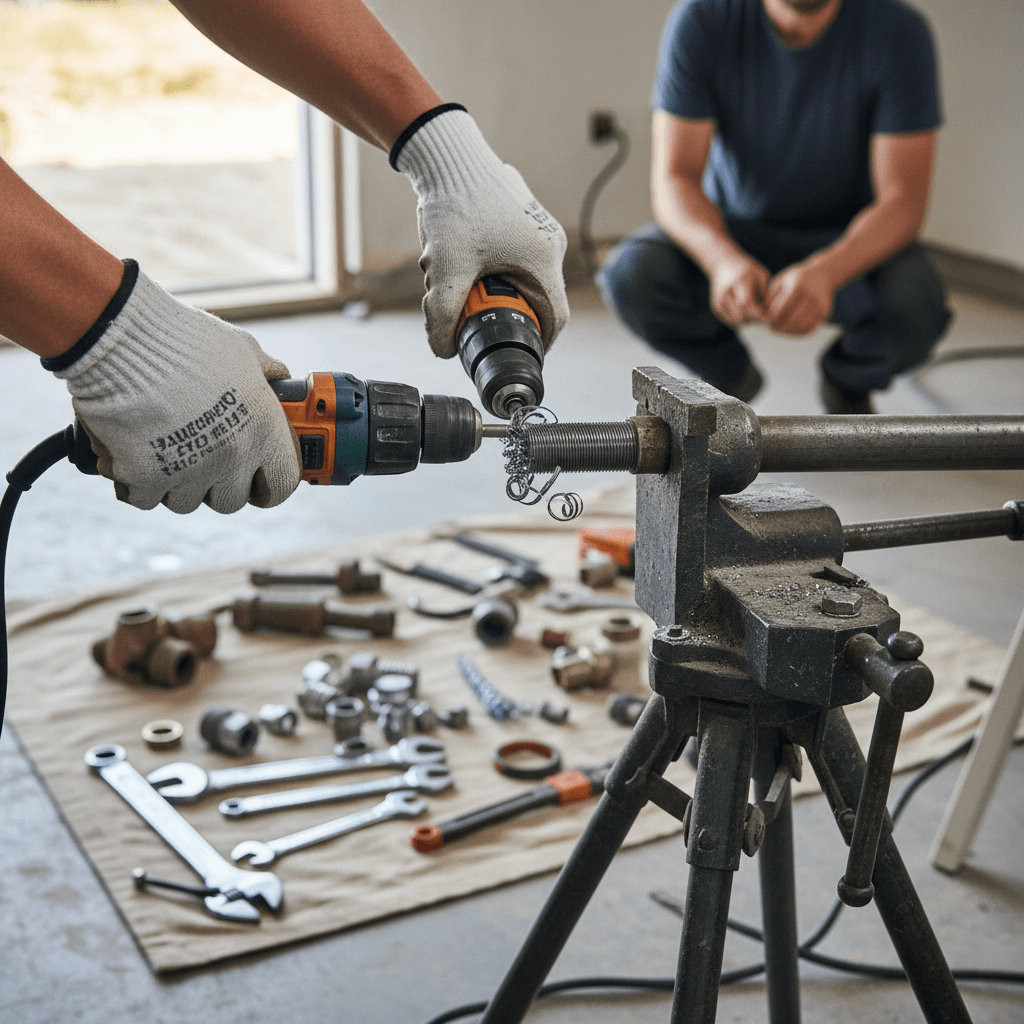
Bring the right kit. Keep it simple and clean.
- Press tool: Cordless, sized for your fittings. Many are 18V.
- Jaws or rings: The correct profile for Skarkbite copper press fittings. Use only the recommended profile.
- Copper tube: ASTM B88 types L, M, or K per job spec.
- Cutter: Clean, square cuts. No hacksaw burrs.
- Deburring tool: Inside and outside edges. Smooth the lip.
- Marker and depth gauge: Mark insertion depth every joint.
- Cleaning pad/cloth: Wipe oxidation and debris.
- Gauges: Some systems include a “go/no-go” check.
Typical ratings you’ll see across many press systems:
- Working pressure: up to 200 psi for water service.
- Temperature: roughly 32°F to 250°F for EPDM seals.
Always verify your product sheet before you start.
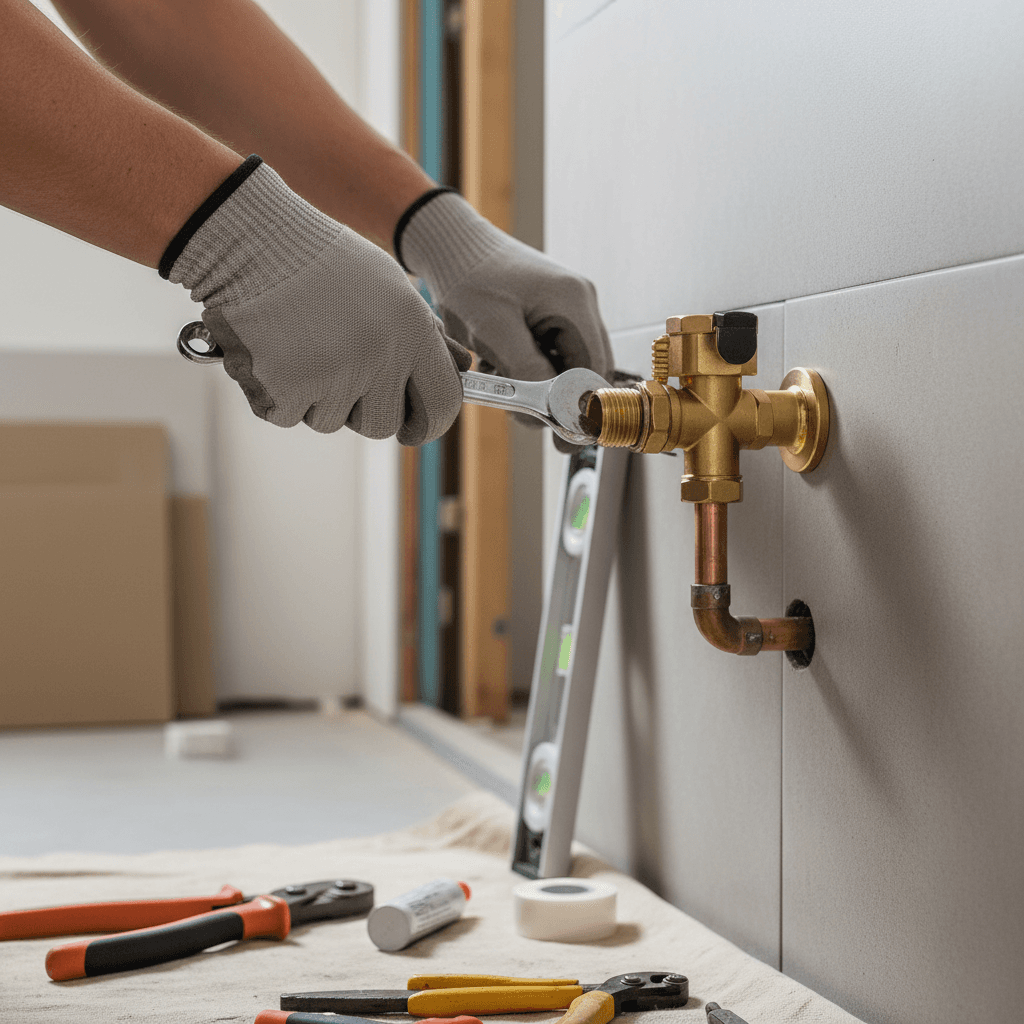
Step-by-Step: Press a Copper Joint Right
Follow these steps for consistent, leak-free work. Time on task: about 1–2 minutes per joint, with the actual press taking 4–10 seconds.
- Cut Square
- Use a sharp tube cutter. Avoid flattening the pipe end.
- Remove the cut-off ridge. Keep the end round.
- Deburr Inside and Outside
- Deburr the inside lip so it can’t nick the O-ring.
- Break the outside edge lightly. No sharp edges left.
- Clean and Dry the Pipe
- Wipe dust, oil, and oxidation. A clean surface seals better.
- Light moisture is often okay for water seals, but avoid standing water.
- Measure and Mark Insertion Depth
- Use the depth gauge from the fitting line.
- Mark a solid line around the pipe. For many 1/2" fittings, the mark is often around 5/8" deep, but always check the chart.
- Check the Fitting
- Inspect the O-ring. No cuts, twists, or debris.
- Confirm the fitting size and jaw profile match.
- Insert Fully to the Mark
- Push until your mark disappears at the fitting’s edge.
- Don’t twist hard. Keep it straight.
- Align and Support
- Square the fitting. Avoid strain on the joint.
- Add a hanger within 12–18" for small sizes if needed.
- Press the Joint
- Place the tool square on the press sleeve.
- Hold steady, pull the trigger, and let the full cycle finish.
- Many fittings have “leak before press.” If you miss one, it will weep during test.
- Verify and Test
- Check for the proper press profile marks.
- Pressure test per code. Typical water test is 1–2 hours. Follow your spec.
Common Mistakes and How to Avoid Them
Even pros slip when the day runs long. Here’s how to stay sharp.
-
Skipping Deburr
A burr can slice an O-ring. Always deburr inside and outside. It takes 10–15 seconds and saves rework.
-
No Insertion Mark
Without the line, partial insertions happen. Mark every joint. No exceptions.
-
Wrong Jaw Profile
Using the wrong jaws ruins the seal. Match the Skarkbite copper press fittings profile shown in the manual.
-
Dirty or Damaged O-Ring
Dust, oil, or a nick will leak. Wipe the pipe. Inspect the ring.
-
Forcing Alignment After Press
Once pressed, it’s permanent. Dry-fit first. Use an extra coupling if needed.
-
Mixing Seal Types by Mistake
Water EPDM is not for fuel gases. Read the fitting bag every time.
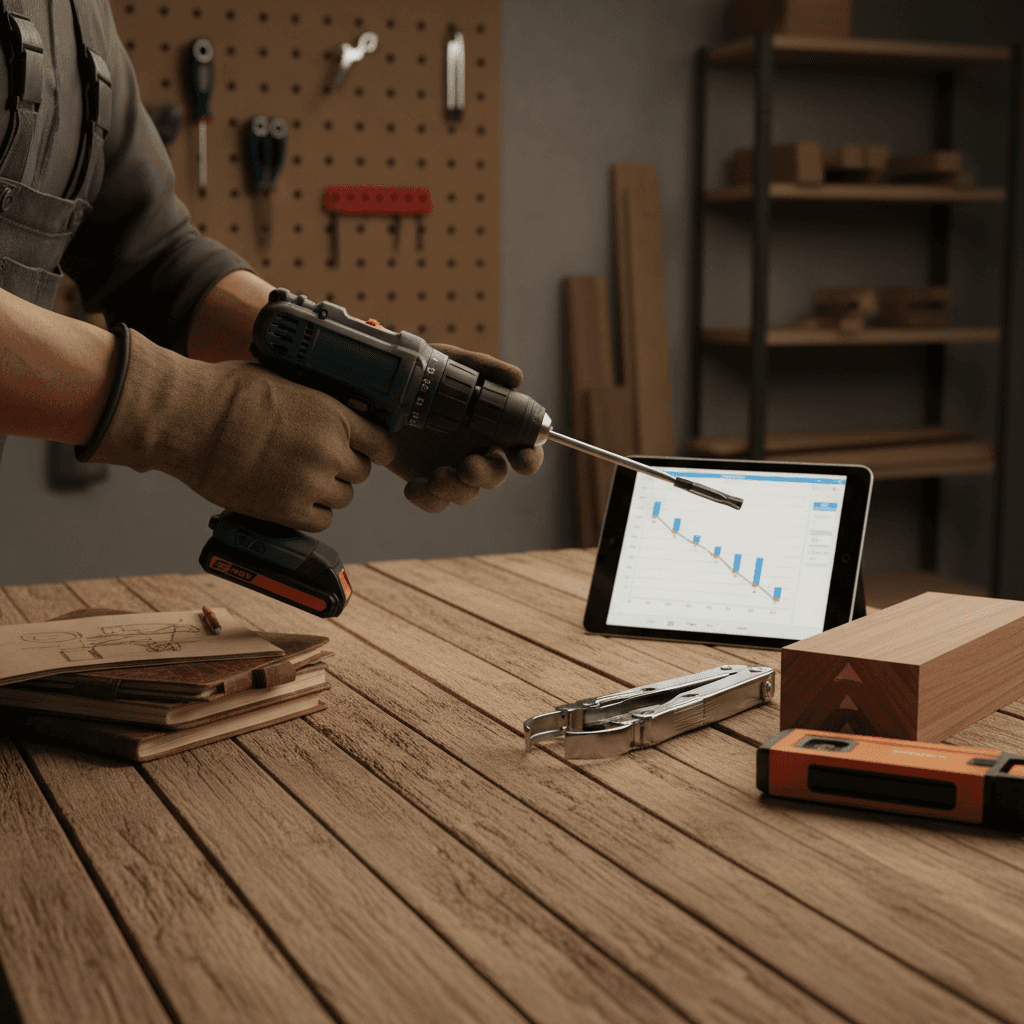
Cost, Speed, and Job Planning
Pressed copper costs more per fitting than a sweat elbow. But you make up the difference in labor. On most jobs, contractors report saving 2–5 minutes per joint. Over 40 joints, that’s 80–200 minutes saved. That can be the difference between finishing today or coming back tomorrow.
Planning tips:
- Prefab on sawhorses. You can press 10–20 fittings in under 30 minutes.
- Keep two jaw sets for common sizes like 1/2" and 3/4" to reduce changeovers.
- Track your materials and fittings counts on your proposals.
When you price a press upgrade, show the time savings clearly. Voice notes and quick photos help you build the scope fast. Tools like Donizo let you capture details with voice, turn them into a branded proposal, and email for e-signature. This helps clients approve the “press option” without delay.
If you’re also looking to streamline professional proposals, our guide covers clear pricing lines, labor hour estimates, and scope notes. For contractors dealing with punch lists and final billing, we recommend content on invoice templates and converting proposals to invoices fast.
FAQ
Are Skarkbite copper press fittings reliable for long-term use?
Yes, when installed per instructions. Use clean cuts, deburr, mark depth, and the correct jaw. Many systems are commonly rated to 200 psi and 250°F for water. Always follow the product’s listing and maintenance guidance.
Can I press on a wet copper line?
Light surface moisture is usually fine for water-rated seals, but avoid standing water in the cup. Drain lines as much as possible. Pressing on a fully water-filled pipe can trap water and affect sealing. Check the manufacturer’s moisture guidance.
Can I mix Skarkbite copper press fittings with soldered joints?
Yes. Keep a safe distance from heat. If you must solder near a pressed joint, cool and protect the pressed area. Many techs solder first, then press, to avoid heat damage to seals.
Which jaw profile do I need for Skarkbite copper press fittings?
Use the exact jaw profile listed by the fitting line. Profiles vary by brand and fitting type. The wrong profile can cause leaks or fitting damage. Match the size and profile before you pull the trigger.
Are they allowed underground or in concrete?
Some press fittings are rated for burial when properly wrapped or sleeved. Others are not. Check the bag and instructions. Follow local code, corrosion protection rules, and any required sleeves.
Conclusion
Skarkbite copper press fittings help you work faster, safer, and cleaner. Cut square, deburr, mark depth, and use the right jaws. That routine delivers tight, repeatable joints. Next steps: 1) Stock common sizes (1/2", 3/4", 1"). 2) Calibrate your tool and label the date. 3) Build a press option into your proposals. For faster quoting and sign-off, platforms such as Donizo can turn field notes into branded proposals, send them for e-signature, and convert accepted work to invoices. Press ahead, finish on time, and keep the callbacks low.