Introduction
If you've ever had paint blister, flooring cup, or joinery swell after a tidy install, moisture was probably the culprit. This guide shows you what to use, why it matters, and how to measure correctly so you can make the right call on drying, ventilation, or postponing installs. We’ll cover meter types, setup, simple test routines for walls, floors, and timber, and how to interpret readings against common UK practice. Finally, we’ll wrap with a fast way to capture findings and turn them into clear, signable proposals so decisions don’t drift.
Table of Contents
Key Takeaways
- Moisture is the hidden reason many finishes fail; simple routines prevent most callbacks.
- In general, interior timber in the UK stabilises around 9–14% EMC; fit joinery close to that.
- For resilient floors, UK practice commonly requires subfloor RH at 75% or less (BS 8203 context).
- Typical sand–cement screeds dry roughly 1 mm/day to 40 mm, then about 0.5 mm/day thereafter.
- A consistent test pattern (5–10 readings/room) plus photos and notes makes decisions frictionless.
Choose The Right Meter For The Job
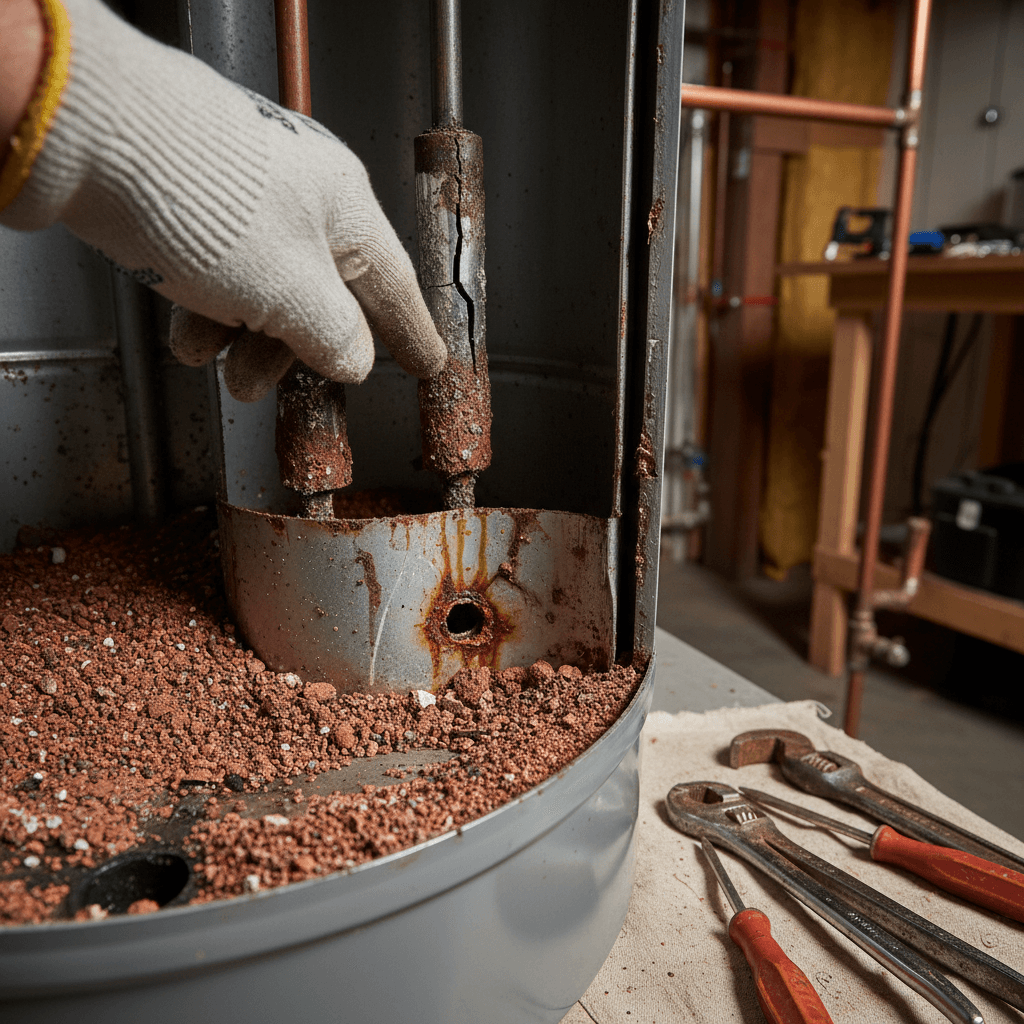
Many contractors struggle because the wrong meter gives the wrong story. Surface-only readings on dense materials or mis-matched species settings can make a dry substrate look wet, or worse, hide deeper moisture.
Meter Types And Where They Shine
- Pin (resistance): Two pins read moisture in wood or soft plaster by passing current through fibres. Great for timber and gypsum. Leaves small pinholes.
- Pinless (capacitance): Scans 5–20 mm below the surface without holes. Ideal for broad sweeps on timber floors, plasterboard, and composite panels.
- Hygrometer (RH): Measures relative humidity in air or in a sealed hood over screed. Used for concrete/screeds to verify readiness for flooring.
| Feature | Pin | Pinless | Hygrometer (RH Hood/In-Screed) |
|---|
| Typical Use | Timber, plaster | Timber surfaces, composites, plasterboard | Screeds/concrete subfloors |
| Depth | Localised at pins | 5–20 mm (model-dependent) | At surface or in-screed sleeve |
| Speed | Fast | Fast | Slower (equilibrium time) |
| Best For | Targeted checks | Mapping damp areas | Compliance for floor installs |
Quick Data Points
- In general, interior joinery is best fitted at 10–12% moisture content to reduce movement risk.
- For subfloors under resilient finishes, 75% RH or less is commonly required; many timber floors prefer 65% RH or less.
Example
You’re replacing skirting in a lived-in flat. A pinless meter maps a damp strip along an external wall. A pin meter confirms 17–19% MC near the floor versus 11–13% mid-wall. You pause joinery, lift a sample of laminate, and schedule a RH hood test for the screed. That single decision likely avoids swelling and repainting.
Calibrate And Set Up Correctly
A common mistake is trusting factory settings blindly. Species not set, temperature swings, or no daily check can skew readings and trigger bad calls.
Setup Essentials
- Species/Material: Set the wood species on the meter. If not available, apply the manufacturer’s species correction chart.
- Temperature: Be aware that readings can drift with temperature. It’s common to see a shift of a few percentage points with big temperature swings.
- Zero/Reference Check: Use the supplied calibration block or reference plate at the start of each day. Takes 10–20 seconds and catches drift.
- Contact Quality: For pin meters, press firmly; for pinless, ensure full, flat contact without gaps.
Timing Reality
- Hygrometer hood tests typically need 1–3 hours to stabilise; plan that into your visit or return.
Example
A decorator scans new plasterboard on a cold morning and gets inconsistent numbers. After a quick zero check and letting the board acclimate indoors for 30 minutes, repeat readings settle within a 1–2% band. Painting proceeds on time with confidence.
Test Methods For Walls, Floors, Timber
Rushed, random spot checks miss wet pockets. A simple, repeatable pattern makes your findings defensible and reduces disputes.
Walls And Ceilings (Plaster/Plasterboard)
- Map with a pinless meter in a grid: corners, mid-spans, and around penetrations.
- Confirm outliers with a pin meter at 90 degrees to paper face to minimise damage.
- Note skirting/ceiling junctions and external corners—thermal bridges often show higher readings.
Field Target
- Many paint systems want substrates in the meter’s “safe/green” band. On timber, that’s typically 16% or less before coating. Always check the product data sheet.
Screeds And Concrete Subfloors
- Initial Scan: Use pinless to identify suspect areas (doors, perimeter, under windows).
- Compliance Test: Use an RH hood (surface) or in-screed sleeve where required by the flooring system.
- Equilibrium Time: Allow the stated 1–3 hours (hood) or as per the sleeve method guidance.
Field Target
- In general, resilient floors: 75% RH or less. Wood floors: often 65% RH or less on the subfloor.
- Commonly quoted drying: about 1 mm/day up to 40 mm screed thickness; above that, roughly 0.5 mm/day, assuming normal conditions.
Timber Floors, Joinery, And Fit-Out
- Acclimatise timber on site to working conditions (heating/ventilation on) for 48–72 hours when possible.
- Take 5–10 readings per room: centre, perimeter, and at least two diagonals.
- Avoid fasteners and knots; measure mid-thickness on planks where possible.
Field Target
- Fit interior joinery close to 10–12% MC; broad acceptance 9–14% EMC depending on space conditions.
Example
LVT planned over a 60 mm sand–cement screed. Pinless scan looks fine, but hood RH reads 79% at the patio door and 73% in the centre. You postpone only the perimeter zone, run dehumidification and gentle heat for a week, then retest. Final: 74% RH perimeter, 72% centre—install proceeds with perimeter primed and damp-proof adhesive per the system spec.
Interpret Readings And Decide Actions
Numbers alone don’t finish the job—context does. Humidity, temperature, ventilation, and material thickness all matter.
Use Practical Thresholds
- Timber EMC Indoors: In general, 9–14% across a UK heating season.
- Screed RH: Common practice 75% or less for resilient floors; tighter for wood floors (around 65%).
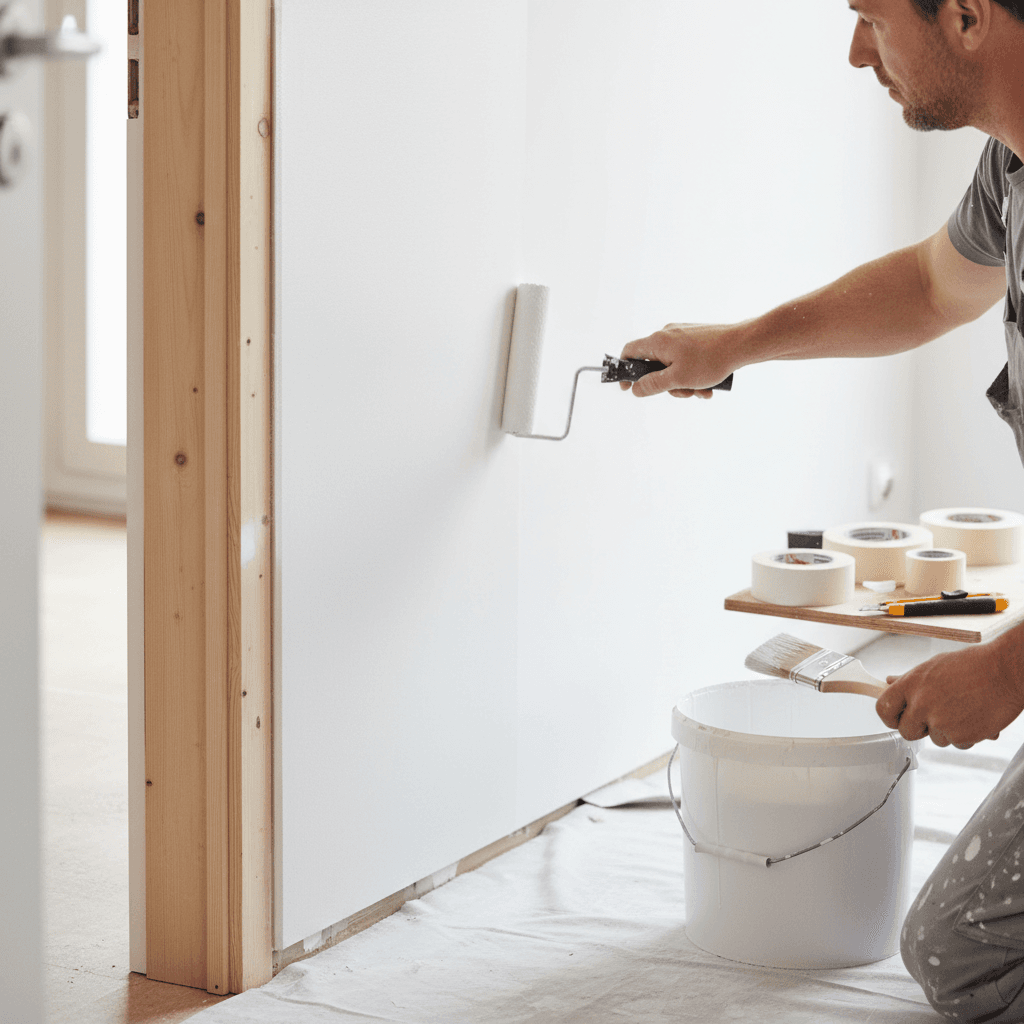
- New Plaster: Visually dry plus within your meter’s safe band before paint; avoid rushing under high indoor humidity.
- Ventilation: Openable windows and temporary fans often drop RH by 5–10 points in a day of good weather.
- Gentle Heat + Dehumidification: Speeds up moisture removal; avoid over-heating which can case-harden surfaces and trap moisture deeper.
- Spot Repairs: For localised ingress (leaky radiator, bridging at skirting), fix the source first, then reassess in 48–72 hours.
Red Flags
- Surface dry, core wet: Pinless looks fine, but deep probe or RH test is high—wait or use a system designed for higher RH.
- Patchy patterns: High readings tracking a cold bridge or a damp-proof course failure—investigate fabric issues before finishes.
Example
A kitchen fitter records carcass timber at 8–9% but the new oak worktop is at 16–17% after delivery. Rather than fit that day, you acclimatise for 72 hours with steady ventilation. Re-test shows 11–12%. Result: fewer seasonal gaps and no callbacks for split joints.
Document And Communicate
You can have perfect measurements and still lose time if the client doesn’t understand them. Clarity wins.
Fast Field-to-Proposal Routine
- Speak Your Notes: On site, dictate locations and readings (“Bedroom 1, east wall, 14–16%, skirting zone 18%”).
- Add Photos: Close-ups of meter on screen, plus context shots.
- Plain-English Actions: “Delay timber install until timber 10–12% and subfloor at 65–75% RH depending on finish.”
Many contractors find a simple narrative with 5–10 readings per room can save 30–45 minutes of follow-up and reduce back-and-forth by about half.
Using Donizo To Tighten The Loop=
- Voice to Proposal: Capture readings, notes, and photos, then generate a clear, branded proposal instantly with Donizo.
- Send And Get Signed: Share the PDF with client portal access and secure e‑signature so decisions don’t stall.
- From Yes To Invoice: Convert accepted proposals to invoices in one click—no retyping.
Real world: You finish a damp check at 16:00, talk through your findings once, and the client gets a signable proposal before you leave the drive. Work often starts days sooner because the decision is clear and documented.
Frequently Asked Questions
What Moisture Level Is Safe To Paint New Plaster?
Many paint systems want the substrate within the meter’s safe/green band and the room at normal living conditions. It’s common for contractors to look for consistently low readings across the wall (not just a single spot) and to avoid painting if indoor RH is high. Always check the paint manufacturer’s data sheet for exact limits and primers.
How Long Does A Screed Take To Dry Before Flooring?
In general, a traditional sand–cement screed dries about 1 mm per day up to 40 mm, then roughly 0.5 mm per day above that, assuming normal temperature and ventilation. Use an RH hood or in-screed method to confirm: resilient floors often require 75% RH or less; wood floors commonly want around 65% RH or less.
My Pinless Meter Says Dry But The Floor Failed. Why?
Pinless meters read shallow depth and can be fooled by dense surfaces or case-hardened screeds. For flooring, an RH compliance test is the deciding measurement. Surface scans are great for mapping, but don’t replace RH tests when adhesives or timber systems specify them.
Can I Measure Moisture Behind Tiles Or Waterproof Membranes?
Direct readings are unreliable through dense, impervious finishes. Use perimeter checks, thermal imaging for patterns, or remove a small section where justified. For screeds, RH testing in a sleeve or hood at an accessible spot is the practical route.
What Should I Do If Timber Reads 16–18% On Site?
Pause the fit-out if possible. Acclimatise in the actual room conditions for 48–72 hours with steady ventilation and gentle heat. Retest to confirm 10–12% for interior joinery. Rushing install at higher MC increases movement, squeaks, and finish defects.
Conclusion
Moisture meters aren’t just gadgets—they’re cheap insurance for finishes, flooring, and joinery. Pick the right tool, set it correctly, follow a simple test pattern, and make calls against practical thresholds. Document what you found, what it means, and the next step. If you want to do that in minutes, speak your notes, add photos, and turn them into a clear, signable proposal with Donizo. Clients understand faster, sign sooner, and you move from yes to invoice without retyping.