Intro
On most jobs, the right plumber DIY tools make the difference. With a solid kit, you can cut, join, test, and fix common faults fast. This guide shows you the core plumber DIY tools to carry, the sizes that actually fit UK work, and simple steps that save time. You’ll learn how to pick cutters, wrenches, and testers, and how to use them safely. We’ll also cover quick repairs you can do in under 30 minutes. Keep this as a go-to checklist for service calls, small installs, and first fix work.
Quick Answer
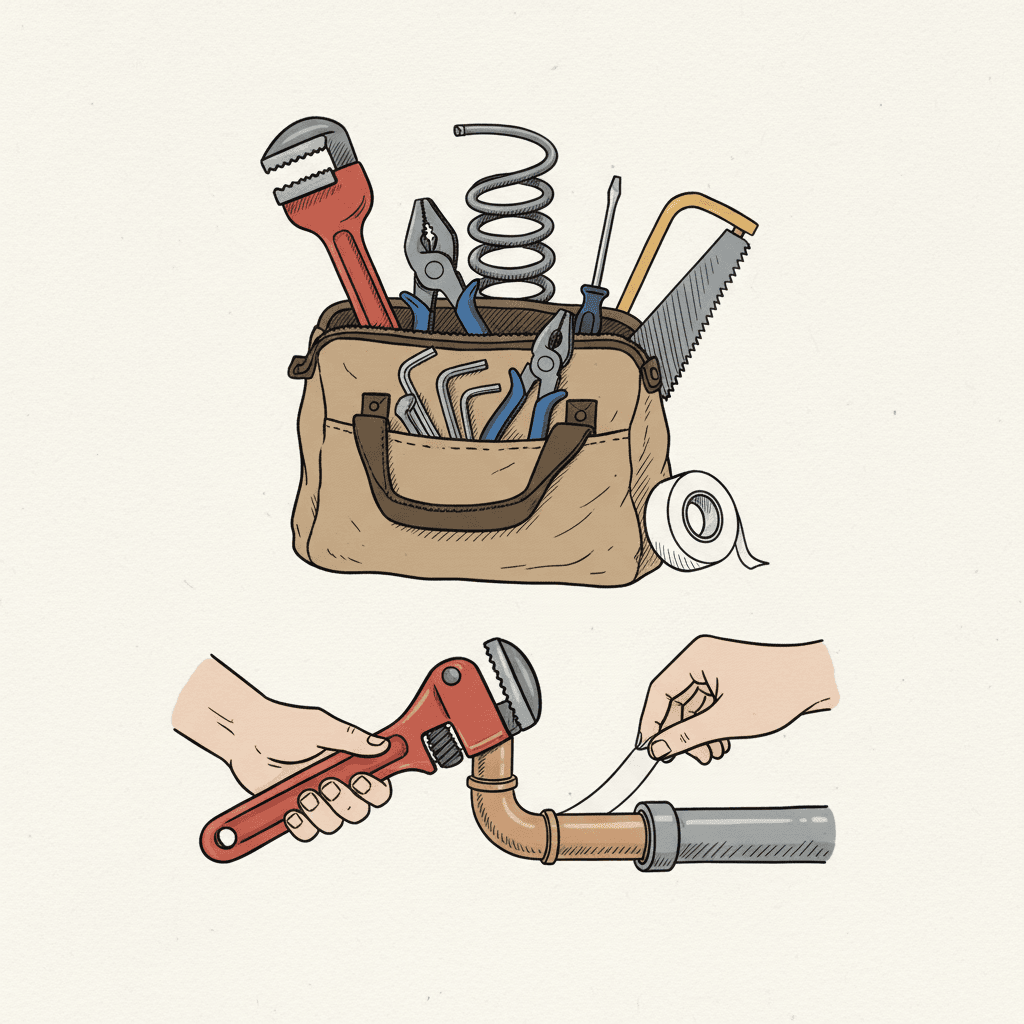
Plumber DIY tools you’ll use daily include an adjustable wrench (200–300 mm), a basin wrench, a 15–28 mm pipe cutter, slip-joint pliers, PTFE tape, and a pressure gauge (0–10 bar). Add push-fit inserts, olives (15/22 mm), a deburrer, and a multi-bit screwdriver. With those, you can handle 80–90% of small plumbing tasks.
Table of Contents
Key Takeaways
- Carry 12–15 core plumber DIY tools to cover most call-outs.
- Use a 15–28 mm wheel cutter for clean copper cuts in under 10 seconds.
- Wrap PTFE 6–8 turns on 1/2" BSP threads; 8–12 on 3/4".
- Push-fit needs pipe inserts; compression needs olives and a straight cut.
- A 0–10 bar gauge and thermometer solve 50% of guesswork.
Build a lean kit that covers 90% of jobs. Keep it light, tough, and simple.
- Adjustable wrench, 200–300 mm: fits 15 mm and 22 mm compression nuts.
- Basin wrench (tap spanner), 250 mm reach: tight tap nuts under sinks.
- Pipe cutter, 15–28 mm: clean cuts on copper in 5–10 seconds.
- Deburring tool: stops leaks from sharp pipe edges.
- Slip-joint pliers, 250 mm: grip traps, nuts, and valves.
- Multi-bit screwdriver: Pozi, flat, and hex for valves and covers.
- PTFE tape (12 m rolls), jointing compound: seal threaded joints.
- Mini hacksaw (24 TPI blade): plastic and stubborn screws.
- Tube bender or bending spring (15/22 mm): neat bends, fewer fittings.
- Head torch: both hands free in cupboards and lofts.
- Voltage tester (non-contact): safety near immersion heaters and pumps.
- Bucket, towels, and a wet vac: water control saves hours.
Tip: Pick quality where it counts. A solid cutter and basin wrench pay for themselves within 3–4 jobs.
Measure, Cut, and Join: Simple Steps
Strong joints start with straight cuts, clean faces, and the right method. Here’s a quick process you can trust.
Copper: Compression Fittings
- Isolate water. Open a tap to drain. Keep a bucket under the joint.
- Cut the pipe square with a 15 mm or 22 mm wheel cutter (5–8 turns).
- Deburr inside and outside edges. Wipe clean.
- Slide nut and olive on the pipe. Insert pipe fully into the fitting.
- Hand-tighten, then use two wrenches. Turn the nut 1/2 to 3/4 turn more.
- Refill and check. If it weeps, tighten by another 1/8 turn.
Copper: Solder (Capillary)
- Clean pipe and fitting with wire wool until bright.
- Apply a thin film of flux. Insert fully.
- Heat evenly. Touch solder—capillary action pulls it in.
- Wipe excess while warm. Cool, then flush to remove flux.
Note: Use heat mats near units. Keep a water spray bottle handy. Follow site rules.
Plastic: Push-Fit
- Cut square with a plastic cutter or saw. Deburr well.
- Insert the correct pipe insert (15 or 22 mm).
- Push fully home. Mark depth. Tug check.
- Don’t mix brands on critical joints if you can avoid it.
Solvent Weld (Waste 32/40/50 mm)
- Dry-fit first. Mark alignment.
- Clean with cleaner. Apply solvent cement thinly.
- Push and twist 1/4 turn. Hold 10–15 seconds.
- Let it cure 10–20 minutes before testing.
These steps use core plumber DIY tools and stop most leaks before they start.
Good tests beat guesswork. Add these to your plumber DIY tools and cut return visits.
- Pressure gauge, 0–10 bar: screw to a 1/2" tap adaptor. Check static and running pressure (e.g., 3.0 bar static, 2.2 bar running).
- Thermometer probe: measure hot outlet (aim 50–60°C) and return lines.
- Digital manometer (water systems): useful for pump and filter checks.
- Multimeter: confirm 230 V supply to immersion heaters and motorised valves. Always prove dead.
- Moisture meter: find hidden weeps behind boxing or under floors.
Testing order that saves time:
- Check supply pressure and flow first (30–60 seconds).
- Check temperature at the outlet and cylinder (2–3 minutes).
- Electrical checks last, with power isolated, if heat issues remain.
Five Fixes You Can Do in Under 30 Minutes
Use your plumber DIY tools in short, clean steps. These are common, quick wins.
1) Dripping Basin Tap (Washer Type)
- Isolate water. Open the tap.
- Remove the handle and cover. Unscrew the headgear.
- Replace the 1/2" washer and O-ring. Refit and test.
Time: 10–15 minutes.
2) Running Toilet After Fill
- Isolate the cistern. Flush and hold the lever.
- Swap the fill valve diaphragm or the flush seal (brand-specific kits).
- Set water level 10–15 mm below overflow line.
Time: 15–25 minutes.
3) Trap Leak Under Sink
- Hand-loosen the compression nuts. Remove and clean.
- Fit new 32 or 40 mm washers. Hand-tighten, then 1/8 turn with pliers.
- Fill and check for weeps.
Time: 10–15 minutes.
4) Water Hammer on Quick-Closing Valves
- Confirm high pressure with a 0–10 bar gauge.
- Fit a mini arrestor or a PRV set to 2.0–3.0 bar.
- Secure loose pipe runs with clips every 300–500 mm.
Time: 20–30 minutes.
5) Cold Radiator Top (Sealed System)
- Turn heating off. Use a radiator key.
- Bleed until water flows steady. Top up system to 1.0–1.5 bar when cool.
- Check for air again after 24 hours.
Time: 10–20 minutes.
Consumables That Save the Day
Small items earn big money. Stock these plumber DIY tools consumables.
- PTFE tape: 6–8 wraps on 1/2" BSP; 8–12 on 3/4".
- Jointing compound: thin coat on compression olives for old pipe.
- Box of olives: 15 mm and 22 mm. Keep 10–20 of each.
- O-ring kit: assorted box (100–200 pieces) for taps and valves.
- Push-fit inserts: 15/22 mm. One per joint, no excuses.
- Silicone grease: protect O-rings and tap cartridges.
- Cable ties (100–300 mm): tidy hoses and sensor leads.
- Cloths and wipes: clean joints before sealing.
Label boxes and restock weekly. It cuts wasted drives by half.
Work Smarter: Organise, Quote, and Bill
Great tools fix problems. Good systems win work. After a survey, capture details fast and turn them into a quote before you leave the drive. Tools like Donizo let you speak the job into your phone (voice to proposal), attach photos, send a branded PDF, and get an e-signature in minutes. Then convert it to an invoice in one click when you finish.
Internal links to support this section:
- Link “professional proposals” to your proposals guide.
- Link “invoice templates” to your invoicing article.
- Link “change orders” to your variation management piece.
- Link “pricing strategies” to your margins guide.
FAQ
Carry an adjustable wrench (200–300 mm), basin wrench, 15–28 mm pipe cutter, deburrer, slip-joint pliers, PTFE tape, olives (15/22 mm), push-fit inserts, a 0–10 bar pressure gauge, a thermometer, and a multi-bit screwdriver. Add a bucket, towels, and a head torch.
How many wraps of PTFE tape should I use?
For 1/2" BSP threads, use 6–8 wraps. For 3/4", use 8–12 wraps. Wrap clockwise (the same way the fitting tightens). Keep the tape 1–2 threads back from the end to stop shreds entering the system.
Push-fit or compression: which is better?
Both work. Push-fit is faster and great in tight spaces, but always use inserts. Compression is robust, good on mixed pipework, and easy to tweak later. For visible work, compression often looks neater. Use what suits the job and your finish.
A 200–300 mm adjustable wrench handles most 15/22 mm compression nuts. A 15 mm and 22 mm wheel cutter covers common copper sizes. Keep 32/40 mm parts for waste traps. For taps, a 250 mm basin wrench usually reaches.
Can I solder indoors safely?
Yes, with care. Use a heat mat, clear combustibles, and have a spray bottle ready. Ventilate the space. Keep a fire watch for at least 30 minutes after heating. If risk is high, use compression or push-fit instead.
Conclusion
A tight, well-stocked plumber DIY tools kit means faster fixes and fewer comebacks. Start with the core hand tools, add test gear, and keep smart consumables. Next steps:
- Build your kit from the lists above and label every box.
- Follow the cutting and joining steps on your next two jobs.
- Capture site notes and turn them into a fast quote using platforms such as Donizo.
By tightening your toolkit and process, you’ll save hours each week and look more professional on every visit.