Intro
On most jobs, speed and clean work matter. That’s why many crews ask about Ferramenta De Conexão De Tubulação De Água, Levantamento De PPR, Broca Escalada, Haste De Hexágono. In plain words: the right water pipe connection tool, smart PPR lifting and alignment, a good step drill bit, and a reliable hex shank. In this guide, you’ll learn what each tool does, how to choose them, and how to use them safely. You’ll also see simple steps for PPR socket fusion, clean hole drilling, and site tips that save time.
Quick Answer
Ferramenta De Conexão De Tubulação De Água, Levantamento De PPR, Broca Escalada, Haste De Hexágono help you make leak‑free joints, drill clean holes, and handle PPR runs safely. Use a solid connection tool for PPR fittings, a lift or alignment clamp to hold line and slope, a step drill for neat passes, and a hex shank for stable drive.
Table of Contents
Key Takeaways
- Pick tools sized for 20, 25, 32, 40, 50, or 63 mm PPR.
- Heat PPR at about 260°C and follow the maker’s timing table.
- Drill at 400–800 RPM with cutting oil for step bits.
- Leave 2–4 mm extra hole clearance for movement and insulation.
- Many crews save 10–20 minutes per riser using proper setup.
Ferramenta De Conexão De Tubulação De Água, Levantamento De PPR, Broca Escalada, Haste De Hexágono work together. The connection tool prepares and joins pipe and fittings. The lifting/alignment kit holds lines straight and at the right slope. The step drill bit makes clean, sized holes through sheet, studs, and boxes. The hex shank gives a firm, slip‑free grip in your drill or driver.
- PPR sizes you’ll see often: 20, 25, 32, 40, 50, 63 mm.
- Typical fusion plate temperature: about 260°C.
- Common step ranges: 4–12–20–32 mm stages.
If you’re also looking to streamline professional proposals, our guide covers “professional proposals” so you price and win more of these jobs. This pairs well with understanding “project timelines” when you plan risers and core holes.
A solid Ferramenta De Conexão De Tubulação De Água means fewer leaks and rework.
- Match the system: Choose tools rated for PPR socket fusion. Check bushings for 20–63 mm.
- Confirm heat control: Look for stable 260°C plates, quick recovery, and even heat.
- Check grips and stands: A stable stand avoids twisted joints. Heat‑resistant handles help.
- Review timing guides: Clear charts for 20, 25, 32, 40, 50, 63 mm make training simple.
- Bring deburrers and cutters: Clean square cuts and smooth chamfers reduce push force.
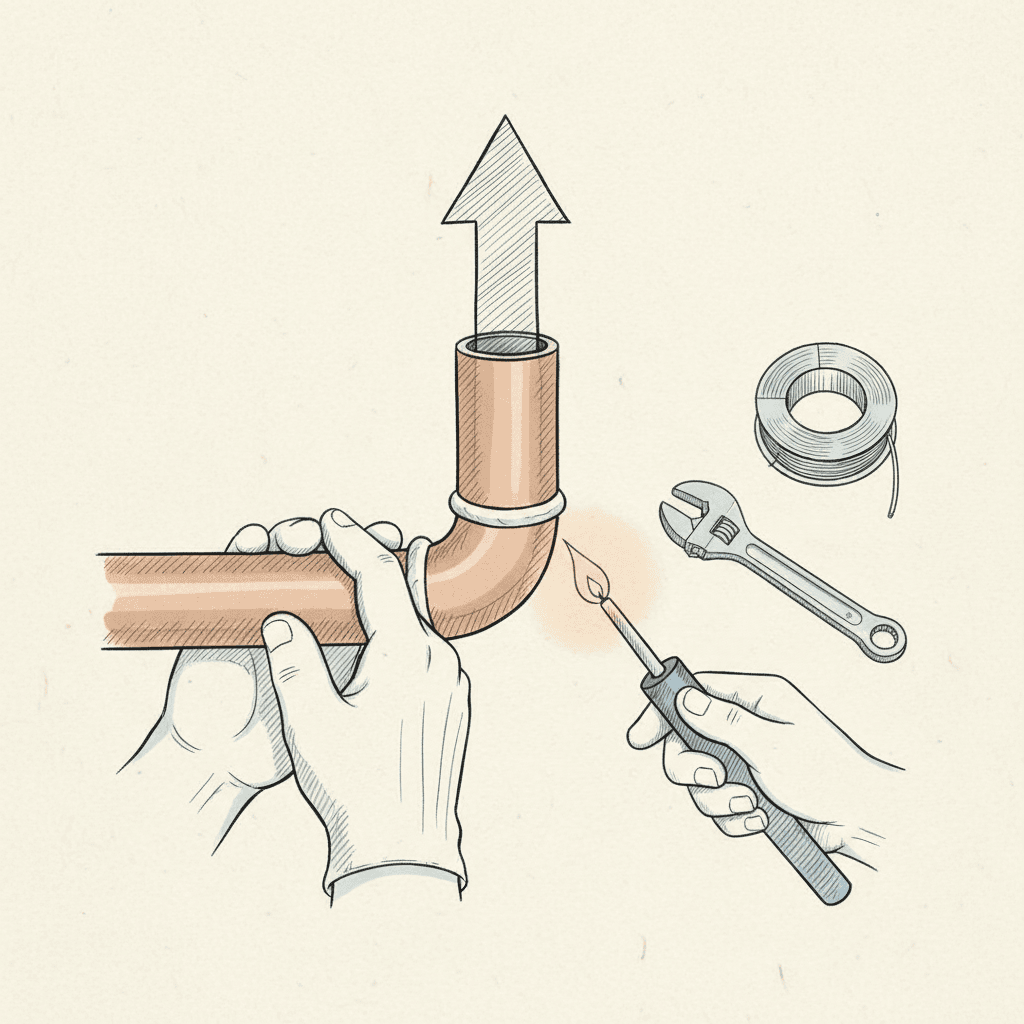
Step‑by‑step socket fusion (PPR):
- Cut pipe square. Deburr inside and outside.
- Mark insertion depth (e.g., 14–26 mm depending on size).
- Heat pipe and fitting on the plate at ~260°C.
- Follow the maker’s timing (e.g., 20 mm ~5 s, 32 mm ~8 s).
- Remove and push to mark, straight and steady. Don’t twist.
- Hold for cooling (often 4–20 s by size). Don’t stress the joint.
- Wipe any squeeze‑out. Let it fully cure per table (minutes, not seconds).
- Pressure test once the line is ready.
Ferramenta De Conexão De Tubulação De Água, Levantamento De PPR, Broca Escalada, Haste De Hexágono all support this process. Good tools reduce the push force by a lot, making straight joints easier.
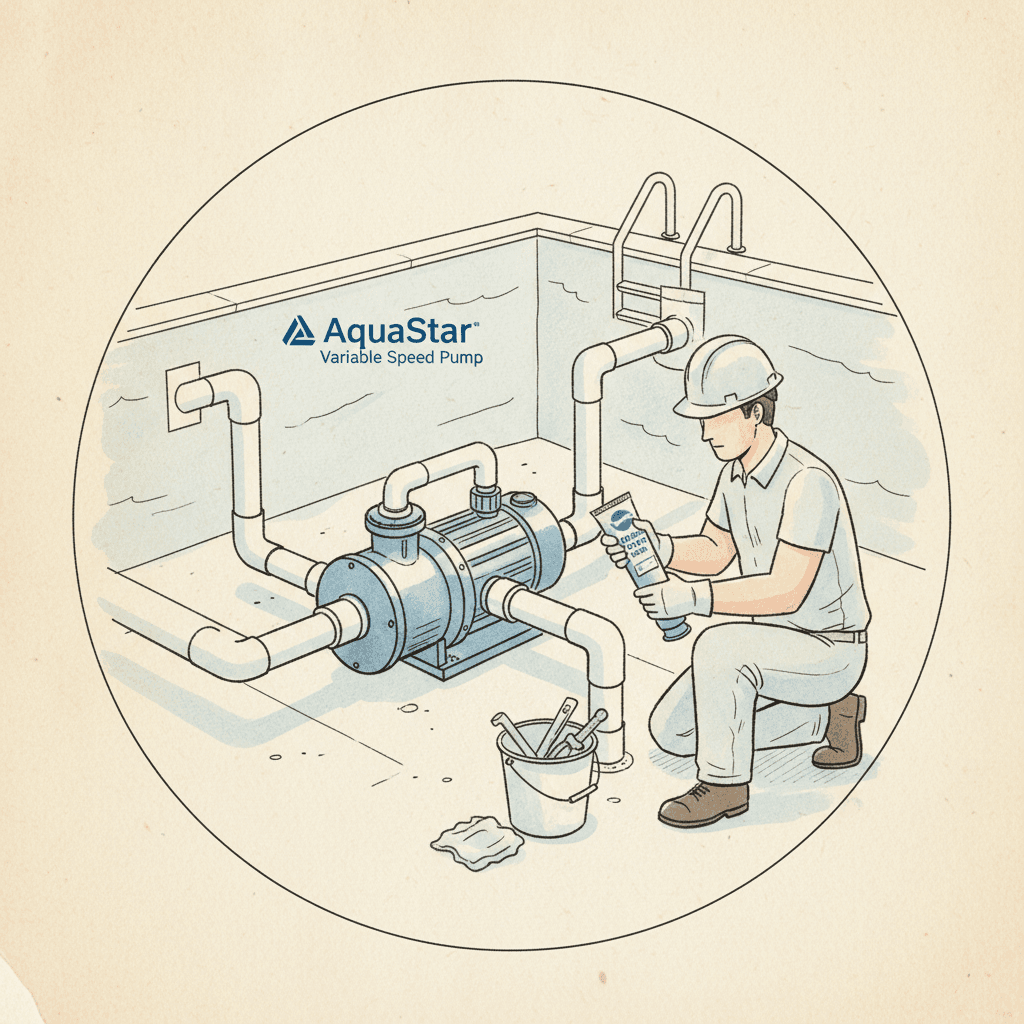
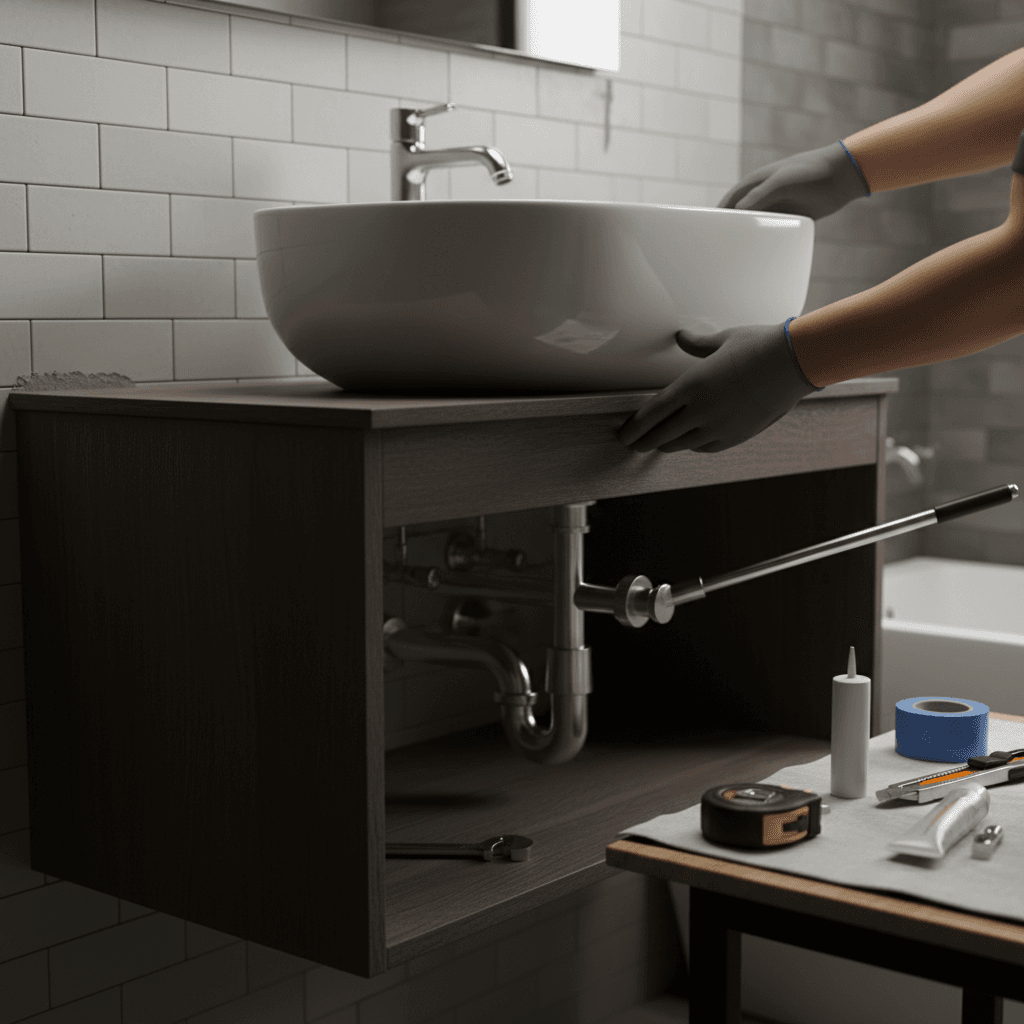
Levantamento De PPR: Lifting, Alignment, Support
Levantamento De PPR means you control height, slope, and support. On site, that’s half the job.
- Use adjustable pipe stands or a small jack to lift runs 10–200 mm when aligning.
- Clamp every 0.5–0.8 m on light runs to keep straightness.
- Set slope at 1–3 mm per metre where drainage or air bleed matters.
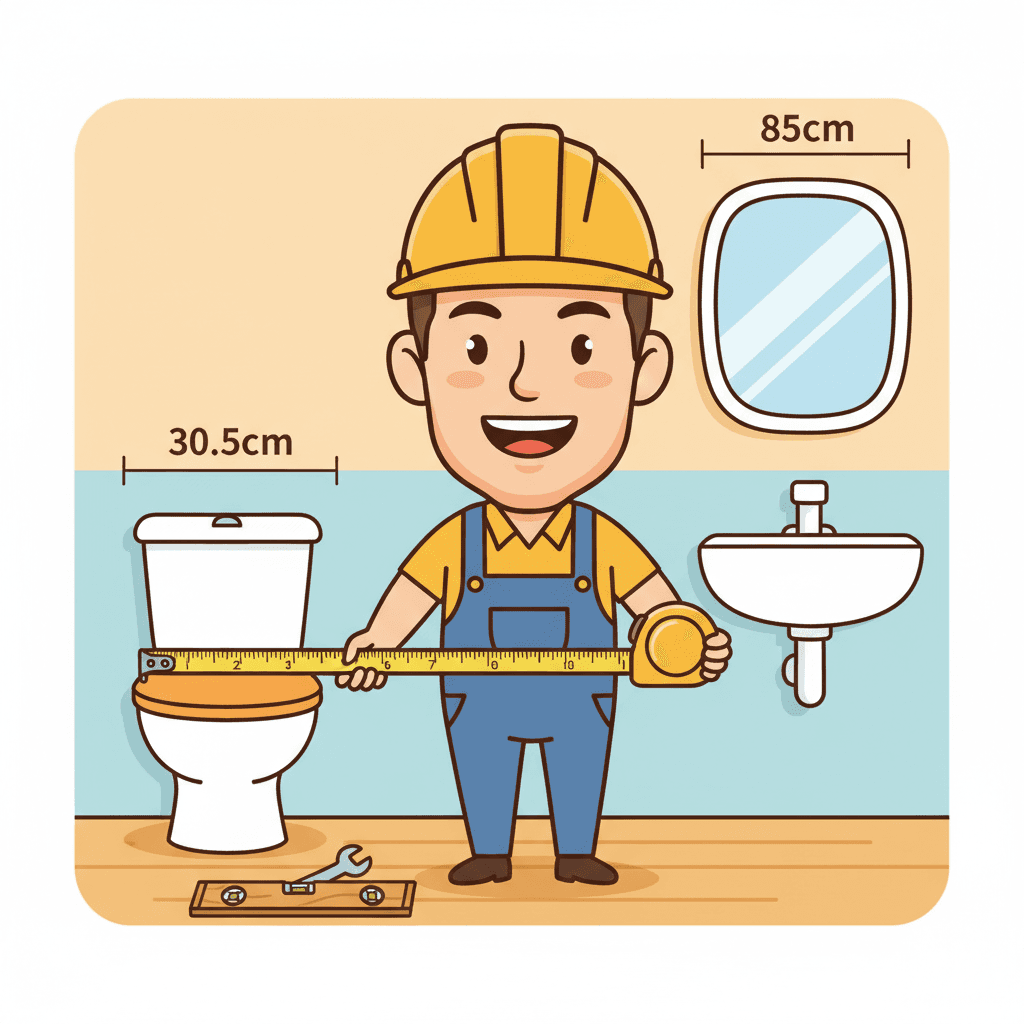
- Mark centres with a laser or a chalk line before drilling.
Simple setup routine:
- Snap a line for your route and centres.
- Pre‑fit hangers at 1.0–1.5 m spacing (size and spec dependent).
- Lift sections with an alignment clamp. Check level and slope.
- Tack fittees by dry‑fit first. Then fuse.
Keep Ferramenta De Conexão De Tubulação De Água, Levantamento De PPR, Broca Escalada, Haste De Hexágono within reach. Moving less saves minutes each joint. For contractors dealing with price pressure, we recommend reading about “pricing strategies” to protect margin on fixed‑price jobs.
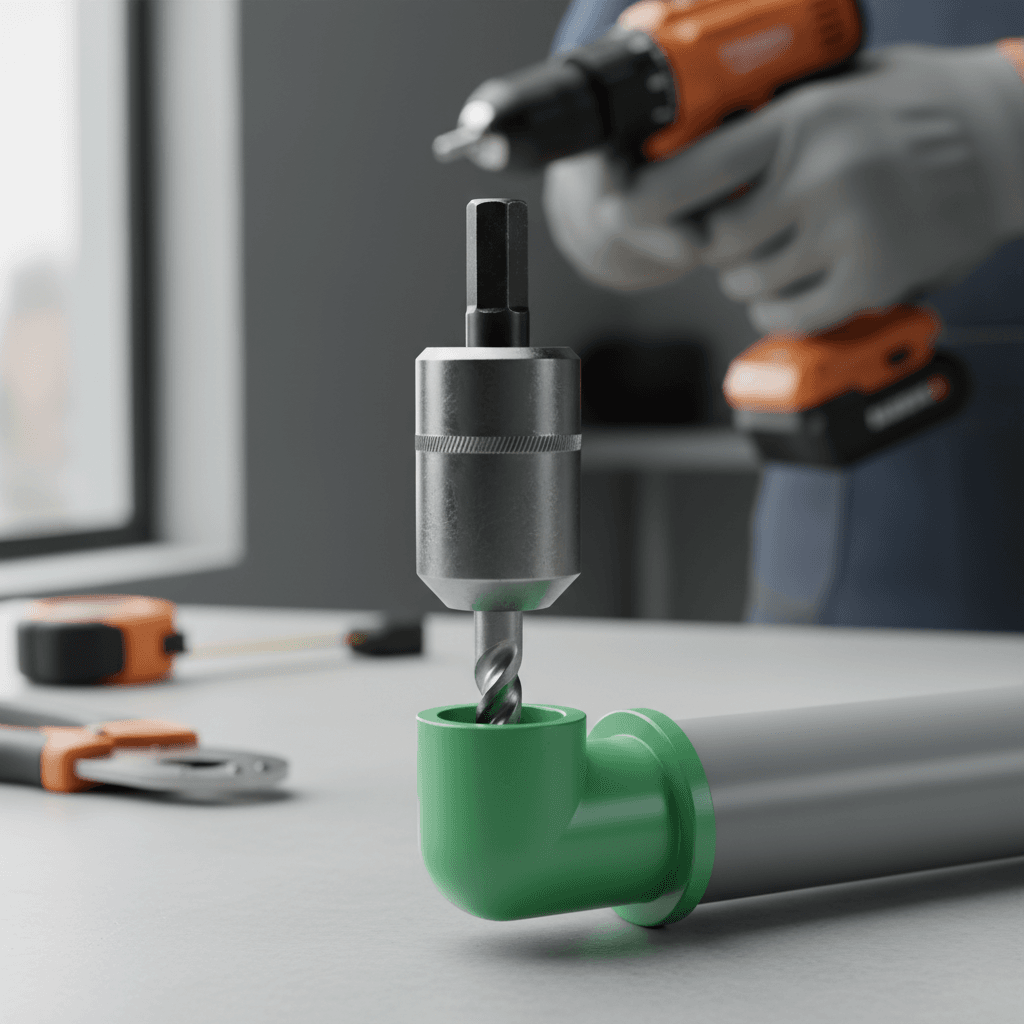
Broca Escalada and Hex Shank: Clean Holes Fast
A Broca Escalada (step drill bit) with a Haste De Hexágono (hex shank) gives fast, round holes. It’s great for sheet metal boxes, thin steel studs, and plastics.
- Use 400–800 RPM on thin metal. Go slower on stainless.
- Apply cutting oil. It cools and doubles bit life, commonly.
- Deburr after drilling. A quick pass saves cut grommets later.
- Size stages you’ll use often: 4–6–8–10–12–16–20–25–32 mm.
- Add 2–4 mm clearance to allow insulation, clips, or thermal move.
How to drill clean passes:
- Centre punch the mark. This stops bit wander.
- Start with light pressure. Let the step do the cut.
- Step up sizes until you reach the mark.
- Deburr both sides. Fit bushings or grommets if required.
Ferramenta De Conexão De Tubulação De Água, Levantamento De PPR, Broca Escalada, Haste De Hexágono together prevent crooked lines and rough holes. Many crews report saving 10–20 minutes per riser when they pre‑mark, drill with a step bit, and lift lines before fusion.
If you’re also looking to save admin time after installs, tools like Donizo let you capture job notes by voice, create proposals, and send them for e‑signature. It pairs well with “invoice templates” when you move from proposal to payment.
Workflow, Quality Checks, and Safety
Make quality checks part of the routine. It keeps call‑backs low.
- Visual joints: Look for even bead all around the socket.
- Alignment: Sight along 2–3 m. Use a level. No dips or kinks.
- Supports: Add a clip within 150–200 mm of a tee or valve.
- Pressure test: Follow local code. Many teams hold for 20–30 minutes at test pressure.
- Drilling safety: Eye protection, gloves, and secure workpieces. Keep cables clear.
Common mistakes to avoid:
- Overheating fittings. It thins the wall. Stick to the timing table.
- Twisting during insertion. Push straight to prevent spiral stress.
- Drilling too fast. It burns the step bit and tears metal.
- No clearance in holes. Pipes then rub and click when hot.
Ferramenta De Conexão De Tubulação De Água, Levantamento De PPR, Broca Escalada, Haste De Hexágono are simple tools, but used right, they lift your finish. Keep them clean, dry, and sharp. Replace worn bushings and dull bits early.
FAQ
What sizes should my PPR kit cover?
Cover the common run: 20, 25, 32, 40, 50, and 63 mm. Your Ferramenta De Conexão De Tubulação De Água bushings should match these. Check that your stand and clamps open wide enough for the biggest size you install.
What temperature do I use for PPR socket fusion?
Most suppliers specify plates at about 260°C. Follow the timing table for each size. As a guide, 20 mm often heats in about 5 seconds and 32 mm in about 8 seconds. Always confirm with the fitting maker’s sheet.
How do I stop step bits from burning out?
Run at 400–800 RPM, use cutting oil, and don’t lean on the drill. Let the Broca Escalada cut each step. Clear chips often. A solid Haste De Hexágono stops slip and keeps torque steady.
Yes, even on short runs. Levantamento De PPR tools help you hold slope and join straight. You avoid twist and sag, which often cause stress and early leaks.
Yes, but check the maker’s data. Heat times and temperatures change by material. The workflow still applies: clean cuts, correct heat, steady insertion, and safe drilling. Ferramenta De Conexão De Tubulação De Água, Levantamento De PPR, Broca Escalada, Haste De Hexágono stay useful across many installs.
Conclusion
Use the right setup and you’ll get faster installs and fewer leaks. Focus on Ferramenta De Conexão De Tubulação De Água, Levantamento De PPR, Broca Escalada, Haste De Hexágono that match your pipe sizes, hold alignment, and drill clean holes. Next steps: 1) Check your kit covers 20–63 mm. 2) Print the PPR timing table. 3) Sharpen or replace your step bits. If you want to cut admin time too, platforms such as Donizo help you capture details on site and turn them into signed proposals and invoices quickly. Keep it simple, keep it safe, and keep moving forward.