Intro
When you follow Washbasin Installation Ka Sahi Tarika, jobs go faster and cleaner. Clients see a neat basin, straight lines, and zero leaks. This guide shows you the right height, drill sizes, sealant tips, and testing steps. It’s written for busy crews. Simple steps. Fewer call-backs. We’ll cover tools, wall prep, fixings, traps, silicone, and handover notes. You’ll also get timeframes, exact measurements, and a checklist you can follow on site. Use this as your standard method. When your team knows the Washbasin Installation Ka Sahi Tarika, quality becomes repeatable on every bathroom.
Quick Answer
Washbasin Installation Ka Sahi Tarika means set the rim at 800–850 mm, fix level brackets with M8 anchors, use a 32 mm trap with a 75 mm water seal, and apply a 3–4 mm silicone bead. Run a 3-minute flow test and a 60-second plug-and-fill test. Let silicone cure 12–24 hours before full use.
Table of Contents
Key Takeaways
- Set rim height at 800–850 mm; tolerance within 2 mm.
- Drill 8 mm holes for M8 bolts; use 10 mm masonry bits for shields.
- Keep waste fall at 1–2% (10–20 mm per metre) to prevent smells.
- Use a 3–4 mm silicone bead; allow 12–24 hours to cure.
- Do two tests: 3-minute open flow and 60-second plug test.
Have everything ready before you start. This saves 20–30 minutes on most jobs.
- Tape, level (600 mm), pencil, masking tape
- Hammer drill, 8 mm and 10 mm masonry bits
- M8 wall anchors or coach screws with plugs
- Adjustable spanner, basin wrench, screwdrivers
- PTFE tape (8–10 wraps for threaded joints)
- 32 mm bottle or P-trap with a 75 mm water seal
- 32 mm basin waste, click-clack or slotted as needed
- Silicone (sanitary grade), 3–4 mm nozzle cut, caulking gun
- Isolation valves (15 mm), flexi tails (usually 1/2" x 15 mm)
- Backing board (18 mm ply) if the wall is weak
Tip: On tiled walls, use masking tape where you drill. It stops bit wander and chipping.
Pre-Checks And Measurements
A clean start prevents problems later. Washbasin Installation Ka Sahi Tarika begins with good prep.
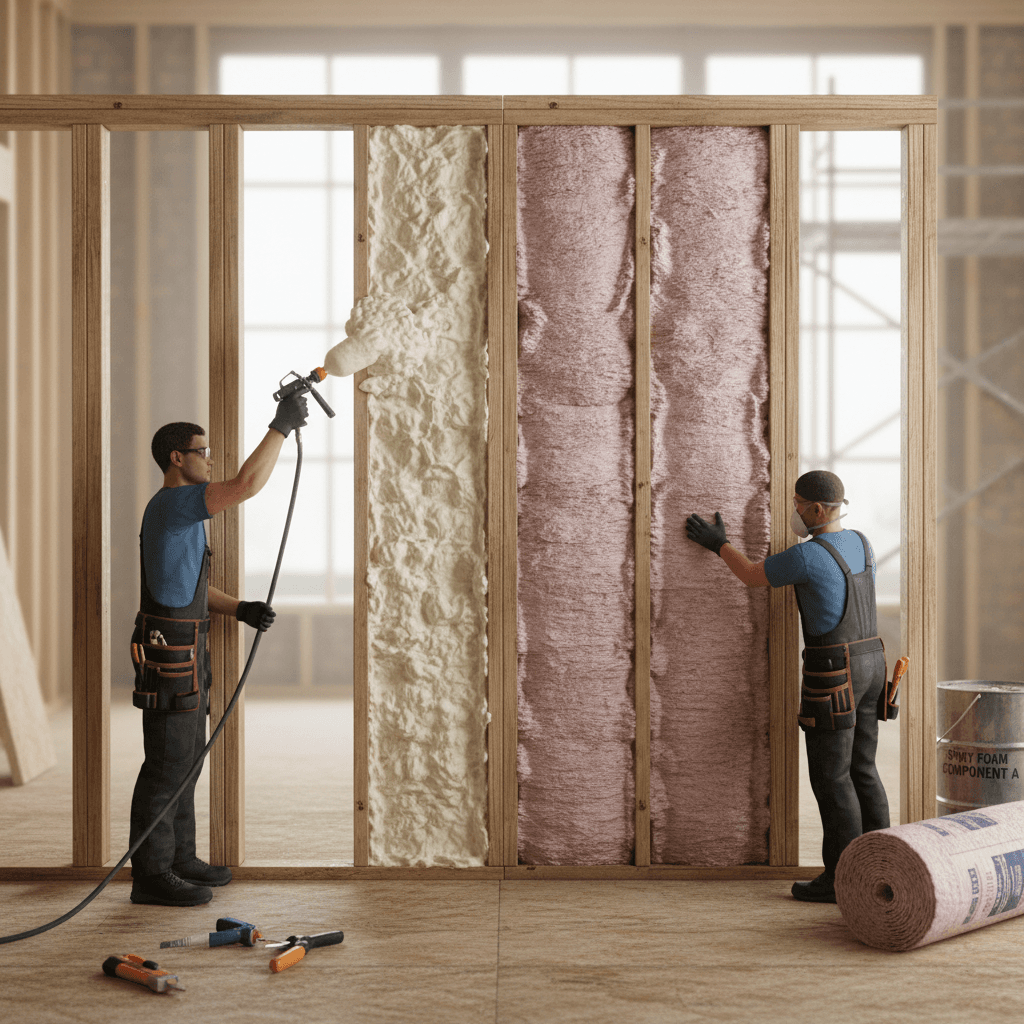
- Check wall strength. Solid brick is ideal. For stud walls, fix an 18 mm ply backing at the stud stage.
- Mark centreline. Keep at least 400–450 mm from a side wall for elbow room.
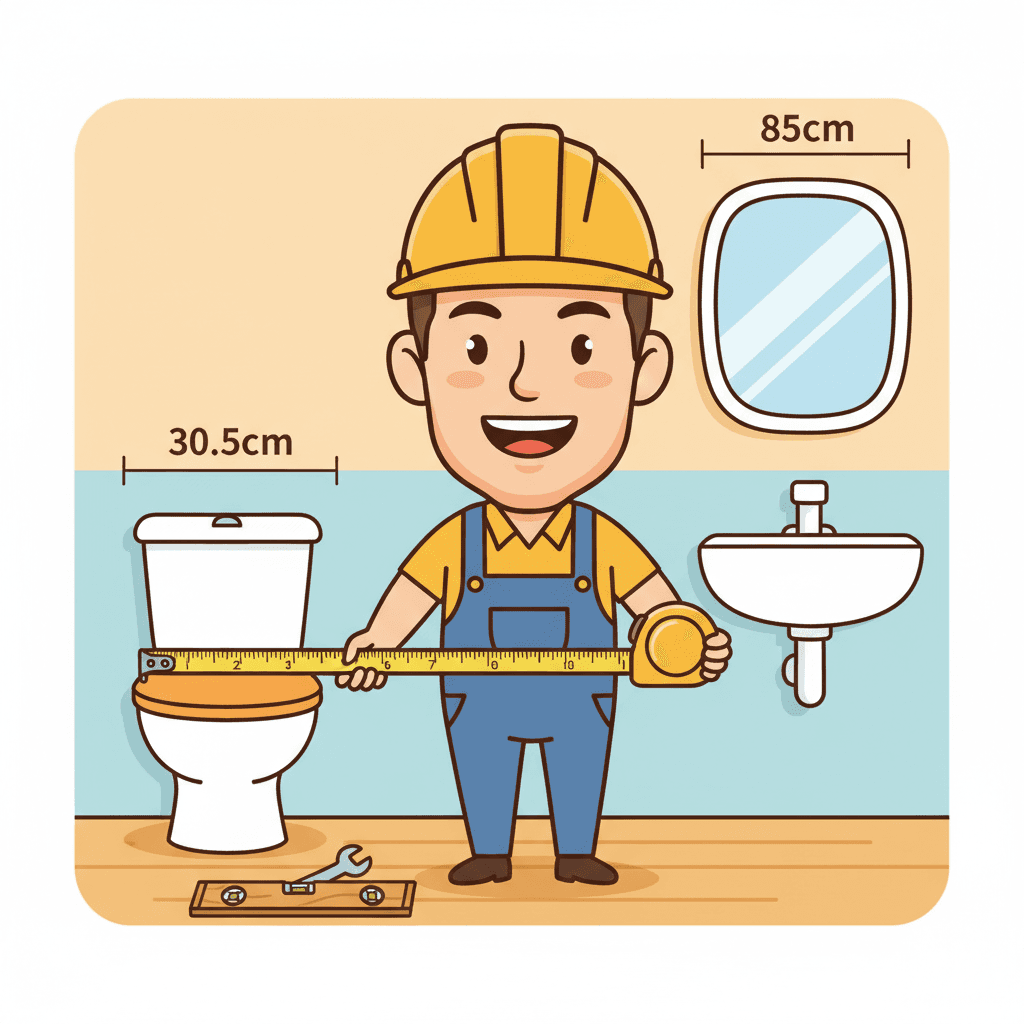
- Mark rim height: 800–850 mm finished height suits most adults. In schools, you may go 700–750 mm.
- Confirm waste position. Allow 50–70 mm clearance behind the basin for tap and tails.
- Isolation valves: Fit on hot and cold at 15 mm. Angle them for easy access.
If the waste exits horizontally, keep a steady 1–2% fall to the stack. No sags. No backfall.
Step-By-Step: Washbasin Installation Ka Sahi Tarika
Follow these numbered steps on every basin. Consistency is key.
- Measure And Mark
- Mark the rim line at 800–850 mm. Draw the centreline.
- Offer the bracket or basin to the wall. Mark fixing holes.
- Drill And Plug
- For M8 fixings, drill 8 mm holes. For heavy-duty shields, pre-drill 10 mm.
- Use a hammer drill on masonry. Clear dust from holes for better grip.
- Fix Brackets Or Hangers
- Fit brackets level. Check within 2 mm across 600 mm.
- Tighten fixings firm, not brutal. Over-tightening can crack tiles.
- Fit Taps And Waste On The Bench
- Install the monobloc tap on the basin before hanging.
- PTFE 8–10 wraps on threaded tails if required. Fit click-clack waste with sealant per manufacturer.
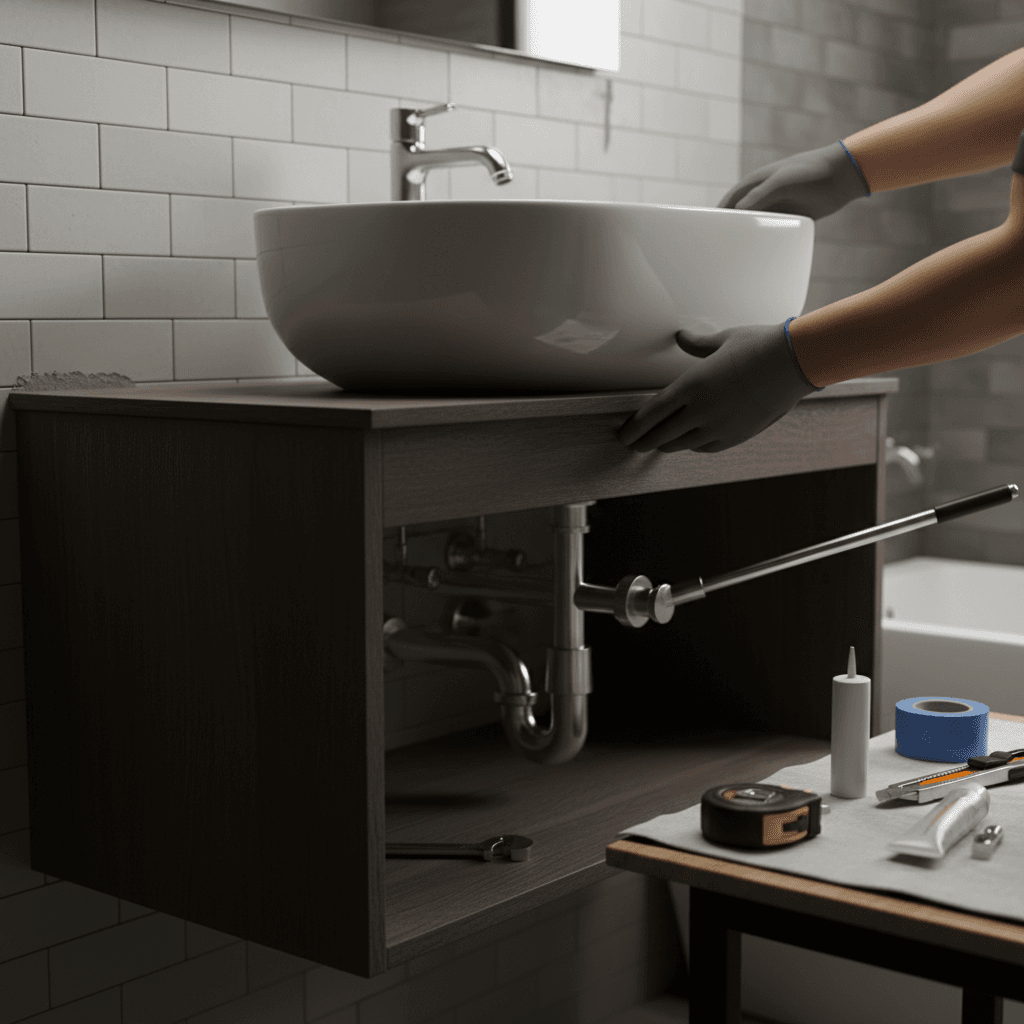
- Hang The Basin
- Lift gently. Seat it on brackets or bolts. Use rubber washers if supplied.
- Nip the nuts hand-tight, then a quarter turn. Don’t crush ceramics.
- Connect Water
- Fit flexi tails to isolation valves. Open valves and check for drips.
- Wipe joints dry. Recheck after 5 minutes.
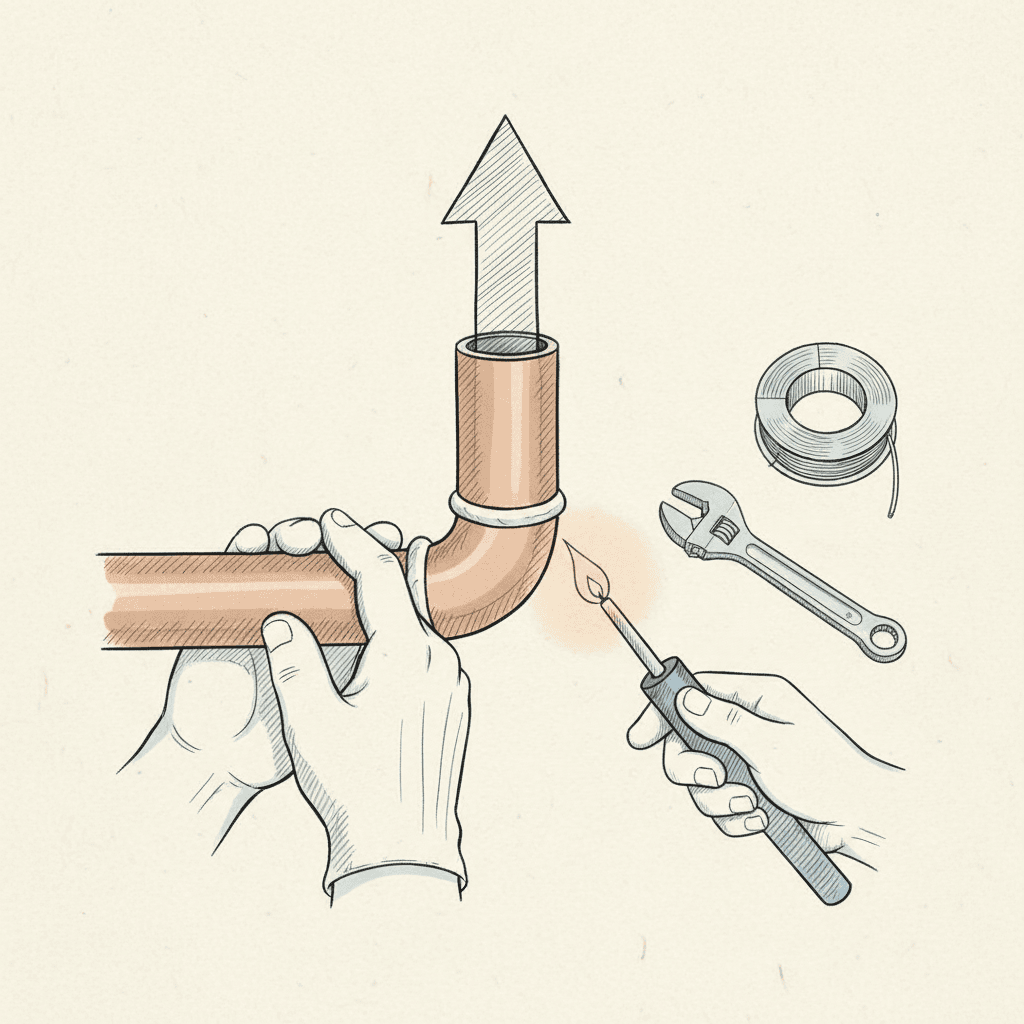
- Fit The Trap And Waste Pipe
- Use a 32 mm trap with a 75 mm water seal.
- Keep a neat run to the wall or floor outlet with 1–2% fall.
- Seal The Perimeter
- Clean edges with alcohol. Apply a 3–4 mm silicone bead.
- Tool once. Don’t overwork. Wipe excess immediately.
- Test And Finish
- Run water for 3 minutes. Check every joint with tissue.
This is the Washbasin Installation Ka Sahi Tarika you can teach your whole crew.
Sealing, Testing, And Finishing
Good sealing saves you from come-backs.
- Silicone: 3–4 mm bead. Smooth in one pass. Leave 12–24 hours to cure.
- Trap check: Confirm the 75 mm water seal. Low seals cause smells.
- Flow test: 3 minutes open flow. Look at the back of the trap and the waste nut.
- Plug test: 60 seconds. Any damp tissue means a redo.
- Final look: Lines straight, rim level, fixings capped, seal clean.
Following Washbasin Installation Ka Sahi Tarika here prevents 90% of leak-related call-backs in general practice.
Common Mistakes And How To Fix Them
Many workers rush. Slow down for these points.
- Wrong Height: If set below 800 mm, lift and re-fix. Fill old holes with epoxy and colour-matched grout.
- Wobbly Basin: Add proper M8 anchors. On stud walls, open and install an 18 mm ply backing.
- Leaking Waste: Re-seat with fresh sealant. Don’t overtighten. Hand-tight plus a quarter turn.
- Gurgling Or Smells: Check for 1–2% fall and confirm 75 mm trap seal. Remove any double traps.
- Cracked Tiles: Drill with a sharp bit, low hammer until through glaze. Masking tape helps.
These are all avoided when you follow Washbasin Installation Ka Sahi Tarika step by step.
Pricing, Paperwork, And Client Handover
Clear paperwork builds trust and speeds payment.
- Scope: State height (e.g., 820 mm), trap type (32 mm, 75 mm seal), and sealant cure time (12–24 hours).
- Time: A straight swap usually takes 60–90 minutes. Add time for backing boards or re-tiling.
- Handover: Show isolation valves, explain 12–24 hour silicone cure, and give basic care advice.
- Proposals And Invoices: Many contractors prefer tools like Donizo to capture job details with voice and photos, send branded proposals, get e-signatures, and convert to invoices in one click. This reduces back-and-forth and keeps cash flow steady.
If you’re also looking to streamline professional proposals, our guide covers practical templates that win jobs. This pairs well with understanding project timelines and simple invoice templates that save time.
FAQ
What Is The Best Height For A Washbasin?
For most adult bathrooms, 800–850 mm rim height works well. In schools or child areas, 700–750 mm is common. Always confirm with the client before drilling.
Do I Need A 32 Mm Or 40 Mm Trap?
Most basins use a 32 mm trap with a 75 mm water seal. Kitchen sinks often use 40 mm. Match the trap to the basin waste and the downstream pipe size.
How Long Should Silicone Cure Before Use?
Allow 12–24 hours, depending on the brand and room temperature. Tell the client not to push, load, or flood the joint during this time.
How Do I Stop A Slow Drip At The Waste?
Strip the joint, clean both faces, and refit with fresh sealant or the correct gasket. Tighten hand-tight, then a quarter turn. Test with a 60-second plug-and-fill.
Can I Fit A Washbasin On A Stud Wall?
Yes, but install an 18 mm plywood backing between studs at the right height. Use proper fixings into the timber, not just plasterboard. This keeps the basin solid.
Conclusion
Washbasin Installation Ka Sahi Tarika is simple: set the right height, fix solid and level, use a 32 mm trap with a 75 mm seal, apply a clean 3–4 mm silicone bead, and test twice. Do these steps and you’ll avoid most leaks and wobble.
Next steps:
- Standardise your checklist and heights across your team.
- Keep M8 anchors, 32 mm traps, and sanitary silicone on the van.
- Use photos for before-and-after records and clear client handovers.
For smooth proposals and quicker payments on small plumbing jobs, platforms such as Donizo help you capture details, send e-signed proposals, and invoice fast. Stick to the method, and every basin will look and perform like a pro install.