Intro
On most jobs, plumbing work decides whether a home feels solid or sloppy. Good plumbing work starts with a clear plan, then clean first fix, neat second fix, and proper testing. In this guide, you’ll get a simple, field-tested process. We cover layout, sizing, waste falls, pressure testing, and handover. You’ll also see how to price and present the work clearly. Follow these steps, and you’ll avoid leaks, call-backs, and awkward rework. Your clients will notice the difference.
Quick Answer
Plumbing work means planning the system, installing first fix pipework, completing second fix fittings, and testing everything before handover. Aim for correct pipe sizes, proper waste falls, sound insulation, and safe temperatures. Finish with documented tests and a tidy, labelled installation the client can trust.
Table of Contents
Key Takeaways
- Plan pipe sizes and waste falls before you drill a single hole.
- Use a 1:40 fall for 32–50 mm wastes, 1:80 for 100 mm soil.
- Pressure test at around 1.5× working pressure for 30 minutes.
- Store hot water at 60°C; protect outlets with TMVs if needed.
- Document tests and label valves; handover takes 30–60 minutes.
What Good Plumbing Work Looks Like
Good plumbing work is quiet, leak-free, and easy to service. The system delivers the right flow at the right pressure. Pipe runs are straight and clipped. Valves and traps are accessible. Insulation is neat. Joints are set out for future maintenance. You leave a clean, labelled system and basic instructions.
- Flows match fixtures: showers 8–12 L/min, baths 12–18 L/min.
- Pressures are sensible: many homes run at 2–3 bar.
- Traps hold a 75 mm water seal to stop smells.
- Isolation valves sit before each WC, basin, and appliance.
- Clips are spaced evenly, no sagging, no stressed fittings.
Plan Plumbing Work: Layout, Sizing, Compliance
Planning saves time. A clear plan avoids cutting twice and arguing later. This is where most profit is protected.
Map Fixtures and Routes
- Mark every outlet: basin, bath, WC, shower, kitchen, utility, outside tap.
- Choose the main routes. Avoid long dead legs over 3–5 m.
- Keep hot and cold apart to cut heat transfer.
- Plan sleeves through walls and floors. Allow space for fire stopping where required.
Pipe Sizing Basics
- Common feeds: 15 mm to basins and WCs, 22 mm to baths and cylinders. Larger homes may need 28 mm primaries.
- Check demand: if two showers need 10 L/min each, size for 20 L/min plus losses.
- Pressure control: fit a PRV if static pressure exceeds about 5 bar. Many mixers work best at 1–3 bar.
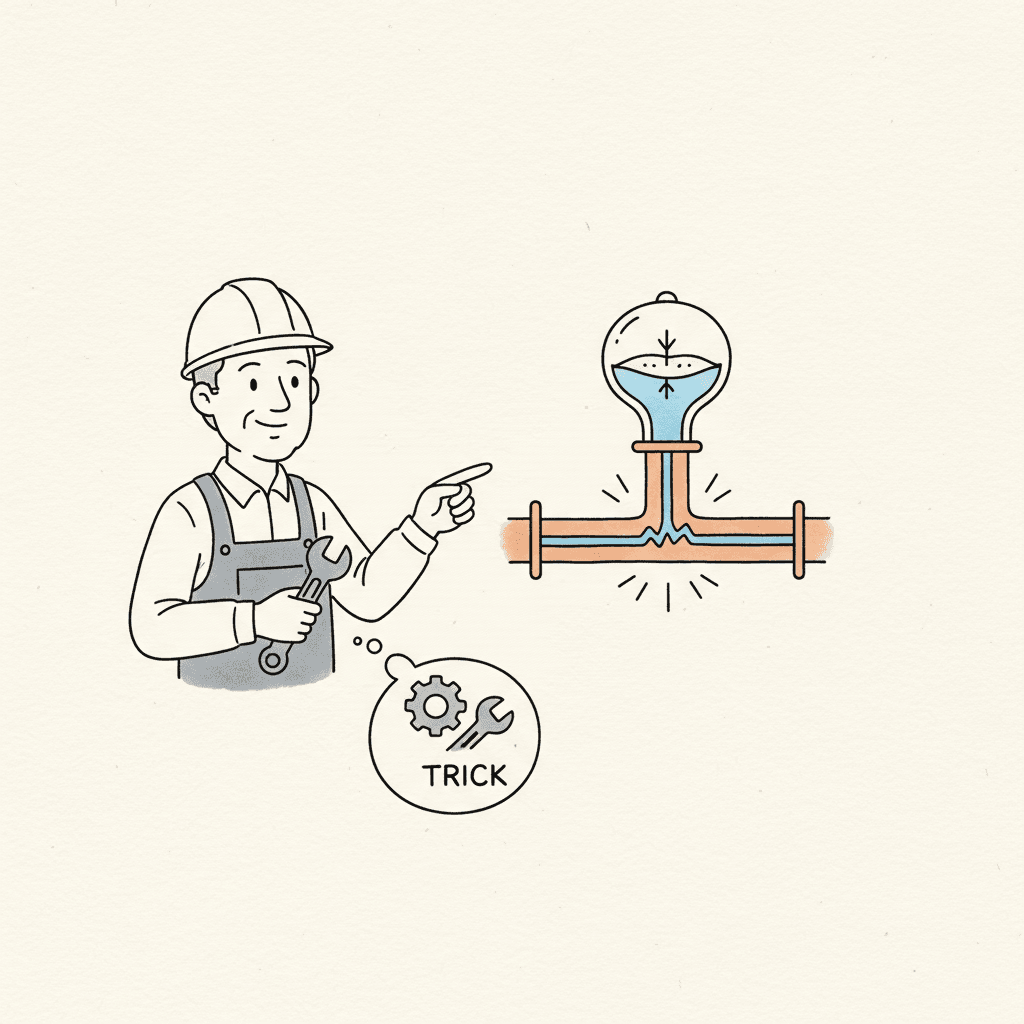
Waste and Soil Falls
- Aim for a 1:40 fall (25 mm per metre) on 32–50 mm waste pipes.
- Aim for 1:80 (12.5 mm per metre) on 100 mm soil stacks.
- Keep runs short. Avoid backfalls. Use long-radius bends where you can.
- Vent where needed to stop trap pull. Keep that 75 mm trap seal.
Penetrations, Insulation, and Frost
- Sleeve holes about 10–20 mm larger than the pipe for movement.
- Typical burial depths for service water: 450–750 mm to avoid frost.
- Insulate pipes: 13 mm wall thickness indoors, 25 mm in unheated voids is a solid rule of thumb.
Timeframes for Planning
- Small bathroom: 1–2 hours for a full take-off and route sketch.
- Whole flat: 3–5 hours with a simple schematic and materials list.
First Fix and Second Fix Plumbing Work
First fix is structure work: runs, clips, and connections. Second fix is fittings, sealing, and finish. Clean work at first fix makes second fix simple.
First Fix: Step by Step
- Mark centres for all outlets and heights. Double-check appliance specs.
- Drill or notch only where allowed. Protect structure. Use plates.
- Run pipework with minimal joints in walls and floors.
- Clip neatly. Common practice: 15 mm copper horizontal clips every 1.2 m, vertical every 1.8 m. Plastic wastes often need clips every 0.6–0.8 m.
- Keep hot on the left, cold on the right. Label temporary caps.
- Pressure test before you close walls (see testing section).
- Insulate hot and cold to reduce heat loss and stop sweating.
Typical first-fix durations:
- Small bathroom: 1–2 days for one plumber and one mate.
- Kitchen refresh: 0.5–1 day if routes are short.
Second Fix: Step by Step
- Flush lines before fitting valves and cartridges.
- Fit isolation valves, then taps, mixers, and flexis.
- Set WCs, basins, and baths. Use spirit level. No rocking.
- Seal with sanitary silicone. Allow 24 hours cure if stressed.
- Fit traps. Check for 75 mm water seal. Test with a 10–15 L bucket flush.
- Balance and set temperatures. Wipe down. Photograph the final work.
Typical second-fix durations:
- Small bathroom: roughly 1 day.
- Kitchen sink and tap: 1–2 hours if all valves are ready.
Testing, Commissioning, and Handover
Proper testing proves your plumbing work before the client does. Don’t skip it.
Pressure Testing (Potable and Heating)
- Cap ends and fill slowly. Purge air.
- Bring to test pressure: around 1.5× working pressure is common. Example: if working is 3 bar, test at about 4.5 bar.
- Hold for 30 minutes. Pressure should remain stable.
- Inspect joints. Dry everything. If in doubt, remake it.
Waste and Drain Testing
- Plug outlets. Fill with water. Check every joint and trap.
- For longer runs, use a simple air test with a U-gauge if suitable.
Commissioning Temperatures and Safety
- Store hot water at 60°C to limit Legionella risk.
- Fit TMVs to baths and showers where scald risk exists. Many set outlets near 43–50°C.
- Set expansion vessels and PRVs as per manufacturer guidance.
Handover
- Label valves and isolation points.
- Show the client how to shut off water in under 10 seconds.
- Provide simple instructions and test records. This takes 30–60 minutes and cuts call-backs.
Estimating, Proposals, and Paperwork for Plumbers
You make money when your scope is clear. Vague quotes lead to free extras.
Estimating Basics
- List fixtures: WC, basin, bath, shower, kitchen sink, appliances.
- Labour guide (common site ranges):
- WC second fix: 1.0–1.5 hours.
- Basin with waste: 1.5–2.0 hours.
- Bath set and connect: 2–3 hours.
- Radiator swap: 2–3 hours.
- Outside tap from nearby feed: 1–2 hours.
- Add time for access, tile drilling, core holes, and making good.
Build a Clear Proposal
- Scope: list every item you will install.
- Inclusions: materials, fixings, sealants, testing, waste removal.
- Exclusions: tiling, making good, electrical works, redecoration.
- Allowances (PC sums) for client-chosen taps and sanitaryware.
- Programme: typical lead time 3–5 days after approval.
- Warranty: many plumbers offer 12 months on workmanship.
- Payment terms: example, 30% deposit, balance due within 7 days of invoice.
Creating professional proposals becomes much easier when you standardise descriptions and pricing. If you’re also looking to streamline professional proposals, our guide covers practical templates and wording that win trust. This pairs well with understanding invoice templates that save time and managing project timelines effectively.
Tools like Donizo help you capture job details with Voice to Proposal, send branded PDFs, collect E‑signatures, and convert accepted proposals to invoices in one click. Many contractors find this cuts admin by 1–2 hours per small job and reduces back-and-forth.
Common Mistakes in Plumbing Work and How to Avoid Them
- No isolation valves: Fit full‑bore valves at key points and under each basin, WC, and appliance.
- Wrong waste falls: Check a 1:40 fall on 32–50 mm, 1:80 on 100 mm. Avoid backfalls.
- Mixing fittings without inserts: Use correct pipe inserts for push‑fit. Don’t stress joints.
- Hidden parts with no access: Leave a 200×200 mm access panel for concealed valves and traps.
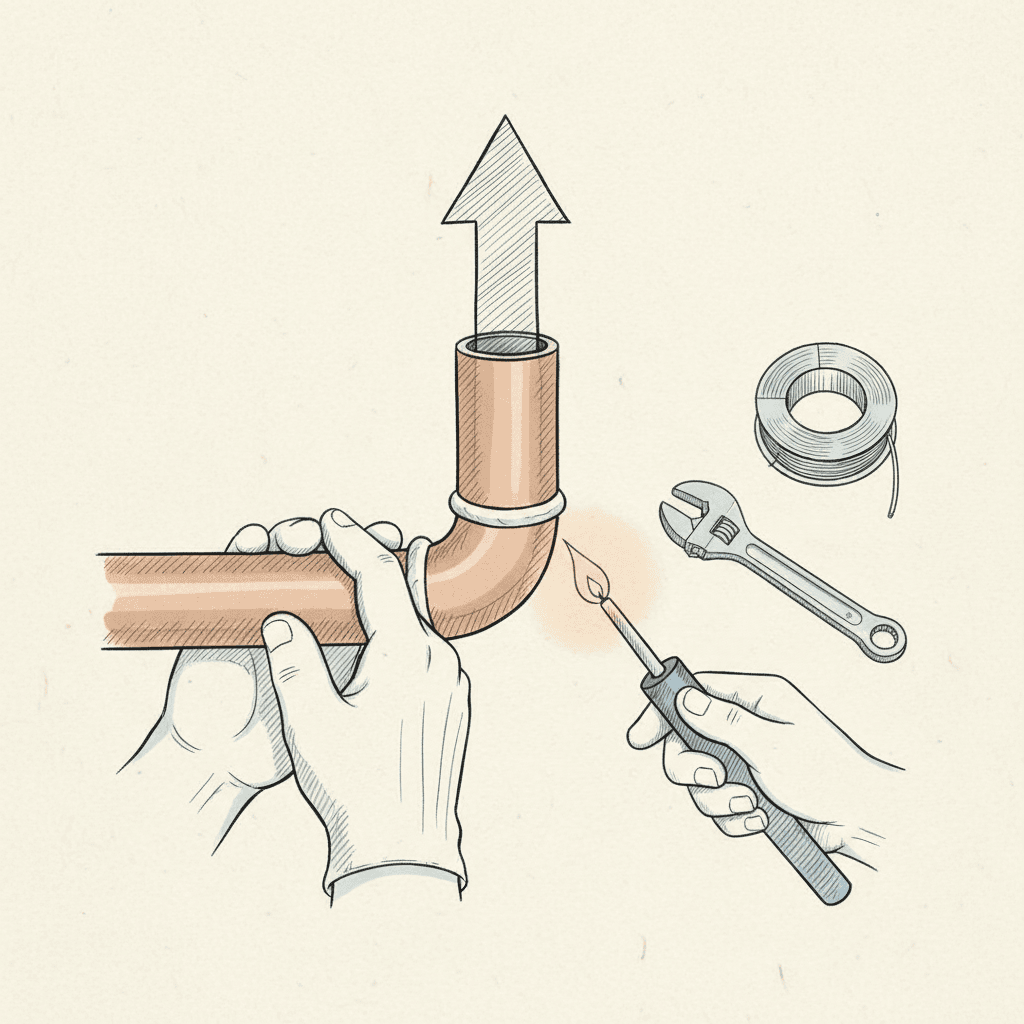
- Overheating solder joints: Use heat mats. Protect seals and nearby finishes.
- Not flushing before second fix: Flush lines 2–3 minutes per outlet to remove debris.
- No temperature control: Store at 60°C. Use TMVs to protect end users.
FAQ
What is the difference between first fix and second fix plumbing?
First fix is the hidden work: pipe runs, clips, and connections before walls close. Second fix is the visible work: fitting taps, WCs, basins, and finishing seals. Test between stages. Good planning makes second fix fast and clean.
What fall should I use on waste pipes?
For most small wastes (32–50 mm), aim for a 1:40 fall. For 100 mm soil, 1:80 is common. Keep runs short, use long-radius bends, and make sure traps keep a 75 mm seal to stop smells.
How long does plumbing work take for a bathroom?
A small bathroom often takes 1–2 days for first fix and about 1 day for second fix, if routes are simple and materials are on site. Add time for cores, awkward access, or client changes.
What pressure should I test at?
A common practice is about 1.5 times the working pressure. If your system runs around 3 bar, test near 4.5 bar for 30 minutes. Always follow the manufacturer’s limits and local requirements.
What temperature should hot water be set to?
Store hot water at 60°C. That helps control bacteria. Use thermostatic mixing valves to deliver safer outlet temperatures, often around 43–50°C at baths and showers.
Conclusion
Strong plumbing work follows a clear plan, tidy first fix, careful second fix, and firm testing. Do these steps well and your jobs run smoother, with fewer call‑backs. Next steps:
- Sketch your routes and size pipes before you start.
- Set waste falls at 1:40 (small) and 1:80 (soil) and clip neatly.
- Standardise proposals and testing forms. Solutions like Donizo can speed proposals, signatures, and invoicing.
By keeping it simple and consistent, you’ll protect your margin and your reputation on every job.