Intro
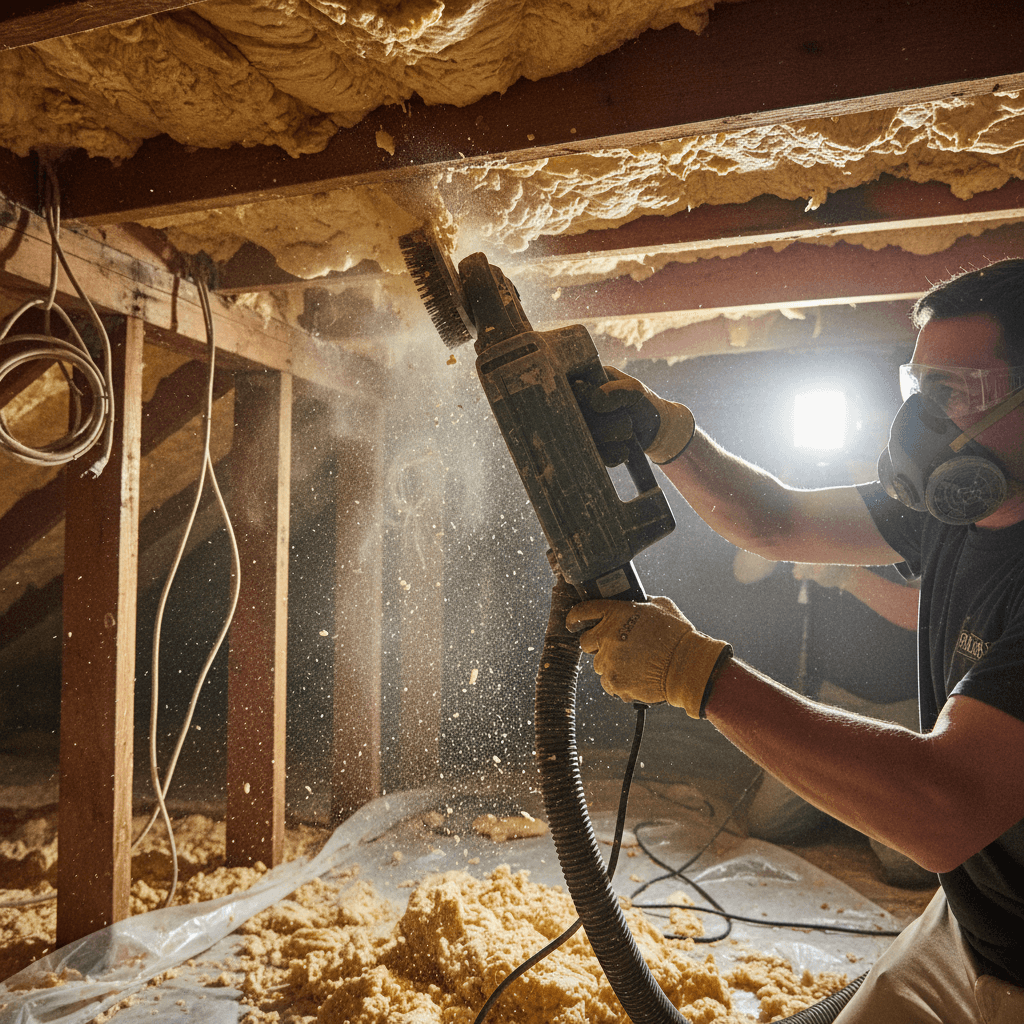
On most jobs, the pain is the same: uneven pads, stiff pipes, and small leaks that lead to call-backs. This guide shows a new easy water tank fitting process you can repeat on any site. It’s simple, fast, and clean. You’ll prep the base right, fit flexible lines, and test once. We’ll cover exact steps, tools, measurements, and times. Follow this and you cut rework and speed handover. The new easy water tank fitting process also helps newer hands work like pros. Less guesswork. More control. Fewer surprises.
Quick Answer
The new easy water tank fitting process is a repeatable method: prepare a level pad, install isolation valves, use flexible connections, seal threads correctly, and pressure test before full fill. Most installs finish in one day with 45–60 minutes of actual fitting time and 24 hours of leak observation.
Plan And Prepare The Site
A solid base makes or breaks the job. Keep it simple.
- Choose a flat spot with service access on two sides.
- Build a pad 6–12 inches (150–300 mm) wider than the tank diameter.
- Use 3–4 inches (75–100 mm) of compacted crushed rock or a reinforced concrete slab.
- Level within 1/4 inch (5 mm) across the pad.
- Allow a 1:100 fall on overflow piping to daylight or drain.
Tip: Mark inlet, outlet, drain, and pump positions before the tank lands. Paint dots help your apprentice align parts fast.
Keep this standard kit so every crew member can run the new easy water tank fitting process without delays.
- 1 inch full-port ball valves (or match system size)
- Flexible braided or rubber connectors (200–300 mm slack)
- Unions on both sides of key valves
- PTFE tape (6–8 wraps) and potable-grade thread sealant
- Strainer (1 mm mesh) before pump or house feed
- Overflow fittings, insect screen, and down-turned elbow
- Pump (if used), pressure switch (40–60 psi typical), non-return/backflow device per code
- Hole saw set, step bits, deburring tool, torque-limited wrench
- Level, compactor, and water pressure gauge
Step-By-Step: New Easy Water Tank Fitting Process
Follow these steps in order. This sequence saves time and prevents stress on fittings.
-
Land The Tank And Check Level
Set the tank on the prepared pad. Confirm level within 5 mm. Shim only under the full base, not edges.
-
Mark And Drill Fitting Locations
Keep outlets low but accessible. Use a hole saw sized to the bulkhead. Deburr cleanly.
-
Install Bulkhead Fittings From Inside Out
Seat gaskets flat. Hand-tighten, then a quarter-turn with a wrench. Do not over-torque.
-
Add Isolation And Drain Valves
Fit a 1 inch ball valve on the outlet and a low drain. Include unions for easy service.
-
Fit Flexible Connectors
Use flex lines to isolate vibration and movement. Leave 200–300 mm gentle slack.
-
Set Overflow And Screen
Overflow size must match or exceed the inlet. Add insect screen and aim the elbow away from walls.
-
Seal Threads Right
Wrap PTFE tape 6–8 turns with the thread, then a thin layer of potable sealant. Tighten snug, not brutal.
-
Install Strainer, Non-Return, And Pump (If Used)
Put the strainer before the pump or house feed. Install a non-return/backflow device per local code.
-
Rough Fill To 25% And Check
Add water to one-quarter volume. Check every joint. Tighten only once. Fix weeps now.
-
Pressure Test And Commission
Test to working pressure or 1.5× the pump cut-in (example: 60–90 psi). Hold 15 minutes. No drop, no soap bubbles.
Time guide: Base prep 2–3 hours. Fitting assembly 45–60 minutes. Testing and cleanup 30–45 minutes. Most installs finish same day.
Common Mistakes In The New Easy Water Tank Fitting Process
Avoid these and you avoid 90% of call-backs.
- Rigid pipe straight off the tank. It cracks bulkheads. Always use flex.
- Thin pads or poor compaction. Tanks settle and twist fittings. Use 75–100 mm compacted base.
- Tiny overflows. Match or oversize to the inlet to prevent roof-flow backups.
- Over-torquing bulkheads. Gaskets distort and leak later. Hand-tight plus a quarter-turn.
- No unions. Service becomes a nightmare. Add unions both sides of key valves.
- Skipping a strainer. Pumps eat grit and fail early. Fit a 1 mm mesh strainer.
If you’re also looking to streamline [professional proposals], our guide covers strong scope wording for tank installs. This pairs well with understanding [invoice templates] and [project timelines]. For crews pricing similar jobs, read our notes on fair [pricing strategies].
Testing, Commissioning, And Handover
Do a clean, simple finish. Clients notice.
- Pressure Test: Hold at 1.5× cut-in or standard working pressure for 15 minutes.
- Final Fill: Go from 25% to 100% in stages. Pause at 50% to recheck joints.
- Pump Setup: Typical switch range is 40–60 psi. Confirm cut-in/cut-out.
- Backflow/Overflow: Confirm code devices and free discharge with a 1:100 fall.
- Freeze/Heat Checks: Insulate exposed lines. Shield from sun if required.
- Handover Pack: Include a diagram, valve labels, and service notes. Set a 6-month check.
Pro tip: Photograph every connection. Add labels on valves and unions. It saves you 30–45 minutes on any future visit.
Paperwork, Proposals, And Smooth Sign-Off
Clear scope and clean sign-off stop disputes.
- Capture site notes, photos, and voice memos on arrival.
- Send a branded proposal with the exact steps above.
- Include pad specs, valve list, overflow path, and testing method.
- Get a digital sign-off before ordering materials.
Many contractors use platforms such as Donizo to capture details with voice, generate a proposal, get e-signatures, and flip accepted work into an invoice in one click. It keeps everything in one place and removes back-and-forth.
FAQ
What base is best under a poly water tank?
Use a compacted crushed rock pad 3–4 inches (75–100 mm) thick or a reinforced concrete slab. Make the pad 6–12 inches (150–300 mm) wider than the tank and level within 1/4 inch (5 mm). A level, stable base prevents twist and future leaks.
Do I really need flexible connections at the tank?
Yes. Flex lines protect bulkhead fittings from vibration, settlement, and thermal movement. Rigid pipe often cracks threads or distorts gaskets over time. Leave 200–300 mm of gentle slack and support the downstream pipe.
How long should I wait before fully filling the tank?
After assembling and sealing, rough fill to 25% and check for weeps. If dry, you can reach 100% the same day. If you used a sealant with cure time, follow the product label. Many potable sealants are service-ready in under 1 hour.
What pressure should I test to?
Test at normal working pressure or 1.5× the pump cut-in. Example: if cut-in is 60 psi, test to 90 psi for 15 minutes. Watch the gauge and use soapy water on joints. No drop and no bubbles means you’re good.
How big should the overflow be?
Match or exceed the inlet size. If the roof feed is 1 inch, use a 1 inch or larger overflow. Keep a 1:100 fall to a safe discharge point and add an insect screen plus a down-turned elbow.
Conclusion
The new easy water tank fitting process is simple: solid pad, flex at the tank, correct sealing, and a proper pressure test. Follow these steps and you reduce leaks, speed installs, and hand over clean work.
Next steps:
- Standardize your kit and pad specs on every crew.
- Use the 10-step sequence and the 25% fill check.
- Capture photos and label valves for a fast handover.
For smooth approvals and fast payment, tools like Donizo help you turn site notes into signed proposals and quick invoices. Keep it simple, stick to the process, and you’ll finish more tanks with fewer return visits.