Introduction
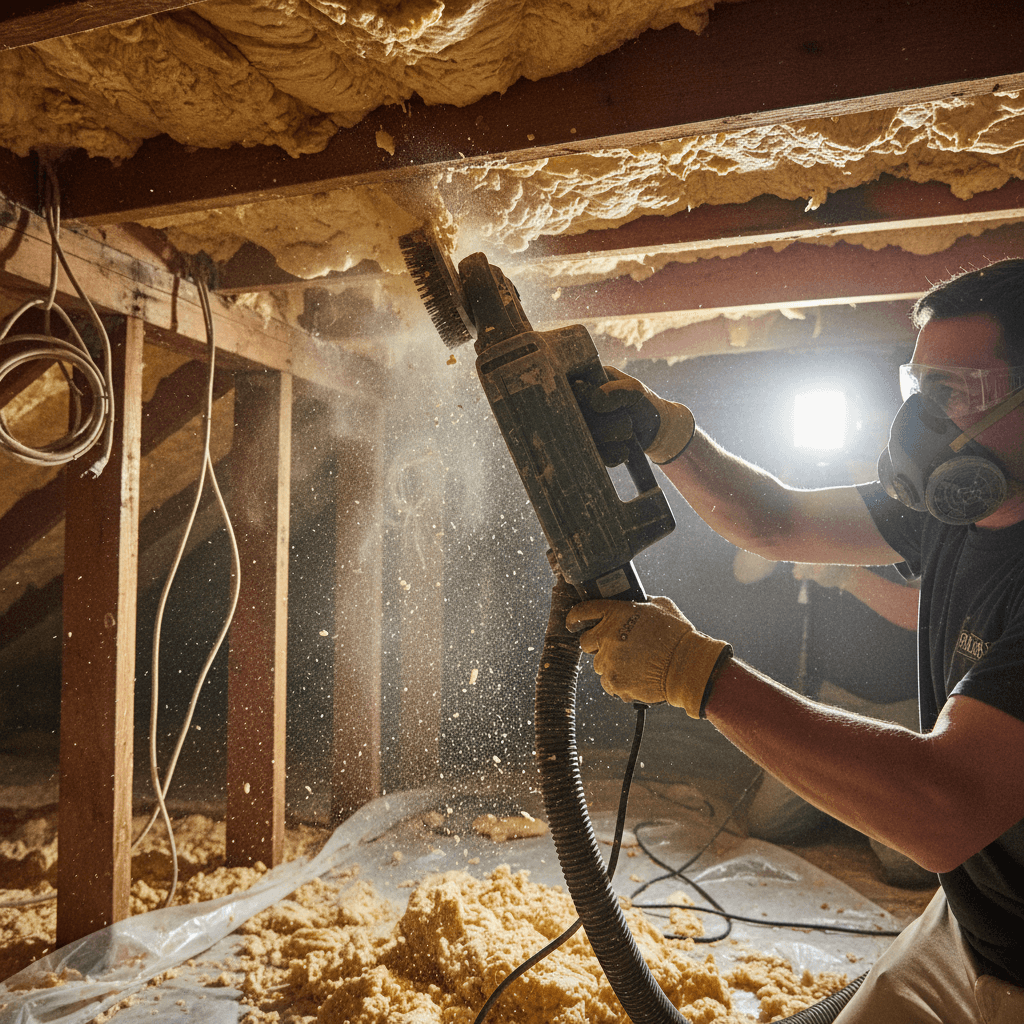
On many jobs, old foam has to go before new work starts. In this guide, you’ll see a Spray Foam Insulation Removal Tool in Action! We show the exact steps, tools, and safety setup. You’ll learn when to scrape, when to cut, and when to blast. We also cover dust control, substrate protection, and how to price the work. If you do remodels, roof retrofits, or flood repairs, this walkthrough saves time and reduces callbacks.
Quick Answer
A spray foam insulation removal tool is usually a scraper system, a powered multi-tool, or a floor/roof scraper. Set containment, gear up, score the foam, then scrape at a low angle. Use HEPA vacs and a dust shroud if you grind stubborn spots. Finish with a clean substrate ready for new insulation.
Table of Contents
Key Takeaways
- Hand tools move about 15–25 sq ft per hour on average.
- Powered scrapers often clear 80–120 sq ft per hour on open floors.
- Dry ice blasting can reach 200–400 sq ft per hour on clean metal.
- Plan 6–8 hours for a small room; 1–2 days for larger zones.
- Keep blades low (about 20–30°) to protect wood and drywall.
Why Remove Spray Foam At All?
Sometimes the foam is wet, charred, or poorly applied. Other times, you need access to wiring or pipes. On roof decks, closed-cell foam can hide leaks. Removing the foam lets you inspect, dry, and repair. It also creates a clean base for new insulation or coatings.
Issues that trigger removal:
- Flood damage and trapped moisture
- Burnt or smoke-damaged sections
- Bulging, over-sprayed, or uneven foam
- Code updates needing clearances or fire barriers
Pick the tool for the foam type and surface. Open-cell is softer. Closed-cell is denser and tougher.
Hand Scrapers (4–6 inch blades)
- Best for: Stud bays, around wiring, tight corners
- Pros: Cheap, controlled, low risk of damage
- Cons: Slow on large areas
- Tip: Use a stiff, replaceable blade and keep it sharp.
- Best for: Joist sides, rim boards, around fixtures
- Pros: Precise, low vibration, many blade shapes
- Cons: Still slower on big fields
- Tip: Metal scraper blades last longer on closed-cell foam.
Reciprocating Saw With Flexible Scraper or Fine-Tooth Blade
- Best for: Thick foam on wide studs or sheathing
- Pros: Can rip long strips fast
- Cons: Easy to gouge wood if careless
- Tip: Keep the shoe flat. Let the tool do the work.
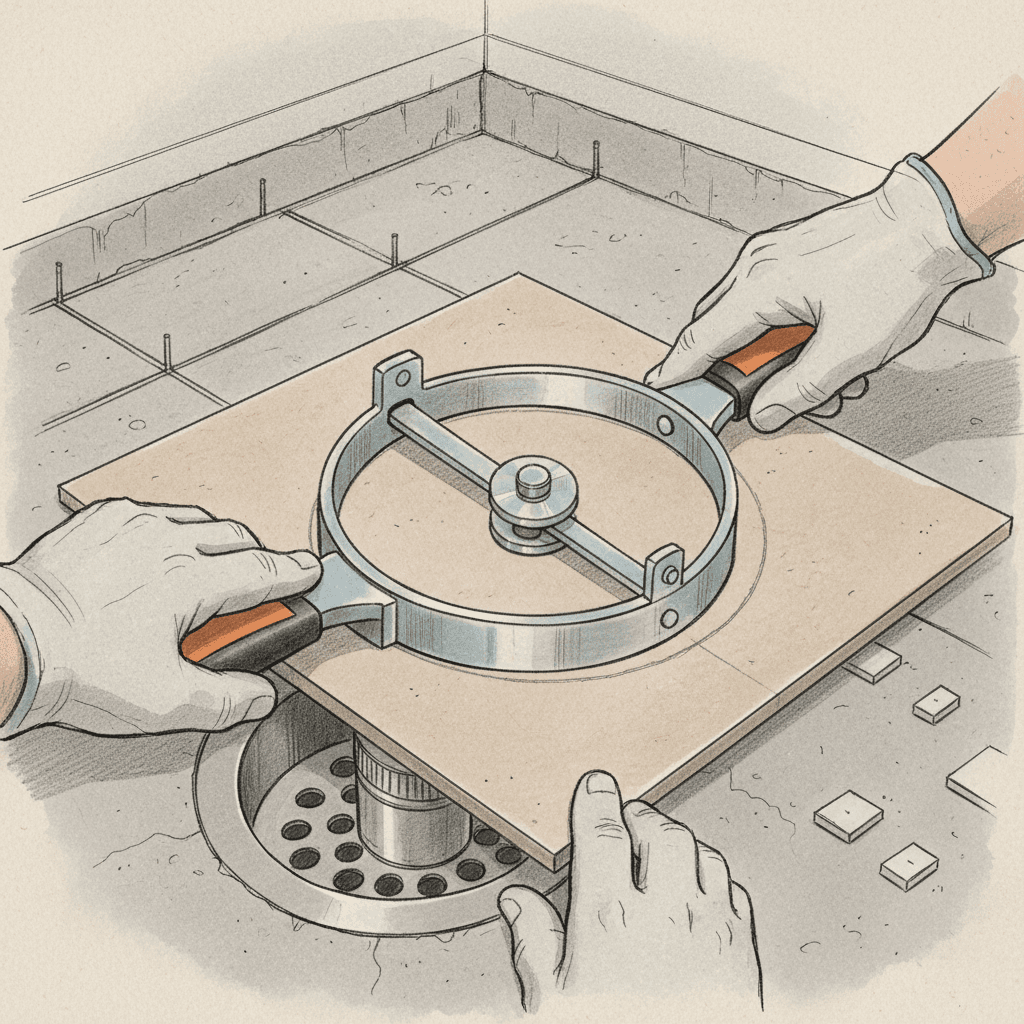
Long-Handle Floor/Roof Scraper (12–20 lb)
- Best for: Concrete slabs, flat deck areas
- Pros: Good production on flat surfaces
- Cons: Heavy; watch for surface spalls
- Tip: Start with a 6 inch blade; widen as needed.
Grinder + Wire Wheel Or Flap Disc (With Dust Shroud)
- Best for: Stubborn residue on concrete or steel
- Pros: Removes thin films fast
- Cons: Can scar substrates; creates lots of dust
- Tip: Always use a shroud and HEPA vac. Go light and steady.
Dry Ice Blasting
- Best for: Metal roofs, beams, complex shapes
- Pros: No water; minimal residue; fast on dense foam
- Cons: Costly gear; training needed
- Tip: Great when you must protect the base surface.
Safety, Prep, and Containment
Work safe first. Dust and small chips add up fast.
- PPE: P100 respirator, safety glasses, cut-resistant gloves, and hearing protection.
- Containment: Poly sheeting and zipper doors. Build negative pressure if indoors.
- Dust capture: Use a HEPA vacuum (99.97% at 0.3 microns) with tight hoses.
- Utilities: Locate wires and plumbing. Kill circuits in work zones.
- Fire: No open flames. Don’t heat foam. Ventilate well.
- Old buildings: If surfaces are pre-1978, test painted areas for lead before grinding.
Follow this simple sequence on most jobs.
- Walk the area. Mark hazards, terminations, and “save” zones with tape.
- Set containment. Seal doorways. Cover floors and fixtures.
- Gear up. P100, gloves, eye and ear protection.
- Score edges. Cut foam away from framing lines and penetrations.
- Start removal. Hold the scraper at about 20–30°. Push in steady passes.
- Switch tools when needed. Use an oscillating tool for tight spots.
- For dense patches, try a floor scraper or a grinder with a dust shroud.
- Vacuum as you go. Keep chips and dust down. Empty bags often.
- Final passes. Lightly skim to remove high spots; don’t chase perfection.
- Inspect and document. Check for damage, moisture, and fastener pull-outs.
On most jobs, a small room takes 6–8 hours with hand and power tools. Larger open areas may need 1–2 days, depending on access and foam thickness.
Speed, Cost, and Cleanup
Production rates vary with foam type, thickness, and access.
Typical ranges contractors report:
- Hand tools: 15–25 sq ft/hr in stud bays
- Powered scrapers: 80–120 sq ft/hr on open floors
- Dry ice blasting: 200–400 sq ft/hr on smooth metal
Cost factors:
- Access and height (ladders vs. lifts)
- Containment level (basic vs. full negative air)
- Disposal volume (bag weight and site rules)
Cleanup steps:
- HEPA vacuum surfaces twice.
- Wipe with damp microfiber where allowed.
- Bag foam waste in heavy-duty (3 mil) liners.
- Do a final walkthrough with photos for your file.
This pairs well with understanding “professional proposals” and “invoice templates that save time,” so you price and bill removal cleanly.
Estimate, Scope, and Client Sign-Off
Set clear expectations. Define surfaces, thickness, containment, and disposal.
- Scope by area: list rooms, decks, and height work.
- Note tools and methods: scraping, grinding, or blasting.
- Call out patching or surface repair allowances.
- Include add options: extra lifts, after-hours, or extended containment.
Many contractors use tools like Donizo to capture project details with Voice to Proposal, send a branded PDF, and get fast e-signatures. After acceptance, convert it to an invoice in one click to keep cash flow moving.
Real-World Tips and Common Mistakes
- Keep the blade low. A steep angle gouges wood and drywall.
- Don’t over-grind. Light passes protect the substrate and your back.
- Swap blades often. A fresh edge saves 1–2 hours on bigger rooms.
- Stage debris cans every 10–15 feet to reduce walking time.
- Test a 4–6 inch blade size before going wider.
- Don’t skip photos. Document before, during, and after for the record.
Common mistakes to avoid:
- Starting without containment. Dust spreads, and cleanup doubles.
- Ignoring moisture. Wet framing needs drying before you close up.
- Rushing the edges. Clean edges make reinstall faster and neater.
FAQ
What is the fastest way to remove spray foam?
On clean metal or concrete, dry ice blasting is often fastest. On wood framing, a floor scraper and oscillating tool combo is quick and safer. Always balance speed with substrate protection and dust control.
Can I grind spray foam off concrete?
Yes, but use a grinder with a dust shroud and a HEPA vacuum. Go light to avoid scarring. Many pros scrape first, then do a brief grind to remove the last 1–2 millimeters of residue.
How do you remove spray foam around wires and pipes?
Use an oscillating tool with a scraper blade and work slowly. Support the pipe or cable with your free hand. Keep the blade flat and move in short strokes to avoid nicks.
Is dry ice blasting worth it?
It’s worth it on complex shapes, metal roofs, or large areas where you must protect the surface. The daily rate is higher, but production can be 200–400 sq ft/hr, which can lower total labor time.
What PPE do I need for foam removal?
Wear a P100 respirator, eye protection, cut-resistant gloves, and hearing protection. Add knee pads and a lightweight hard hat if you’re under decks or using lifts.
Conclusion
A spray foam insulation removal tool works best with smart prep, the right blade, and clean containment. Choose scraping for control, grinding for residue, and dry ice for delicate bases. Next steps: 1) Walk your site and mark hazards, 2) Test two tool methods on 10 sq ft, 3) Lock scope and price in a clear proposal. Platforms such as Donizo help you capture details fast, send clean proposals, get e-signatures, and invoice the job without delays. Do it right, and you’ll finish faster and protect the substrate every time.