Intro
Homeowners want fast makeovers that last. PVC panels do that. They are light, clean, and quick to install. In this guide, we cover "आपके घर को दें नया लुकPVC Ceiling & Wall Panelling Installation!" with simple steps you can follow on any job. We will show you the tools, prep, and exact measurements. You will learn wall and ceiling methods. You will also avoid the common mistakes that cause callbacks. Follow this and finish a 10–12 m² room in a day with two people.
Quick Answer
PVC ceiling and wall panelling installs fast with basic tools. Fix treated battens at 200–300 mm centers, leave a 3–5 mm expansion gap, and lock panels tongue-to-groove. Use stainless screws or panel adhesive. Seal wet areas with silicone. Two installers can cover 10–12 m² in 6–8 hours.
Table of Contents
Key Takeaways
- Battens at 300 mm for walls, 200 mm for ceilings give solid support.
- Keep a 3–5 mm gap at edges for expansion. Always.
- Dry-fit first. Then fix. This prevents misaligned joints.
- Two installers can finish 10–12 m² in 6–8 hours.
- In showers, use silicone in joints and around trims.
Why Choose PVC Panels
PVC panels are light, clean, and water-resistant. They fit over old paint, tile, or plaster. You avoid messy wet work. Panels are usually 7–10 mm thick. Many come in 2.9–3.0 m lengths. That makes ceilings simple.
On most jobs, clients want speed and low dust. PVC gives both. Cuts are clean with a fine-tooth blade. Joints are tongue-and-groove. That hides screws and seams. You get a neat look without skim coats.
If you're also looking to streamline professional proposals, our guide on professional proposals can help you price and present work clearly.
Get your setup right before you start. It saves hours later.
- Tape measure (5 m), pencil, chalk line
- Spirit level (600 mm) or laser level
- Fine-tooth saw or track saw; utility knife for scoring
- Drill/driver with countersink bit
- Stainless steel screws: 3.5 x 25 mm (or 1-1/4 in) for fixing
- Wall plugs if fixing into masonry
- Construction adhesive rated for PVC; curing ~24 hours
- Silicone sealant for wet areas
- Treated timber or PVC battens: 20–25 mm thick
- Starter trims, internal/external corners, end caps, H-trims
Key measurements contractors use:
- Batten spacing: 300 mm centers on walls; 200 mm on ceilings
- Edge clearance: 3–5 mm gap at all perimeters
- Screw spacing on each panel: every 300–400 mm along battens
- Panel thickness: 7–10 mm; confirm with supplier
Tip: Pre-mark stud/batten lines on masking tape. You will hit them every time.
PVC Ceiling & Wall Panelling Installation: Walls
This is the clean method that works on most sites.
- Check substrate
- Make sure walls are dry, sound, and fairly flat. Fix loose plaster. Treat damp first.
- Plan layout
- Measure width and height. Dry-fit to see where the last panel lands. Aim to avoid a tiny 20–40 mm rip. Balance both ends if needed.
- Fit battens (if needed)
- For uneven walls, fix battens at 300 mm centers, vertical for horizontal joints. Pack out low spots. Keep them plumb within 2–3 mm over 2 m.
- Install starter trim
- Fix starter or end cap along the base or side. Leave a 3–5 mm perimeter gap. A trim hides it.
- Cut first panel
- Cut length minus 5 mm for expansion. Score and snap or saw. Dry-fit.
- Fix first panel
- Slide tongue into the starter trim. Check plumb. Screw through the flange into battens every 300–400 mm. Do not over-tighten. Light nip only.
- Continue panels
- Add a thin adhesive bead on the back if the wall is solid. Lock tongue-to-groove. Keep joints tight. Check plumb every 3 panels.
- Around outlets and pipes
- Mark from two points. Drill a pilot, then hole saw. For pipes, cut 2–3 mm oversize and silicone after.
- Last panel
- Rip to size with a straightedge. Ease the fit. Tuck into end trim.
- Seal in wet zones
- Run silicone in internal corners and at base. Tool neat. Wipe excess quickly.
Common check: If panels oil-can, you over-tightened or skipped the gap. Back off screws and reset.
PVC Ceiling & Wall Panelling Installation: Ceilings
Working overhead is different. Keep it light and safe.
- Locate joists and plan
- Mark joists or install ceiling battens at 200 mm centers. Snap chalk lines. Plan the first panel along the longest straight wall.
- Perimeter trims
- Fix U-trim around the room. Leave a 3–5 mm gap where trims meet. Mitre corners for a clean look.
- First panel matters
- Cut length minus 5 mm. Place the groove into the trim. Hold flush to battens. Screw the flange into each batten. Keep the face clean.
- Keep joints straight
- Use a laser line or tight string. Check every 1–2 panels. Small errors grow fast on ceilings.
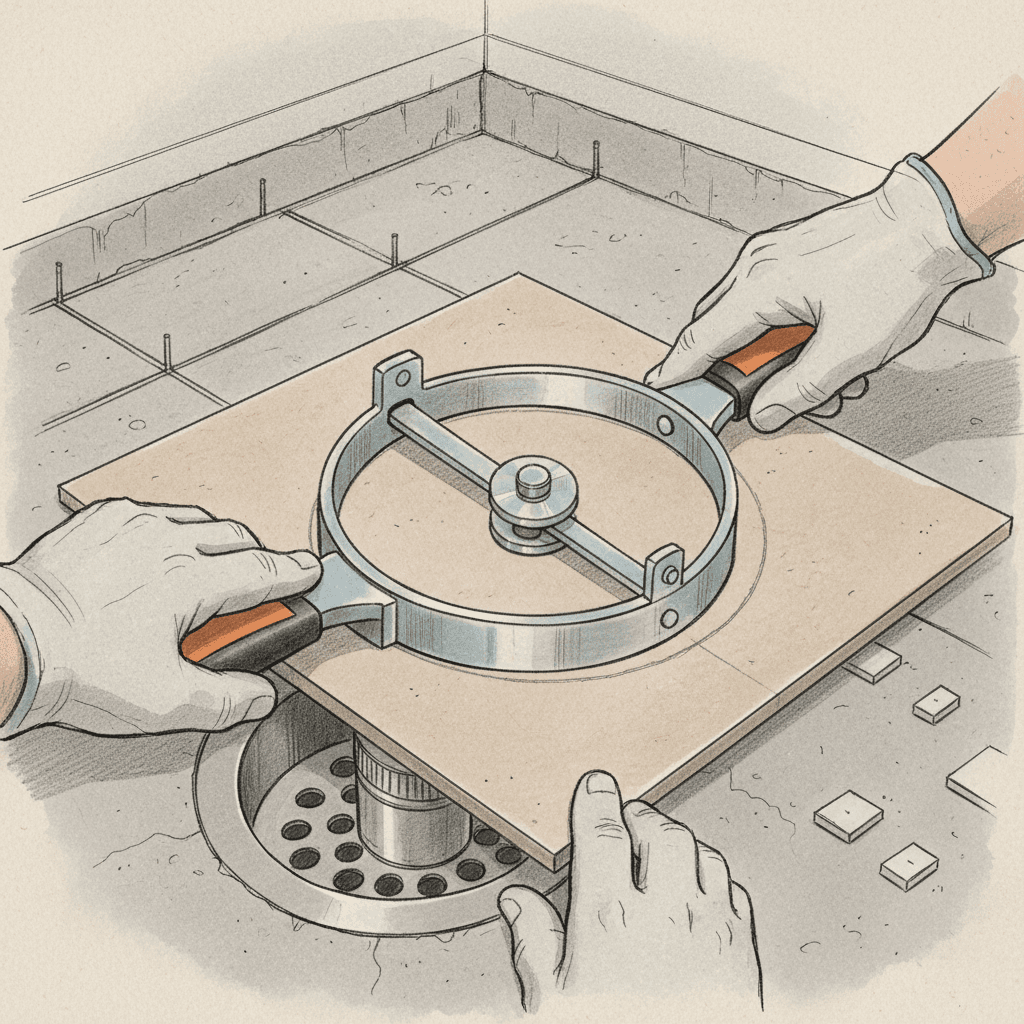
- Lighting cutouts
- Mark from two fixed edges. Drill a 6–8 mm starter hole. Jigsaw the opening. Keep a 3 mm clearance around housings. Follow fixture clearances.
- Vent and fan areas
- Add extra noggins or battens within 150 mm of the opening. This stops sag.
- Final panel
- Rip to width. Slide into trim. Use a plastic pry bar to seat it.
- Finish
- Clip a decorative H-trim if the ceiling is longer than one panel length. For long rooms, stagger joints and support under seams.
Safety tip: If panels are near heat sources, follow the appliance clearance. PVC can warp with high heat.
Finishing, Maintenance, and Mistakes
A neat finish sells the job. It also cuts callbacks.
- Trims: Use corner, end, and H-trims. Dry-fit corners before silicone.
- Seals: In showers or backsplashes, silicone all inside corners and edges. Re-check after 24 hours.
- Cleaning: Wipe with mild soap and water. No harsh solvents.
- Ventilation: Keep rooms ventilated. Moisture needs a way out.
Avoid these mistakes:
- No expansion gap (3–5 mm) at edges. Panels will buckle.
- Over-tight screws. This crushes the flange and shows dimples.
- Battens too wide. Sag starts over 300 mm (walls) or 200 mm (ceilings).
- Skipping plumb/level checks. A 2 mm drift per panel ruins the line.
- Using the wrong adhesive. Use one rated for PVC; test a scrap.
This pairs well with understanding project timelines. A simple plan reduces site time and stress.
Time, Waste, and Pricing Basics
Plan the job right and you keep your margin.
- Output: Two installers cover 10–12 m² in 6–8 hours, including trims.
- Waste: Allow 5–10% for cuts. Go 12–15% for lots of cutouts.
- Panels: Typical length 2.9–3.0 m; width varies (200–250 mm planks or 600–1000 mm sheets). Check coverage per pack.
- Fixings: About 8–10 screws per m² on walls; 12–14 per m² on ceilings.
- Adhesive: One 290 ml tube covers ~4–6 m² with beads. Conditions vary.
- Setup time: 30–45 minutes to set lasers, trims, and cut station.
Scope and paperwork tip: Capture the client brief with photos and voice notes. Tools like Donizo let you turn voice, text, and photos into a clean proposal, send it for e-sign, and convert to an invoice in one click. That saves 1–2 hours per job.
If you price a lot of small jobs, see our advice on invoice templates that save time and reduce errors.
FAQ
Can I install PVC panels over tile or old paint?
Yes. Clean and degrease the surface. Scuff glossy paint. Use battens if the wall is uneven. Bond with PVC-rated adhesive and add mechanical fixings where possible.
Are PVC panels safe in bathrooms and showers?
Yes, when installed right. Seal all inside corners and edges with silicone. Leave a 3–5 mm expansion gap under trims. Ensure good ventilation to manage steam.
Do I need battens, or can I glue directly?
You can glue to a flat, sound surface. But battens at 300 mm (walls) or 200 mm (ceilings) give better support, straighter lines, and space to run cables.
What fire rating should I look for?
Check your local code. Many panels are tested under ASTM E84. Choose a rating your inspector accepts for the room type. Keep panels away from high heat sources per manufacturer guidance.
How do I handle corners and edges neatly?
Use matching trims: internal, external, end caps, and H-trims. Dry-fit first, then fix. Run a thin silicone bead in wet zones and tool it smooth.
Conclusion
PVC panels are a fast, clean way to refresh walls and ceilings. Follow the batten spacing, hold a 3–5 mm gap, and keep lines true. That delivers a tight, long-lasting finish.
Next steps:
- Walk the site and mark batten lines today.
- Dry-fit the first 3 panels and confirm your layout.
- Set trims, then lock panels tongue-to-groove with light screw pressure.
For smoother paperwork and faster approvals, platforms such as Donizo help you capture scope by voice, send proposals for e-sign, and invoice in one click. Stay tidy, work safe, and keep your finish sharp.