Intro
On many jobs, space under the basin is tight. Pipes crowd the back, the wall is close, and your hands barely fit. Installing faucet nuts in narrow spaces using a dual end wrench takes patience and a few smart moves. This guide shows you how to set up, start the nut cleanly, and tighten without damage. We'll use clear steps, show good wrench angles, and point out common mistakes. You’ll learn when to flip the wrench, how to stop the tap body spinning, and what to check before you leave site.
Quick Answer
Use a slim dual end wrench with a 15-degree head to index in tight spaces. Start the nut by hand, then switch between open and ring ends for grip and small swings. Support the tap body from above, tighten to firm plus a quarter turn, and re-check alignment and seals.
Table of Contents
Key Takeaways
- A 15-degree head lets you index with 30-degree swings in tight gaps.
- Support the tap from above. Stop twisting hoses and cracking basins.
- Hand-start threads, then tighten firm + 1/4 turn. Avoid over-torque.
- Expect 25–30 minutes under a standard basin; faster with prep.
- Keep nuts, washers, and hoses aligned within 1–2 mm to prevent leaks.
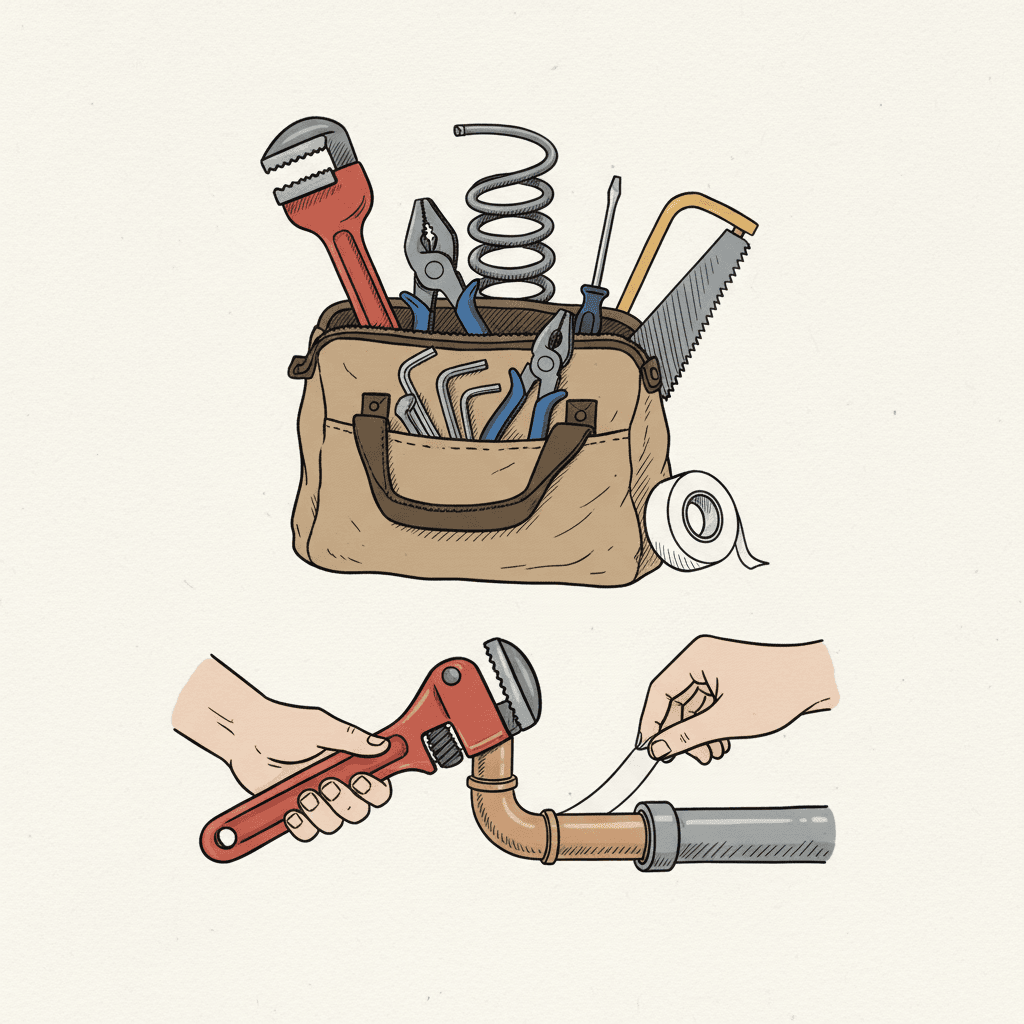
- Dual end wrench (open one side, ring the other), slim profile.
- Common nut sizes: 9/16" (≈14 mm) and 5/8" (≈16 mm). Some are 1/2".
- 15-degree wrench head helps indexing in 30-degree swings.
- Head torch for sight lines. A compact mirror helps in corners.
- Tape or a magnet tray for small parts.
- Non-slip gloves. A basin mat to save your back.
Measure Your Clearance
- Check vertical clearance behind the sink: 35–50 mm is common.
- Reach depth from cabinet front to nut: usually 120–150 mm.
- If the ring end won’t fit, start with the open end. Switch later.
Prep The Faucet Body
- Fit the rubber or fibre washer under the tap base.
- Lightly grease the threads. A small dab helps in tight starts.
- Place the tap. Centre it to within 2–3 mm before tightening.
Step-By-Step: Installing Faucet Nuts In Narrow Spaces Using A Dual End Wrench
- Kill the water. Open the tap to relieve pressure.
- Place the tap. Hold it straight from above with one hand.
- Hand-start the mounting nut. Turn 2–3 full turns. No cross-threading.
- Seat the base washer. Check it sits flat all around.
- Use the open end first. It fits when space is only 35–40 mm.
- Index the wrench. Flip it 180 degrees to use the 15-degree offset.
- Take short pulls. Aim for 20–30-degree swings per stroke.
- Switch to the ring end when there’s room. Better grip, less slip.
- Keep the tap aligned from above. A helper saves time here.
- Tighten to firm, then add a quarter turn. Stop if plastic creaks.
- Attach the supply lines. 3/8" compression or 1/2" BSP are common.
- Open water, test for leaks. Dry the area and re-check after 5 minutes.
Pro tip: If the nut sits within a recess, slip a thin cloth over the jaw. It reduces scratches on plated nuts.
Working Around Obstructions Under Basins
Hoses, Traps, And Brackets
- Move the P-trap aside if it steals 10–20 mm of swing. Loosen the slip nut and rotate.
- Unclip one hose at a time to clear space. Cap it to stop drips.
- Use a mirror to see the flat sides of the nut before engaging.
Smart Wrench Angles
- Aim the open end at roughly 4 o’clock or 8 o’clock. This often wins space.
- With a 12-point ring end, you can re-seat every 30 degrees.
- If the wall blocks your knuckles, rotate the wrench to pull downward.
When Thread Starts Are Blind
- Mark the first thread with a pen. It helps you see the start point.
- Turn backwards a click until you feel the “drop,” then tighten.
Avoiding Damage: Torque, Materials, And Seal Checks
- Plastic nuts: go gentler. Tighten to firm + 1/4 turn. No cheater bars.
- Brass nuts: firmer seating is fine, but stop at resistance.
Protect The Basin
- Keep the wrench off the porcelain edge. A 1–2 mm chip is easy to cause.
- Use a thin pad between the wrench and wall if clearance is under 40 mm.
Final Checks (5-Minute Routine)
- Wipe joints dry. Open water for 60 seconds.
- Check for slow weeps after 5 minutes and again after 15 minutes.
- Confirm the tap spout still points straight. Adjust before it sets.
Speed And Safety Tips You Can Use Today
- Lay out washers and nuts in order. Saves 2–3 minutes per tap.
- Pre-fit hoses to the tap before setting it. That saves 10–15 minutes.
- Keep a second dual end wrench on the van. Different head thickness helps.
- Use knee pads. You’ll last longer under a cabinet.
- Short handled wrenches (120–150 mm) are ideal in 350 mm deep cabinets.
If you’re also looking to streamline professional proposals, our guide on creating professional proposals pairs well with this. It keeps admin tight while you focus on site work. The same goes for invoice templates that save time after service calls.
- Basin wrench: Use it when the nut is higher than your wrist reach or hidden behind the bowl hump.
- Box spanner/tube spanner: Great for deep, round recesses with almost no swing room.
- Crow’s foot spanner: Works when hoses block ring-end access but you have straight-line reach.
Switch tools if you have less than 20 degrees of swing or the wrench head can’t seat fully on the flats.
FAQ
What size wrench fits faucet mounting nuts?
Most faucet mounting nuts are 9/16" (about 14 mm) or 5/8" (about 16 mm). Some use 1/2". Measure if unsure. A dual end wrench set covering 10–19 mm usually covers common tap hardware.
How tight should I make a plastic faucet nut?
Tighten to firm, then add a quarter turn. Stop if you feel creaking or crushing. Plastic cracks easily if over-tightened. Re-check after 5–15 minutes of water on to confirm no weeps.
Can I use a basin wrench instead of a dual end wrench?
Yes. A basin wrench is made for hard-to-reach nuts above and behind basins. Use a dual end wrench when you still have 30 degrees of swing and can seat on the flats. If you can’t swing, switch to the basin wrench.
How do I stop the tap body from spinning while tightening?
Hold the tap from above. Keep the spout centred. If working solo, use painter’s tape across the spout to the splashback to hold position while you snug the nut from below.
Do I need thread tape on faucet mounting threads?
No. Mounting threads hold the tap to the basin; the seal comes from the base washer. Use PTFE tape on threaded water connections only where the fitting design calls for it.
Conclusion
Installing faucet nuts in narrow spaces using a dual end wrench is about control, not force. Start threads cleanly, index the wrench for small swings, support the tap body, and finish with firm + a quarter turn. Next steps: 1) Measure your clearance and pick a slim wrench, 2) Lay out washers and hand-start every time, 3) Re-check for weeps after 5–15 minutes. For your paperwork after service calls, tools like Donizo help you turn quick notes into branded proposals, get e-signatures, and convert jobs to invoices in one click. Keep your installs clean, your admin simple, and your day moving.