Intro
Removing a back water check sounds simple. It isn’t always. A back water check (also called a backwater valve or non‑return valve) protects a property from sewer backflow. Removing a back water check can expose the building to flooding and may break local rules. This guide shows when removal makes sense, what the law says, and how to do it safely. You’ll get step‑by‑step removal, tools, timeframes, and testing. We also cover client sign‑off and simple documentation you can send in minutes.
Quick Answer
Removing a back water check is a controlled job. Confirm it’s legal, isolate flow, pump down, then unbolt or cut out the valve and install approved pipework. Keep the 110 mm line grade (about 1:40), pressure test or flow test for 5 minutes, and document client acceptance. If rules require, replace it with a serviceable valve.
Table of Contents
Key Takeaways
- Check rules first. Removing a back water check may breach Part H.
- Simple internal swaps take 60–90 minutes. External digs can take 1 day.
- Keep 110 mm grade near 1:40 and 50 mm insertion depth on joints.
- Test for 5 minutes and photo‑document before and after.
Safety And Legal Checks
Backwater devices exist for a reason. They stop foul water coming back into the building during storms. Removing a back water check may put the client at risk. It can also affect insurance.
- Building rules: In the UK, check Part H (Drainage and Waste Disposal). Some sites must have a non‑return device. If removing a back water check breaks this, fit a new valve instead.
- Local authority and water company: Confirm any approval needed. On shared or adoption lines, you may need written consent.
- Insurance: Many insurers expect a backflow device in flood‑risk zones. Removing a back water check without a plan can void cover.
- Confined space: Chambers can hold gases. Ventilate, test air, and follow confined‑space rules. Never work alone in a deep chamber.
- Hygiene: Treat all waste as contaminated. Wear gloves, eye protection, and a mask. Have disinfectant ready.
If any of the above blocks removal, propose replacement, not removal. Put it in writing so the client understands the risk.
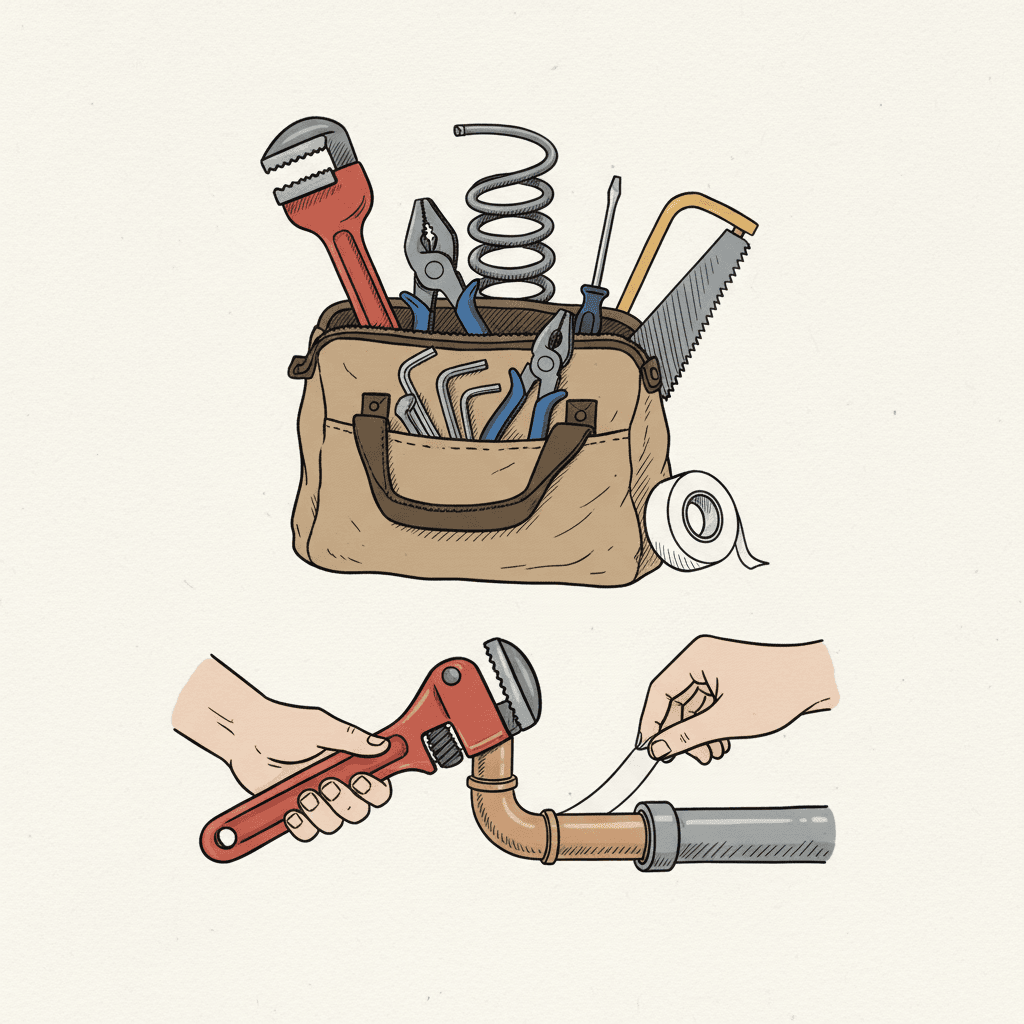
On most jobs, removing a back water check needs basic kit and a clear plan.
- PPE: Waterproof gloves, eye protection, FFP3 mask, coveralls, disinfectant wipes.
- Access: Torches, pry bar, manhole keys, wet/dry vacuum or pump (30–60 L/min), drain rods.
- Tools: Adjustable spanners, socket set, long screwdriver, hacksaw or pipe saw, deburrer, marker, tape measure.
- Parts: 110 mm pipe (two 300 mm pieces), 2 rubber couplers with bands, or solvent couplers, 110 mm caps, PTFE tape. For cast iron, have 2 no‑hub couplers (with 2 bands each).
- Test kit: Hose, bucket (10 L), blue roll, soap solution for leak checks.
Prep time is usually 20–30 minutes. Pump down and cleaning can take another 20 minutes. Plan a 60–90 minute window for a simple internal valve removal.
Tip for documentation: Snap photos at each step. Clear photos help with variations, pricing, and warranty.
Step-By-Step: Removing A Back Water Check
Here’s a simple method contractors use for most 110 mm lines.
- Identify the device.
- Is it a flap type in a chamber? A cartridge valve in a floor box? Note brand and size. This helps if you later replace it.
- Confirm legality and client consent.
- Removing a back water check must comply with local rules. Get the client to sign approval before you start.
- Isolate and divert use.
- Ask occupants not to run water for 30–60 minutes. Plug any floor wastes upstream. This keeps the line dry while you work.
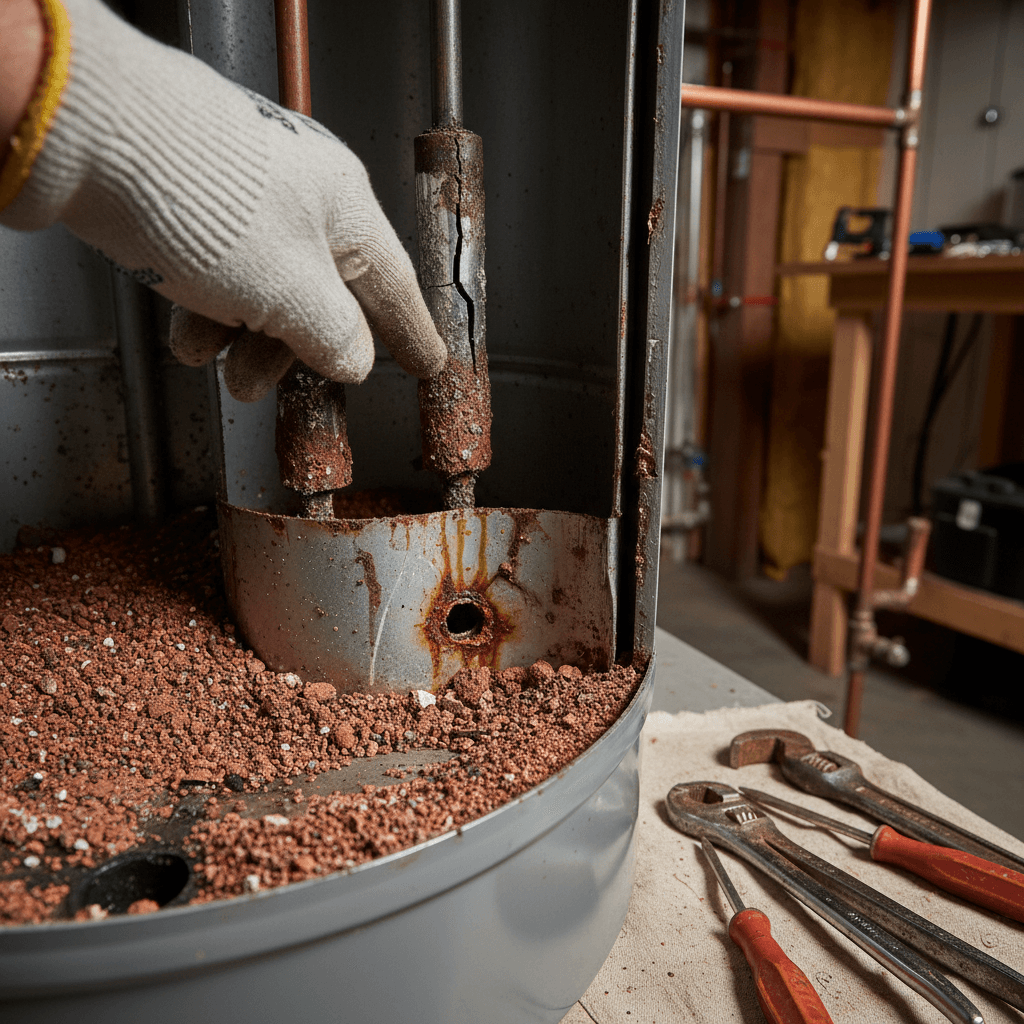
- Pump down and clean.
- Open the cover. Pump out standing water. Expect 3–5 litres to linger in low spots. Brush debris off the valve body.
- Support the pipe.
- Use blocks or straps so nothing sags when you cut. Keep line grade at roughly 1:40 (about 25 mm fall per metre on 110 mm).
- Remove the valve.
- If it’s band‑clamped, loosen both bands evenly. If it’s solvent welded, mark cut lines and use a saw. Keep cuts square and burr‑free. Remove the body carefully to avoid cracking the spigots.
- Prepare joints.
- Deburr edges. Clean with wipes. Dry-fit two 300 mm pipe stubs if you’re bridging the gap. Aim for at least 50 mm insertion depth into each coupler.
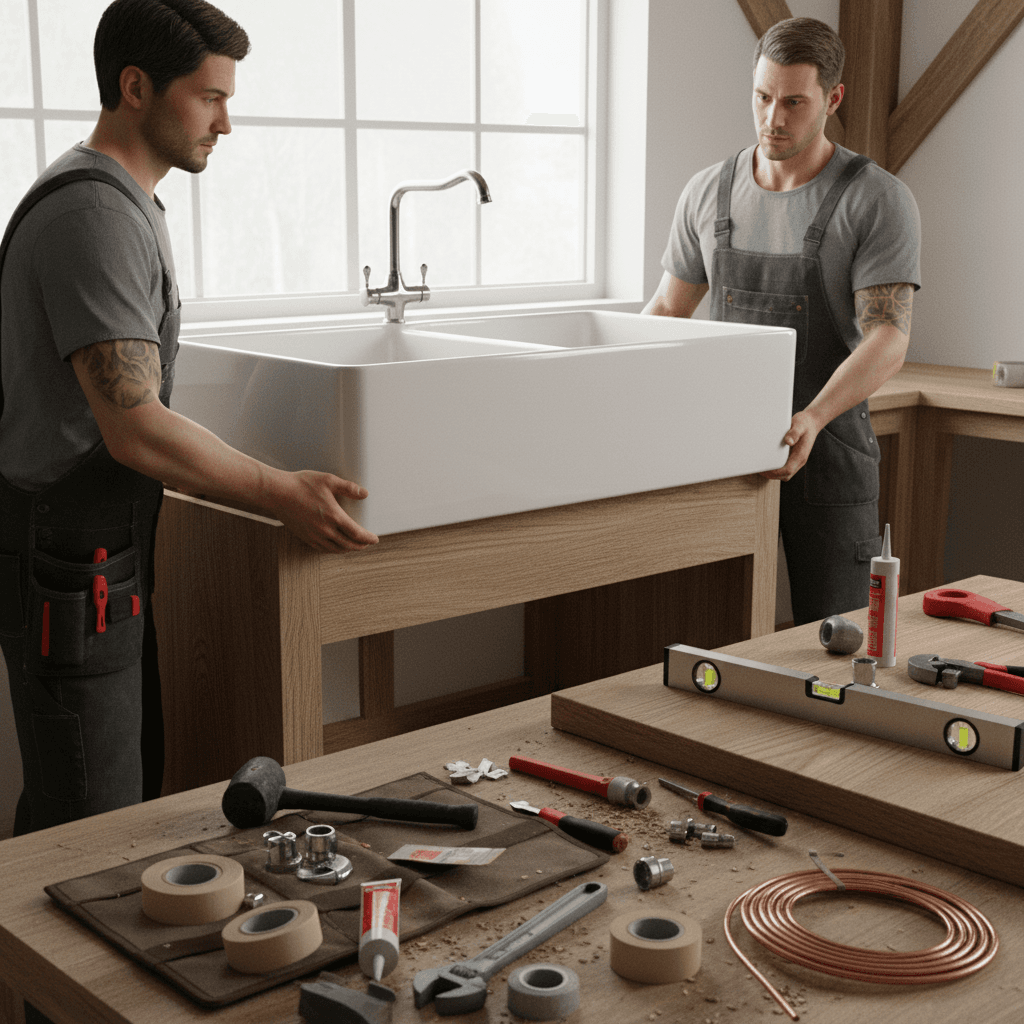
- Install replacement section or new valve.
- If rules allow full removal, install straight pipe with two rubber couplers. Tighten bands evenly to about 6–8 Nm. If a new valve is required, install it per manufacturer arrow (flow direction).
- Set grade and align.
- Recheck the 1:40 fall on 110 mm lines. Use a level and packers. Misalignment causes blockages.
- Test.
- Flow test for 5 minutes. Run two fixtures at once or dump 20–30 litres via a hose. Check all joints with soap solution. No bubbles, no leaks.
- Clean up and disinfect.
- Wipe tools and the chamber. Replace covers. Remove waste to an approved facility.
- Document.
- Take after photos. Note measurements, parts used, and test results.
If the job turns into a replacement rather than full removal, the steps are the same. Swap step 8 for a new, serviceable back water check.
Special Cases And Tips
Different set‑ups change the method. Here’s what to watch for.
-
Internal floor box valves:
Many basements have a cartridge valve under a square lid. Removing a back water check here may be just lifting the cartridge. Clean the seat, or fit a new cartridge. Time: 30–45 minutes.
-
Cast iron risers:
Use no‑hub couplers sized for 100 mm nominal cast iron. Cut with a reciprocating saw and fine‑tooth blade. Deburr well to protect coupler sleeves.
-
Chamber with twin flaps:
Some anti‑flood devices have two flaps. Removing a back water check on these usually means replacing the entire body. Measure end‑to‑end length to the nearest millimetre.
-
Shared lines and adoption:
If the valve protects multiple units, do not remove it without the water company’s approval. Fit a higher‑capacity valve instead.
-
Cold weather:
Rubber bands stiffen below 5°C. Warm couplers before tightening. Retorque after 10 minutes.
-
Blockage cause:
Sometimes the “problem” is a stuck flap. Before removing a back water check, try a full clean and hinge service. This save costs and risk.
Internal link ideas you can use on your site:
- When you propose a swap, linking to professional proposals helps clients see scope.
- If the job affects schedule, link guidance on project timelines.
- For costs and extras, link your invoice templates.
- If debating options, link a guide on pricing strategies.
Documentation, Sign-Off, And Warranty
Clients worry about floods. Keep it simple.
- Before photos: Show the old valve and site condition.
- Consent: State clearly, “Client requests removing a back water check. Risks explained.” Have them sign.
- Scope: Note if you’re installing straight pipe or a new valve. Include sizes, like 110 mm pipe, 2 couplers, and 300 mm stubs.
- Test proof: Add a 5‑minute flow test note and 2–3 photos.
- Warranty: For full removals, warranty pipe joints only, not flood protection.
Many contractors capture this with tools like Donizo. You can record notes by voice, generate a branded proposal, get e‑signature, and convert accepted work into an invoice in one click. Clear paperwork reduces disputes and call‑backs.
When Not To Remove
There are jobs where removing a back water check is the wrong move.
-
Flood‑risk areas:
Streets with regular sewer surcharging need protection. Replace with a higher‑capacity valve instead.
-
Ground‑floor WCs lower than the road:
These fixtures rely on the valve. Removing a back water check can back up the pan.
-
Insurer or council requires it:
If policy or local rules say “must have,” do not remove. Document and propose a compliant alternative.
-
Ongoing blockage history:
If upstream plumbing is poor (flat grade, 1:80 or worse), removal won’t fix it. Correct the grade to about 1:40 for 110 mm lines first.
-
Client refuses to accept risk:
Keep the valve. Service it, or replace it with a model that’s easy to maintain.
FAQ
Is it legal to remove a back water check?
It depends. In many places, you can only remove it if the property is not at risk of backflow and rules don’t require a valve. In the UK, check Part H and local water company guidance. Get written approval and client consent before work.
Do I replace the valve with straight pipe?
Only if allowed. Where protection is required, fit a new, serviceable valve. If removal is permitted, install straight 110 mm pipe with two approved couplers. Keep a 1:40 grade and a 50 mm insertion depth at each joint.
How long does removal take?
Simple internal removals take about 60–90 minutes. External chambers with easy access take 2–3 hours. Excavations or cast iron transitions can push it to a full day. Always allow 20–30 minutes for pump‑down and cleaning.
How do I test after removing a back water check?
Run a 5‑minute flow test. Use two fixtures or a hose to send 20–30 litres through the line. Check joints with a soap solution. Watch the chamber for pooling. Re‑torque bands after 10 minutes.
What if the flap is stuck but removal isn’t allowed?
Service the valve. Clean the seat and hinge, replace the cartridge if it has one, or swap the whole body for a like‑for‑like model. This keeps protection and restores flow.
Conclusion
Removing a back water check is a small job with big risks if done wrong. Confirm the rules, get written consent, and keep the 110 mm grade near 1:40. Test for 5 minutes and document everything. Next steps:
- Survey and confirm legality with the water company.
- Send a clear proposal with photos and risks.
- Complete removal or replacement and record tests.
For fast, clean paperwork, platforms such as Donizo help you turn site notes into signed proposals and invoices in minutes. Do the job right, prove it, and move on to the next call.