Intro
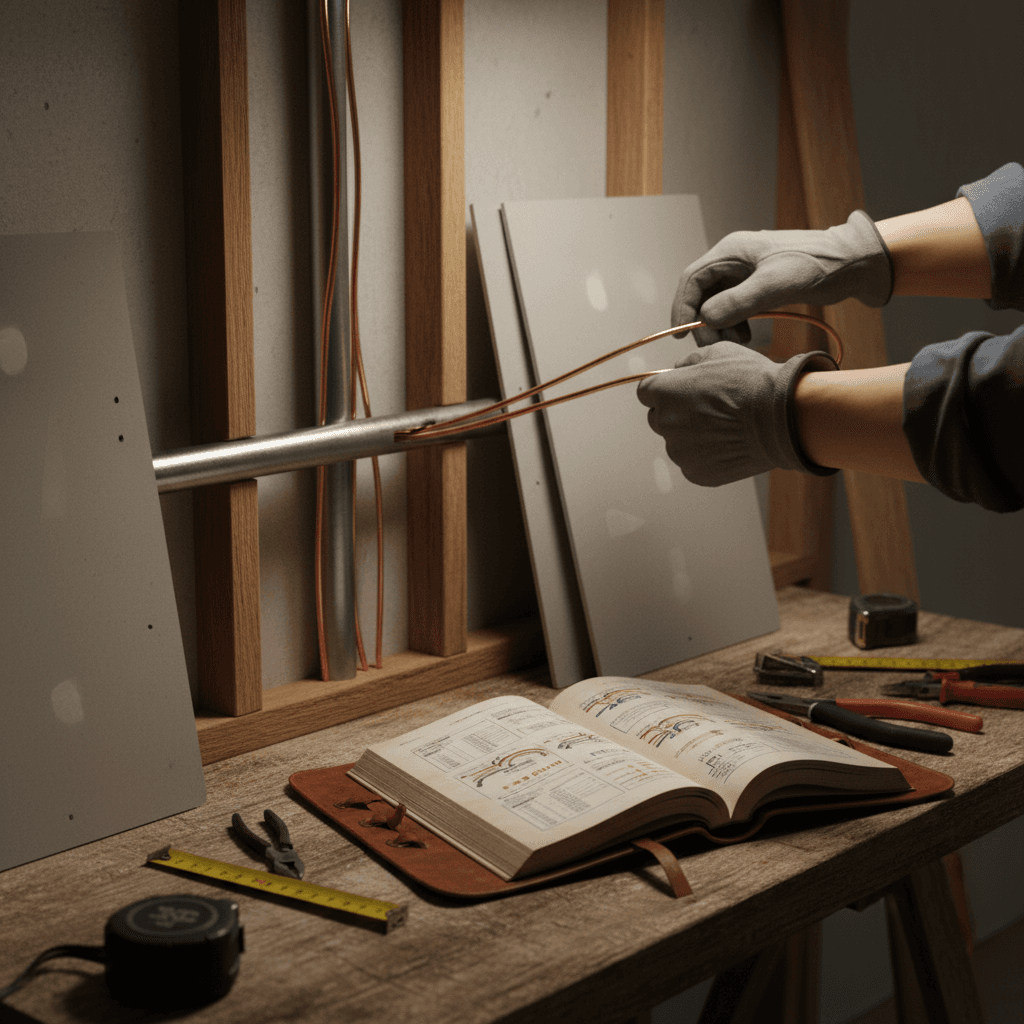
Electrical wiring is simple when you plan it right. It gets risky when you rush. In this field guide, you’ll learn how to plan circuits, size conductors, install clean, safe runs, and test your work. We cover real job steps and common mistakes. You’ll see clear numbers, like 15A vs 20A, 120V vs 240V, and 14 AWG vs 12 AWG. Use these best practices to cut redos, pass inspections, and keep margins.
Quick Answer
Electrical wiring comes down to solid planning, correct sizing, safe installation, and thorough testing. Map loads, pick the right breaker and wire, secure and protect the cable, then torque and test. Leave 6 inches of free conductor in boxes, staple within 8–12 inches, and document everything.
Table of Contents
Key Takeaways
- Plan loads first; wire and breaker size follow the math.
- 15A uses 14 AWG; 20A uses 12 AWG in most homes.
- Secure cable within 8–12 inches of boxes and about every 4.5 feet.
- Leave at least 6 inches of free conductor inside each box.
Electrical Wiring Basics That Save Time
On most jobs, mistakes start with guessing loads. Don’t guess. Count devices and nameplate watts. Separate 120V general loads from 240V equipment. Note continuous loads that run 3 hours or more.
Follow this order every time:
- List loads and calculate amperage.
- Select breaker size from the load.
- Choose conductor size for the breaker.
- Pick the right box and device ratings.
Simple rule of thumb:
- 120V branch circuits: 15A with 14 AWG copper, 20A with 12 AWG copper.
- 240V equipment: size by nameplate and manufacturer instructions.
Label every circuit plan before you buy material. This saves at least 30–60 minutes per small project and prevents a second supply run.
If you’re also improving estimating, this pairs well with understanding professional proposals and invoice templates that save time.
Plan Your Circuit Layout Before You Pull Cable
A clear layout makes electrical wiring faster and cleaner.
- Walk the space and mark device heights and counts. Standard outlet height is commonly 12–18 inches to center. Switches are often 42–48 inches to center.
- Map home runs. Keep them short and direct. Avoid tight S‑curves.
- Group similar loads. For example, a kitchen often needs at least two 20A small‑appliance circuits.
- Flag protection needs: GFCI near water; AFCI in many living areas. Many contractors find using both where required cuts callbacks.
- Confirm box locations against studs and backsplash lines. Dry‑fit device boxes before drilling.
Simple kitchen example:
- Two 20A countertop circuits (12/2 NM‑B).
- One 15A lighting circuit (14/2 NM‑B) for cans and pendants.
- A dedicated 240V breaker for a range, sized per nameplate (often 40–50A with 6 AWG copper for longer runs).
Choose the Right Wire, Breakers, and Boxes
Get sizing right, and the rest is smoother.
Wire and breaker basics:
- 15A circuits: 14 AWG copper.
- 20A circuits: 12 AWG copper.
- Long runs: consider upsizing to limit voltage drop (aim under 3%).
- Aluminum conductors: follow specific lugs, antioxidant, and torque specs.
Boxes and fill:
- Use box‑fill rules. In general, 14 AWG counts ~2.0 cu in per conductor, 12 AWG ~2.25 cu in per conductor. Pigtails count too. Choose a box with extra space. A 22–25 cu in single‑gang box often fits 12 AWG with device and pigtails.
- Damp or exterior? Use weather‑rated boxes and in‑use covers.
Device ratings:
- Don’t put a 15A receptacle on a dedicated 20A single‑receptacle circuit.
- Match dimmers to LED drivers and total wattage. Many dimmers rate 150W (LED) or 600W (incandescent). Read the label.
Breakers:
- Use GFCI/AFCI breakers or device combinations per area. Read panel labeling; some panels require listed breakers.
This content connects well with pricing strategies and clear scope language when writing professional proposals.
Install Clean: Pulling, Securing, and Terminations
Good electrical wiring looks neat and tests perfect. Here’s how to keep it tight.
Routing and securing:
- Drill centered holes in studs. Keep at least 1.25 inches back from faces. Use nail plates if closer.
- Staple NM‑B within 8–12 inches of each box and about every 4.5 feet along the run.
- Avoid sharp bends. Keep bend radius gentle; think at least 5x cable diameter.
Boxes:
- Strip 3/4 inch of outer sheath inside the box so markings remain visible.
- Leave at least 6 inches of free conductor from where it enters the box. Pull 7–8 inches if space allows. It makes terminations easier.
- Pigtail grounds. Bond metal boxes with a listed green screw and clip.
Terminations:
- Strip 1/2 inch of insulation for most devices. Check the device strip gauge.
- Use the side screw for a solid connection, or a listed back‑wire clamp. Avoid old‑style backstab holes on 15A devices. They loosen.
- Torque lugs and breakers with a torque screwdriver. Commonly 20–35 in‑lb, but always follow the label.
Panels:
- Keep neutrals isolated from grounds in subpanels. Bond in service equipment only.
- Label each breaker clearly. Use the same wording on the panel and the drawings.
Test, Label, and Document
Testing catches problems while walls are still open.
Step‑by‑step testing:
- Continuity check with power off. Confirm grounds are bonded end‑to‑end.
- Insulation check if needed on long or critical runs.
- Energize one circuit at a time.
- Use a three‑light tester or meter to verify hot/neutral/ground.
- Test GFCI and AFCI functions at the breaker and device.
- Measure line voltage. Expect near 120V on standard receptacles and around 240V on dedicated 2‑pole loads.
Labeling and docs:
- Mark each device box with the circuit number before cover‑up.
- Update the panel schedule to match final as‑built.
- Take 10–12 photos of key junctions and terminations.
- Save torque values, breaker types, and test notes.
If you’re managing several jobs, this pairs well with project timelines and tight change order control.
Pricing, Scope, and Change Orders
Clear scope stops surprises. Put these in your proposal:
- Circuit count and locations.
- Wire types (e.g., 12/2 NM‑B), device grades, and breaker types.
- Protection (GFCI/AFCI) and cover types.
- Patch work and trim responsibilities.
- Panel space and any upgrades.
When the client adds 6 more cans or wants under‑cabinet lights, log it right away. Note labor hours, extra devices, and cable length. Many contractors find that documenting changes within 24 hours reduces disputes.
Capture scope on site with voice notes and photos. Tools like Donizo let you turn voice, text, and pictures into a clean proposal, send a branded PDF, collect an e‑signature, and convert the accepted proposal to an invoice in one click. That keeps the paperwork as clean as your wiring.
Frequently Asked Questions
What wire size should I use for 15A and 20A circuits?
Use 14 AWG copper for 15A and 12 AWG copper for 20A in most residential work. If the run is long, consider upsizing to reduce voltage drop. Always match breaker size to the conductor and follow local code.
How many outlets can I put on one circuit?
It depends on load and local rules. In general, plan for 8–10 general‑purpose receptacles on a 15A/20A lighting circuit when loads are light. Kitchens and bathrooms need dedicated 20A small‑appliance or GFCI‑protected circuits. Always calculate expected loads.
Can I use aluminum wire in a house?
Yes, for feeders and some larger circuits, if it’s listed and installed correctly. Use AL‑rated lugs, antioxidant where required, and a torque screwdriver. For typical 15A and 20A branch circuits, copper is standard.
What’s the difference between GFCI and AFCI?
GFCI protects people from ground faults, mainly near water or outdoors. AFCI protects against arc faults that can start fires in living areas. Many areas require both, sometimes combined. Read device and breaker labels to match the application.
How do I test electrical wiring before energizing?
With power off, check continuity and confirm grounds. After energizing, verify correct hot/neutral/ground with a tester, measure voltage (around 120V or 240V as applicable), and trip‑test GFCI/AFCI. Label the panel and device boxes as you go.
Conclusion
Good electrical wiring is planned, sized, installed, and tested with care. Do the math, choose the right materials, secure the cable, torque the lugs, and document your work.
Next steps:
- Walk your next job and map every circuit before buying material.
- Standardize strip lengths, torque checks, and photo documentation.
- Update your proposal template with clear circuit counts and protections.
For smoother scope and approvals, platforms such as Donizo help you capture details, send proposals, get e‑signatures, and invoice without retyping. Build the habit, and your work will pass faster and pay faster. Subscribe for more field guides that save hours on site.