Intro
On most jobs, the pipes tell the story. Corrosion, low pressure, slow drains. Upgrading the home plumbing fixes these fast, but only if you plan it right. In this guide, we walk through upgrading the home plumbing step by step. You’ll see how to size lines, choose materials, and stage the work. We’ll cover timelines, testing, and client handoff too. Use this to quote with confidence and deliver clean, code-compliant results.
Quick Answer
Upgrading the home plumbing means assessing the system, choosing PEX or copper, right-sizing trunks and branches, and replacing tired fixtures and valves. Plan 2–4 days for a full repipe in an average two-bath home, plus 1–2 days for patch and paint. Test at 100 psi for 1 hour, set supply to 60–70 psi, and document everything.
Table of Contents
Key Takeaways
- Plan 2–4 days for a two-bath repipe; water off 4–6 hours.
- Size mains 3/4 in, branches 1/2 in; slope drains 1/4 in per foot.
- Keep house pressure 40–80 psi; target 60–70 psi with a PRV.
- Test to 100 psi for 60 minutes; flush 2 minutes per fixture.
- Document scope, valves, and fixtures for fewer callbacks.
Plan Upgrading the Home Plumbing
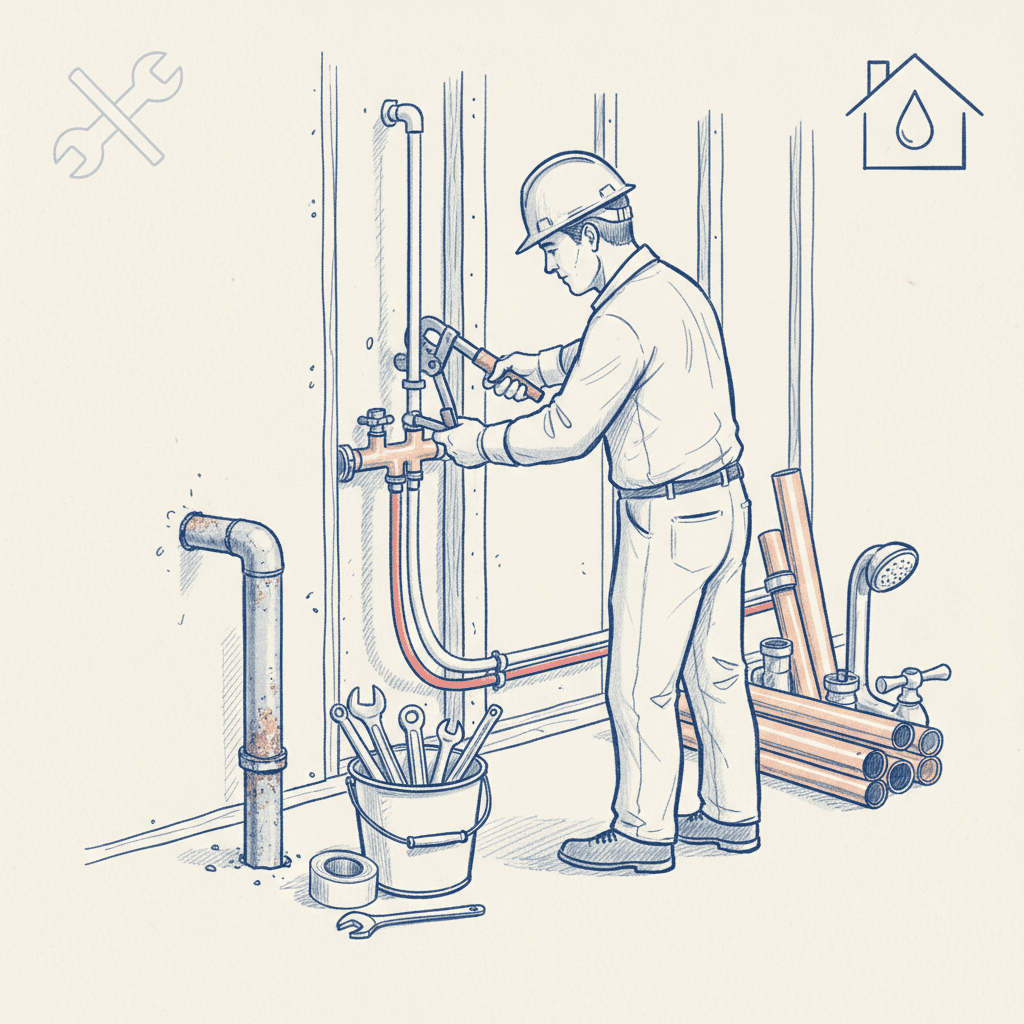
Upgrading the home plumbing starts with a tight plan. Walk the house. Note the meter, main shutoff, water heater, and fixture count. Look for galvanic corrosion, pinholes, and crusted angle stops. Take 15–30 photos.
Check permits and inspection steps. Many areas need at least one pressure test and a final. Pull local code tables for pipe sizing and venting. Codes vary. Don’t guess.
Set client expectations. Explain that upgrading the home plumbing may need walls opened. Plan dust control, daily cleanup, and a working bathroom during the job. A simple written plan lowers stress and saves you hours.
Pro tip: Mark fixtures with tape and counts. Create a simple riser diagram. Most contractors skip this step. Don’t make that mistake.
Internal link opportunities: professional proposals, project timelines, pricing strategies.
Choose Materials and Sizes That Last
Choosing the right pipe makes or breaks the upgrade.
- PEX: Fast to run, fewer fittings, resists scale. Great for repipes. Use PEX-A or PEX-B per your toolset. Keep bend radius within spec.
- Copper Type L: Durable and clean. Solder or press. Better for exposed mechanical rooms or high-heat areas.
- CPVC: Works, but slower to install. Watch solvent cure times.
Basic potable sizing that works in most homes:
- 3/4 in main trunk; 1 in if the home has 3+ baths or long runs.
- 1/2 in branches to most fixtures.
- 3/8 in supply tubes to faucets and toilets.
For drains and vents:
- 2 in for showers and laundry; 1-1/2 in for lavatories.
- 3 in for water closets (toilets) and main soil branches.
- Minimum slope: 1/4 in per foot on 2 in and smaller, unless your local code allows less.
When upgrading the home plumbing, match materials to conditions. Hard water? Add a mixing valve set to 120°F and consider scale control. Freezing risk? Insulate lines and avoid exterior walls. Fire-blocking and nail plates are not optional.
Internal link opportunity: invoice templates that save time.
Step-by-Step: Upgrading the Home Plumbing
This simple sequence keeps the job smooth and fast.
-
Scope And Diagram (1–2 hours)
- Count fixtures and valves. Note shutoffs and hose bibs.
- Sketch a riser diagram. Mark main, branches, and fixture groups.
- Explain the plan. Upgrading the home plumbing will need access holes.
-
Permits And Staging (1–3 days lead time)
- Pull permits if required. Confirm inspection steps.
- Stage materials: 3/4 in and 1/2 in pipe, fittings, stops, supply tubes, PRV, cartridges.
- Protect floors. Set dust control and a debris path.
-
Demo And Isolation (Half day)
- Shut water. Open low-point drains.
- Cap lines feeding the “live” bath or kitchen if needed.
- Open small access holes at manifolds and fixture groups.
-
Rough-In New Supply (1–2 days)
- Run 3/4 in trunk. Branch 1/2 in to fixtures.
- Keep hot on the left, cold on the right. Label as you go.
- Strap per code. Use nail plates where lines cross studs.
-
PRV, Valves, And Heater Connections (2–4 hours)
- If static pressure exceeds 80 psi, add a PRV and set 60–70 psi.
- Install full-port ball valves at key branches.
- Set a mixing valve at 120°F to prevent scalds.
-
Pressure Test (1 hour minimum)
- Test to 100 psi for 60 minutes. No drop is the goal.
- Fix any leaks before covering.
This is the cleanest path for upgrading the home plumbing without surprises.
Pressure, Flow, and Drain Basics
Most callbacks come from pressure and drain issues. Keep it simple.
- Static pressure: 40–80 psi is the normal range. If you read 90–110 psi at the hose bib, add a PRV. Set 60–70 psi for comfort and fixture safety.
- Flow: Avoid too many 90° turns. Long sweeps save friction losses. Manifold systems with 3/4 in trunks and short 1/2 in home-run branches keep hot water quick.
- Temperature: Set the water heater to 120°F at the mixing valve. This protects users and fixtures.
- Drains: Maintain 1/4 in per foot slope on 2 in and smaller lines. Keep venting within local code. Clean-outs at key turns save future service time.
When upgrading the home plumbing, verify pressure before and after. Log the numbers. Many contractors report this alone prevents debates later.
Smart Fixtures, Heaters, and Recirculation
Small choices deliver big wins.
- Low-flow faucets and 1.28 gpf toilets cut water use without complaints. Clients like lower bills.
- Water heaters: 40–50 gal tanks suit many two-bath homes. For big families, a 199k BTU tankless with a mixing valve works well. Follow venting and gas sizing rules.
- Recirculation: A smart recirc pump at 0.3–0.5 gpm can cut hot wait times by 8–12 seconds at distant baths. Use insulated return lines.
- Backflow and hose bibs: Anti-siphon bibs are simple insurance.
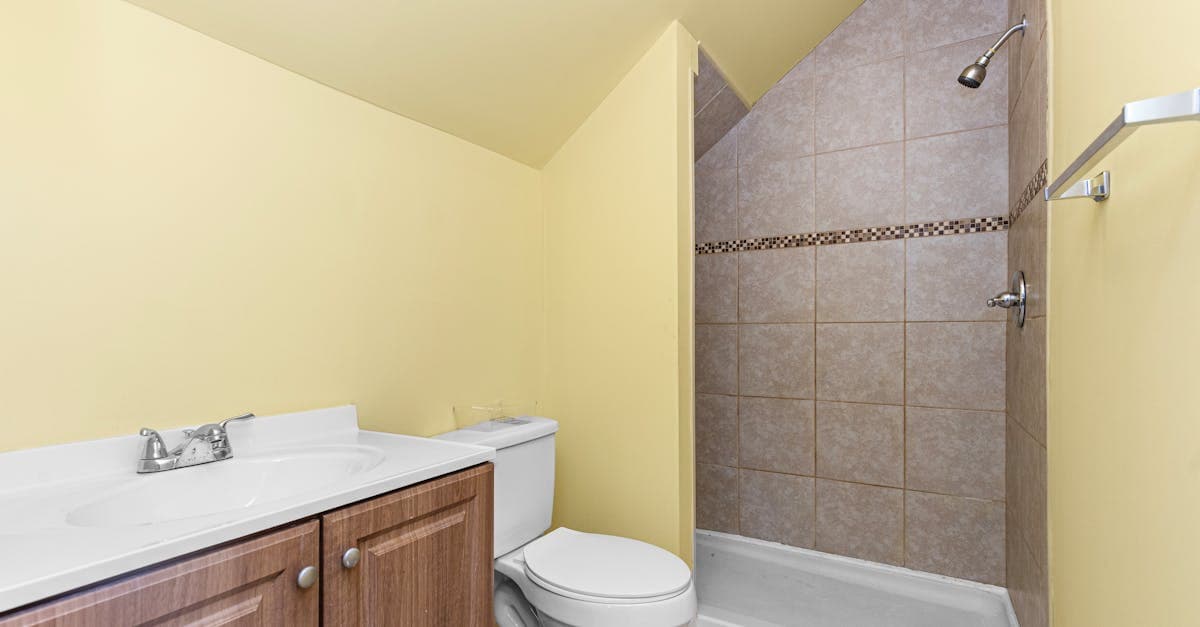
Upgrading the home plumbing is the time to swap tired angle stops, supply tubes, and cartridges. These small parts cause most leaks. Replace them now, not later.
Estimating, Proposals, and Closeout
Clear paperwork wins jobs and protects margin.
- Estimate blocks: List scope by area (kitchen, baths, laundry, exterior). Include patch/paint hours. Add a line for permits and inspections.
- Allowances: Set fixture allowances by room. Avoid “TBD” traps.
- Milestones: Rough-in, pressure test, fixture set, final. Tie payments to these.
- Internal link opportunities: professional proposals, invoice templates, client management.
On site, capture details fast. Tools like Donizo let you use Voice to Proposal to grab photos, notes, and counts, then send a clean branded PDF the same day. With e-signatures and one-click invoice management, you move from approval to payment without retyping.
Closeout checklist:
- Final pressure reading noted (e.g., 65 psi).
- Heater temp confirmed at 120°F.
- Valve locations labeled.
- Warranty terms (often 1–2 years labor) in writing.
- Client walkthrough complete with contact info.
This approach makes upgrading the home plumbing repeatable and low-stress.
Conclusion
Upgrading the home plumbing is straightforward when you plan the scope, size lines correctly, control pressure, and document the work. The best results come from clear steps, tight testing, and clean handoff.
Next steps:
- Walk your next job with a camera and create a simple riser sketch.
- Build a standard estimate with allowances and milestones.
- Send a same-day proposal and schedule inspections early.
For faster approvals, platforms such as Donizo help you capture details, send branded proposals, collect e-signatures, and convert to invoices in one click. Do the basics right, and every upgrade runs smoother than the last.